
Hello there and welcome to my take on the current Funkie Junkie focus! The theme is Frozen Winter so I happily created a home decor piece to display since I had to put all my Christmas decorations away.
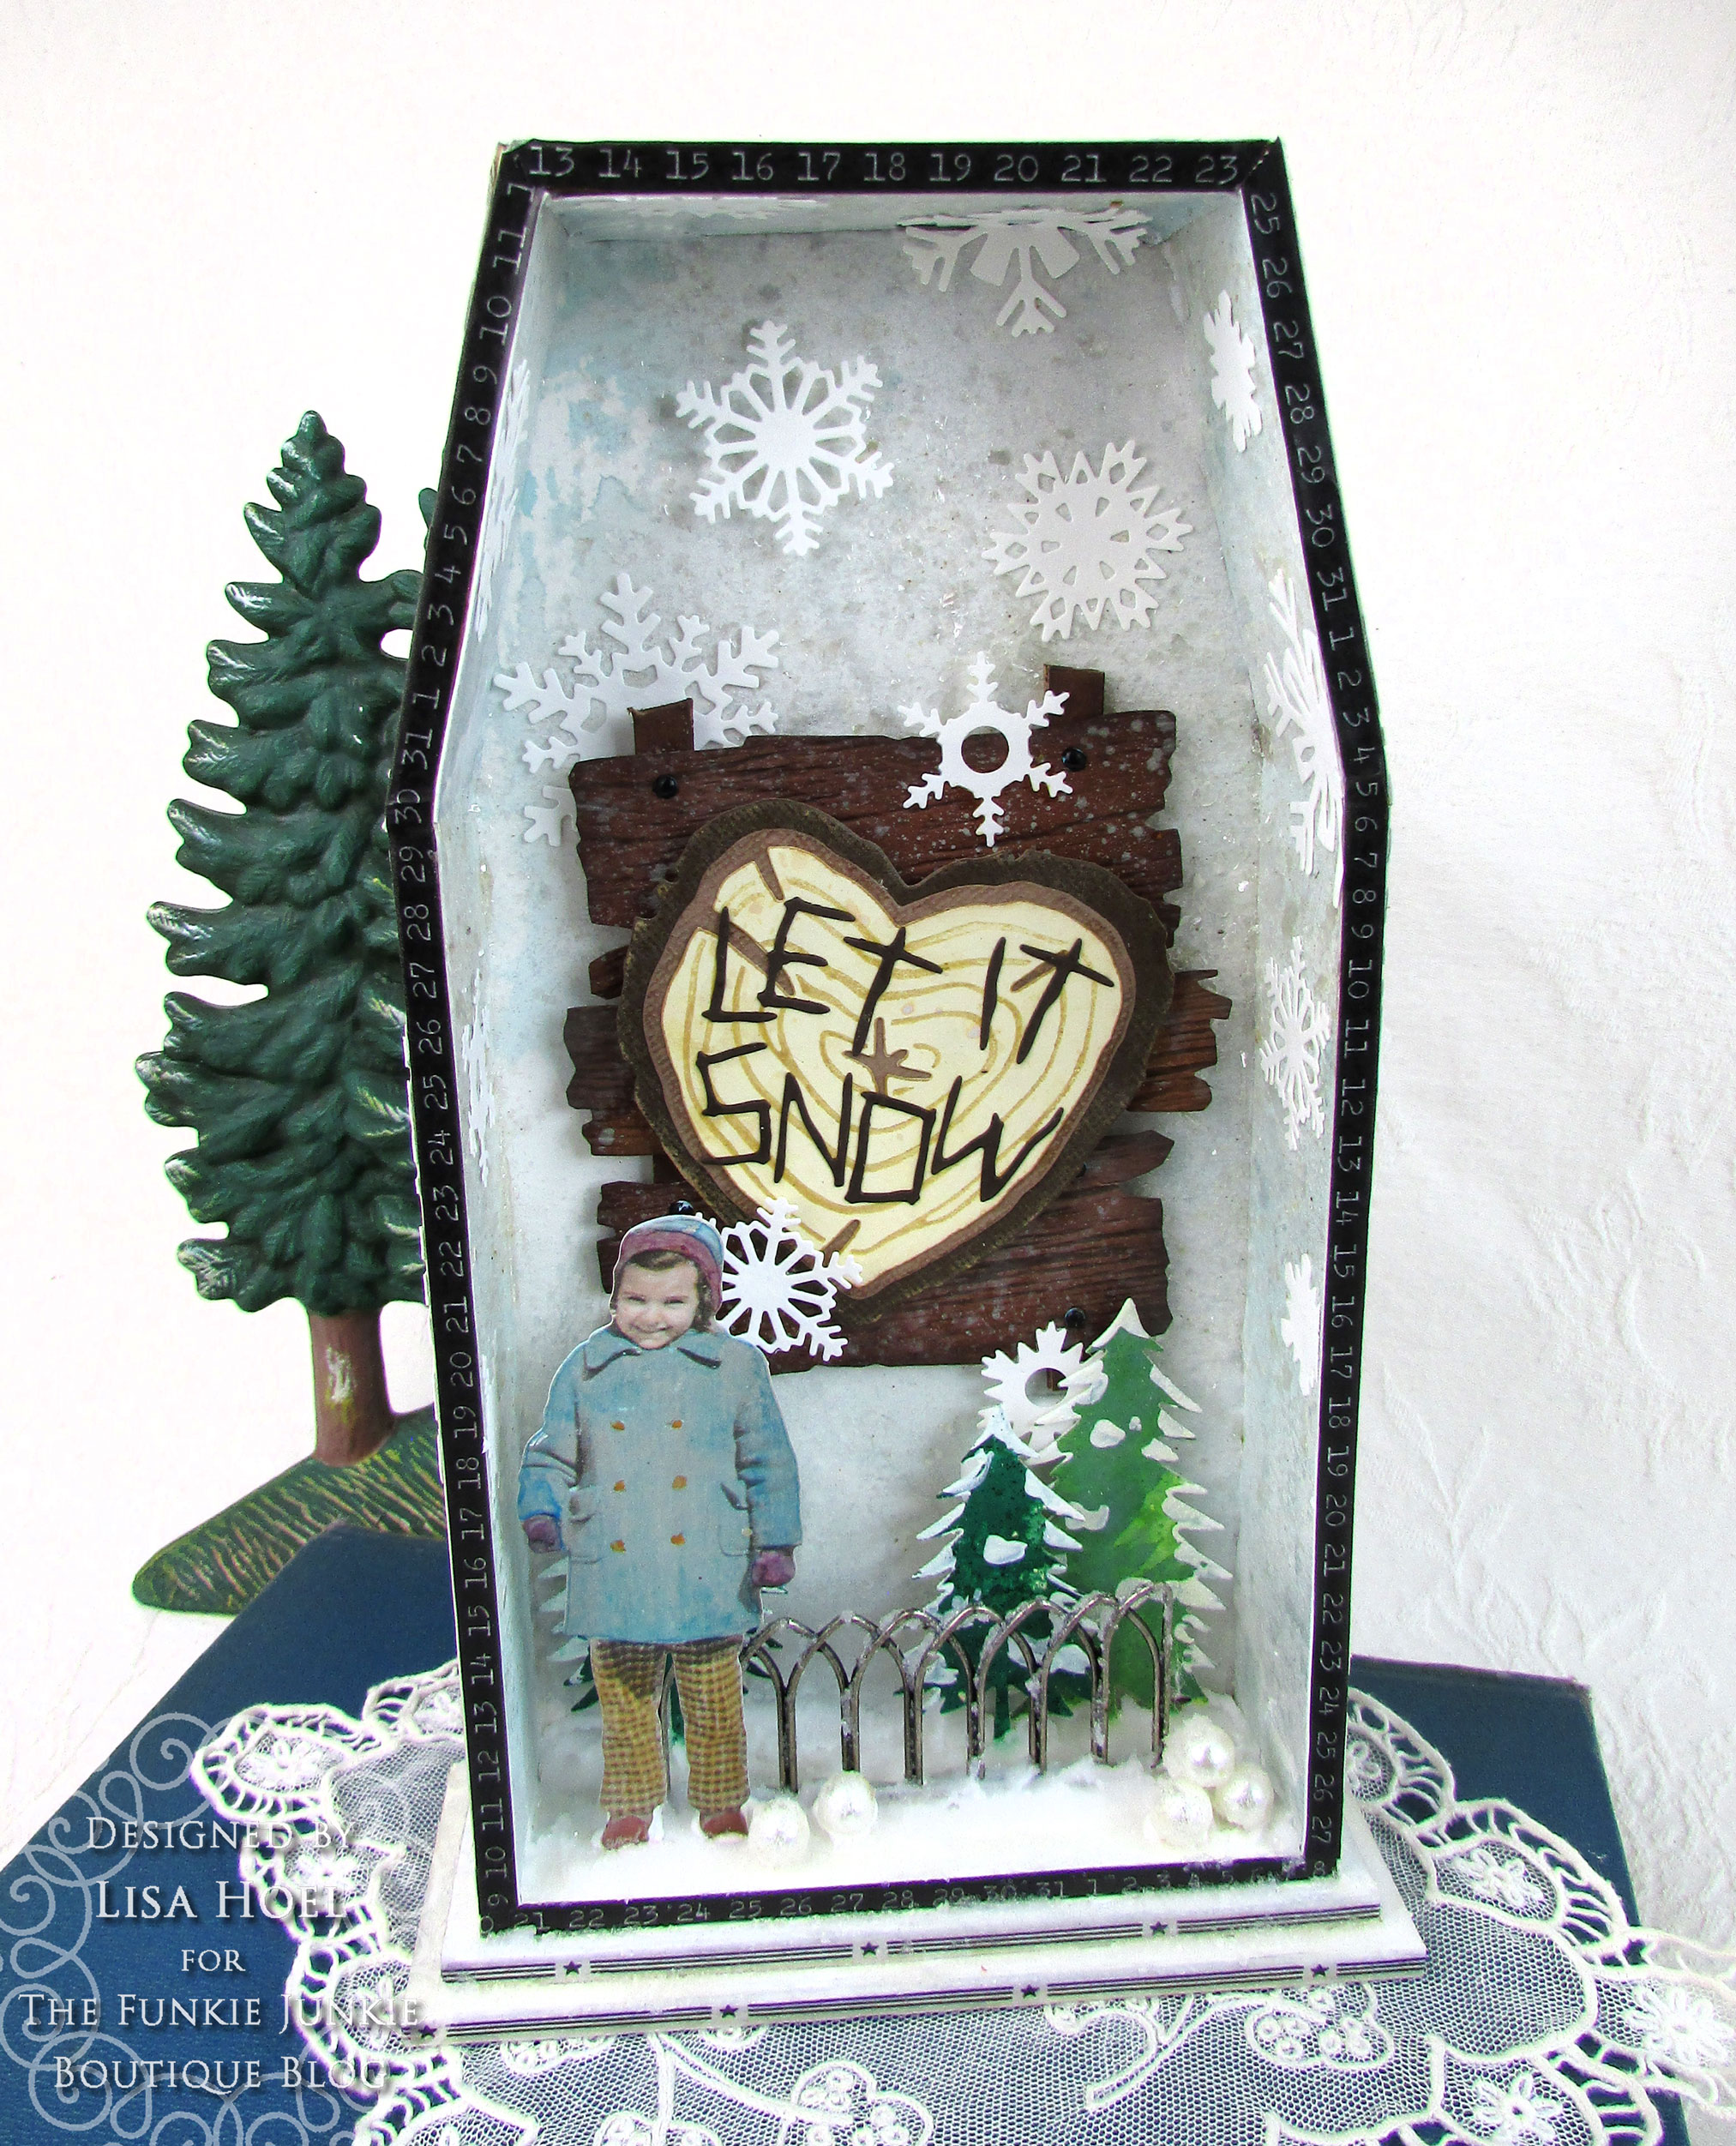
I've used new and old favorites in the creation of this project. The structure is the Halloween 2022 Vignette Arched Shrine box. (It's not just for Halloween!)

The outside is covered with strips of Holiday Gray Two-tone Woodgrain Cardstock and diecut snowflakes.

I wanted to capture the joy of snowy weather when you are a child. This little girl is ready with her snowballs! (Baubles covered with Snowfall Grit Paste.) I also thought this was a perfect opportunity to use the new Tim Holtz Wood Slice Thinlits Die Set. I like that it comes with the alphabet so you can "carve" whatever message you want.
Let's take a look at some of the "how-to":
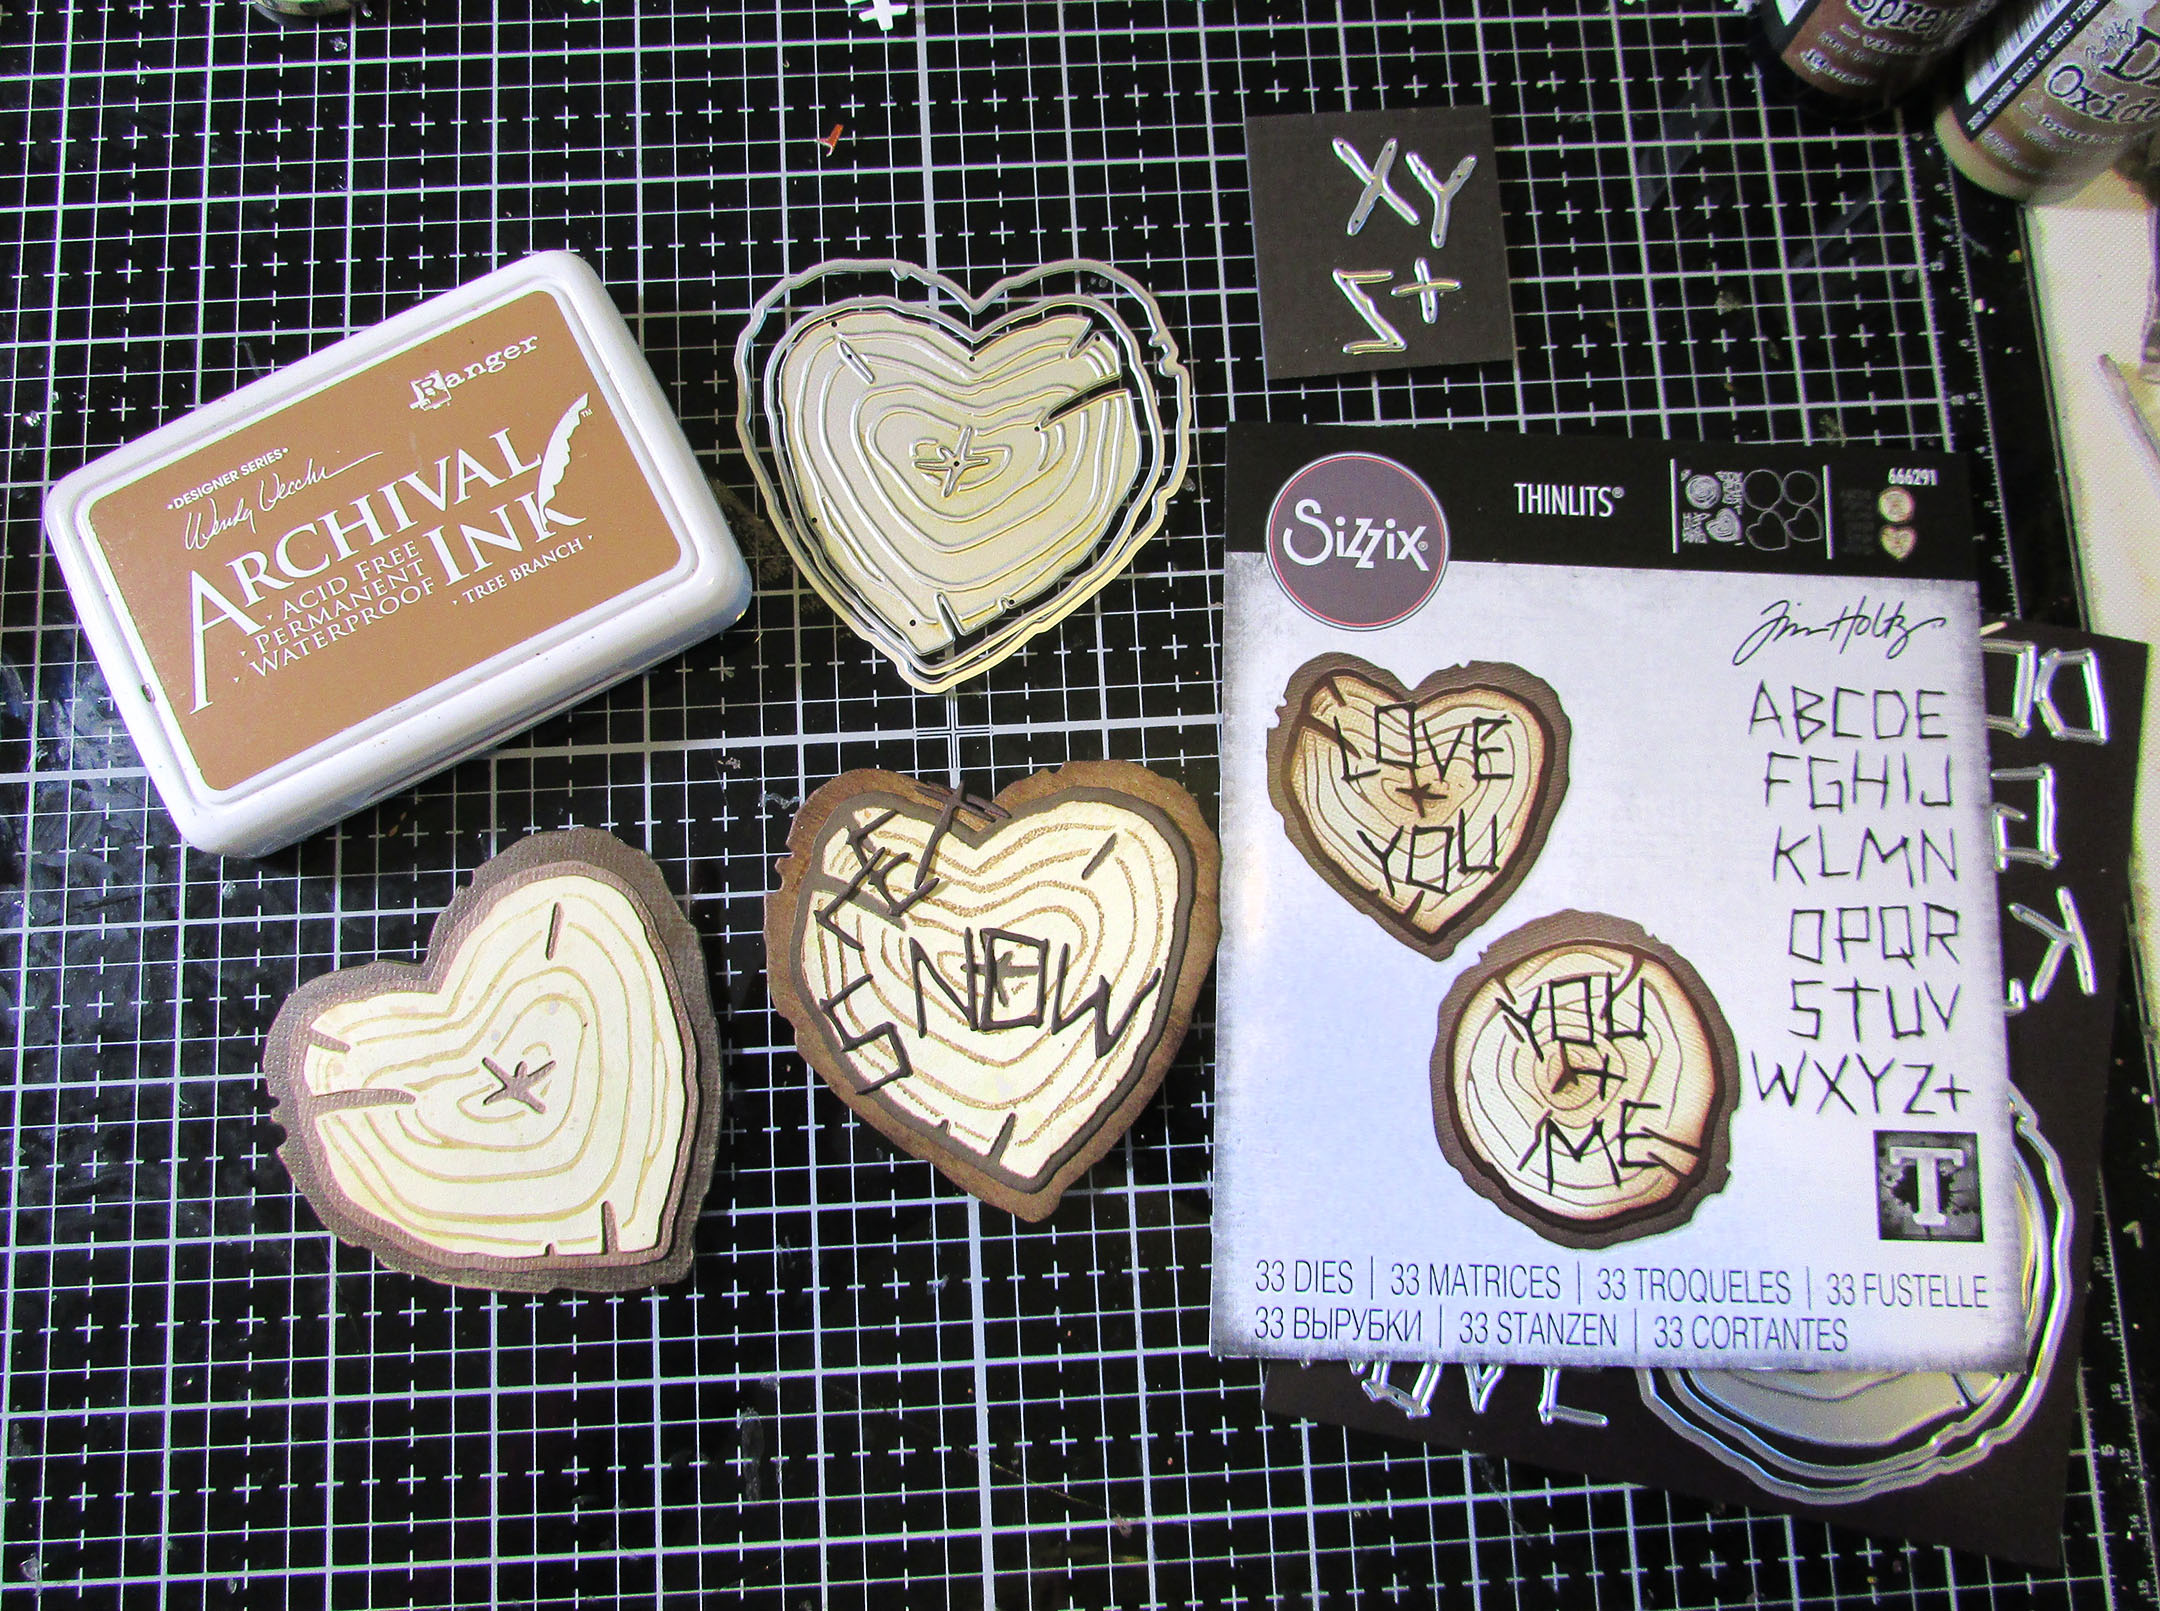
Step 1 - I love the new Wood Slice Die Set! I first inked the inner wood portion die with Archival Vintage Photo ink so it would transfer when I cut that piece. I thought the rings ended up too dark and there wasn't enough contrast with the letters. I recut the pieces with different brown cardstock and used a lighter brown Archival Ink on the die. (Heart on the left.) Much better!
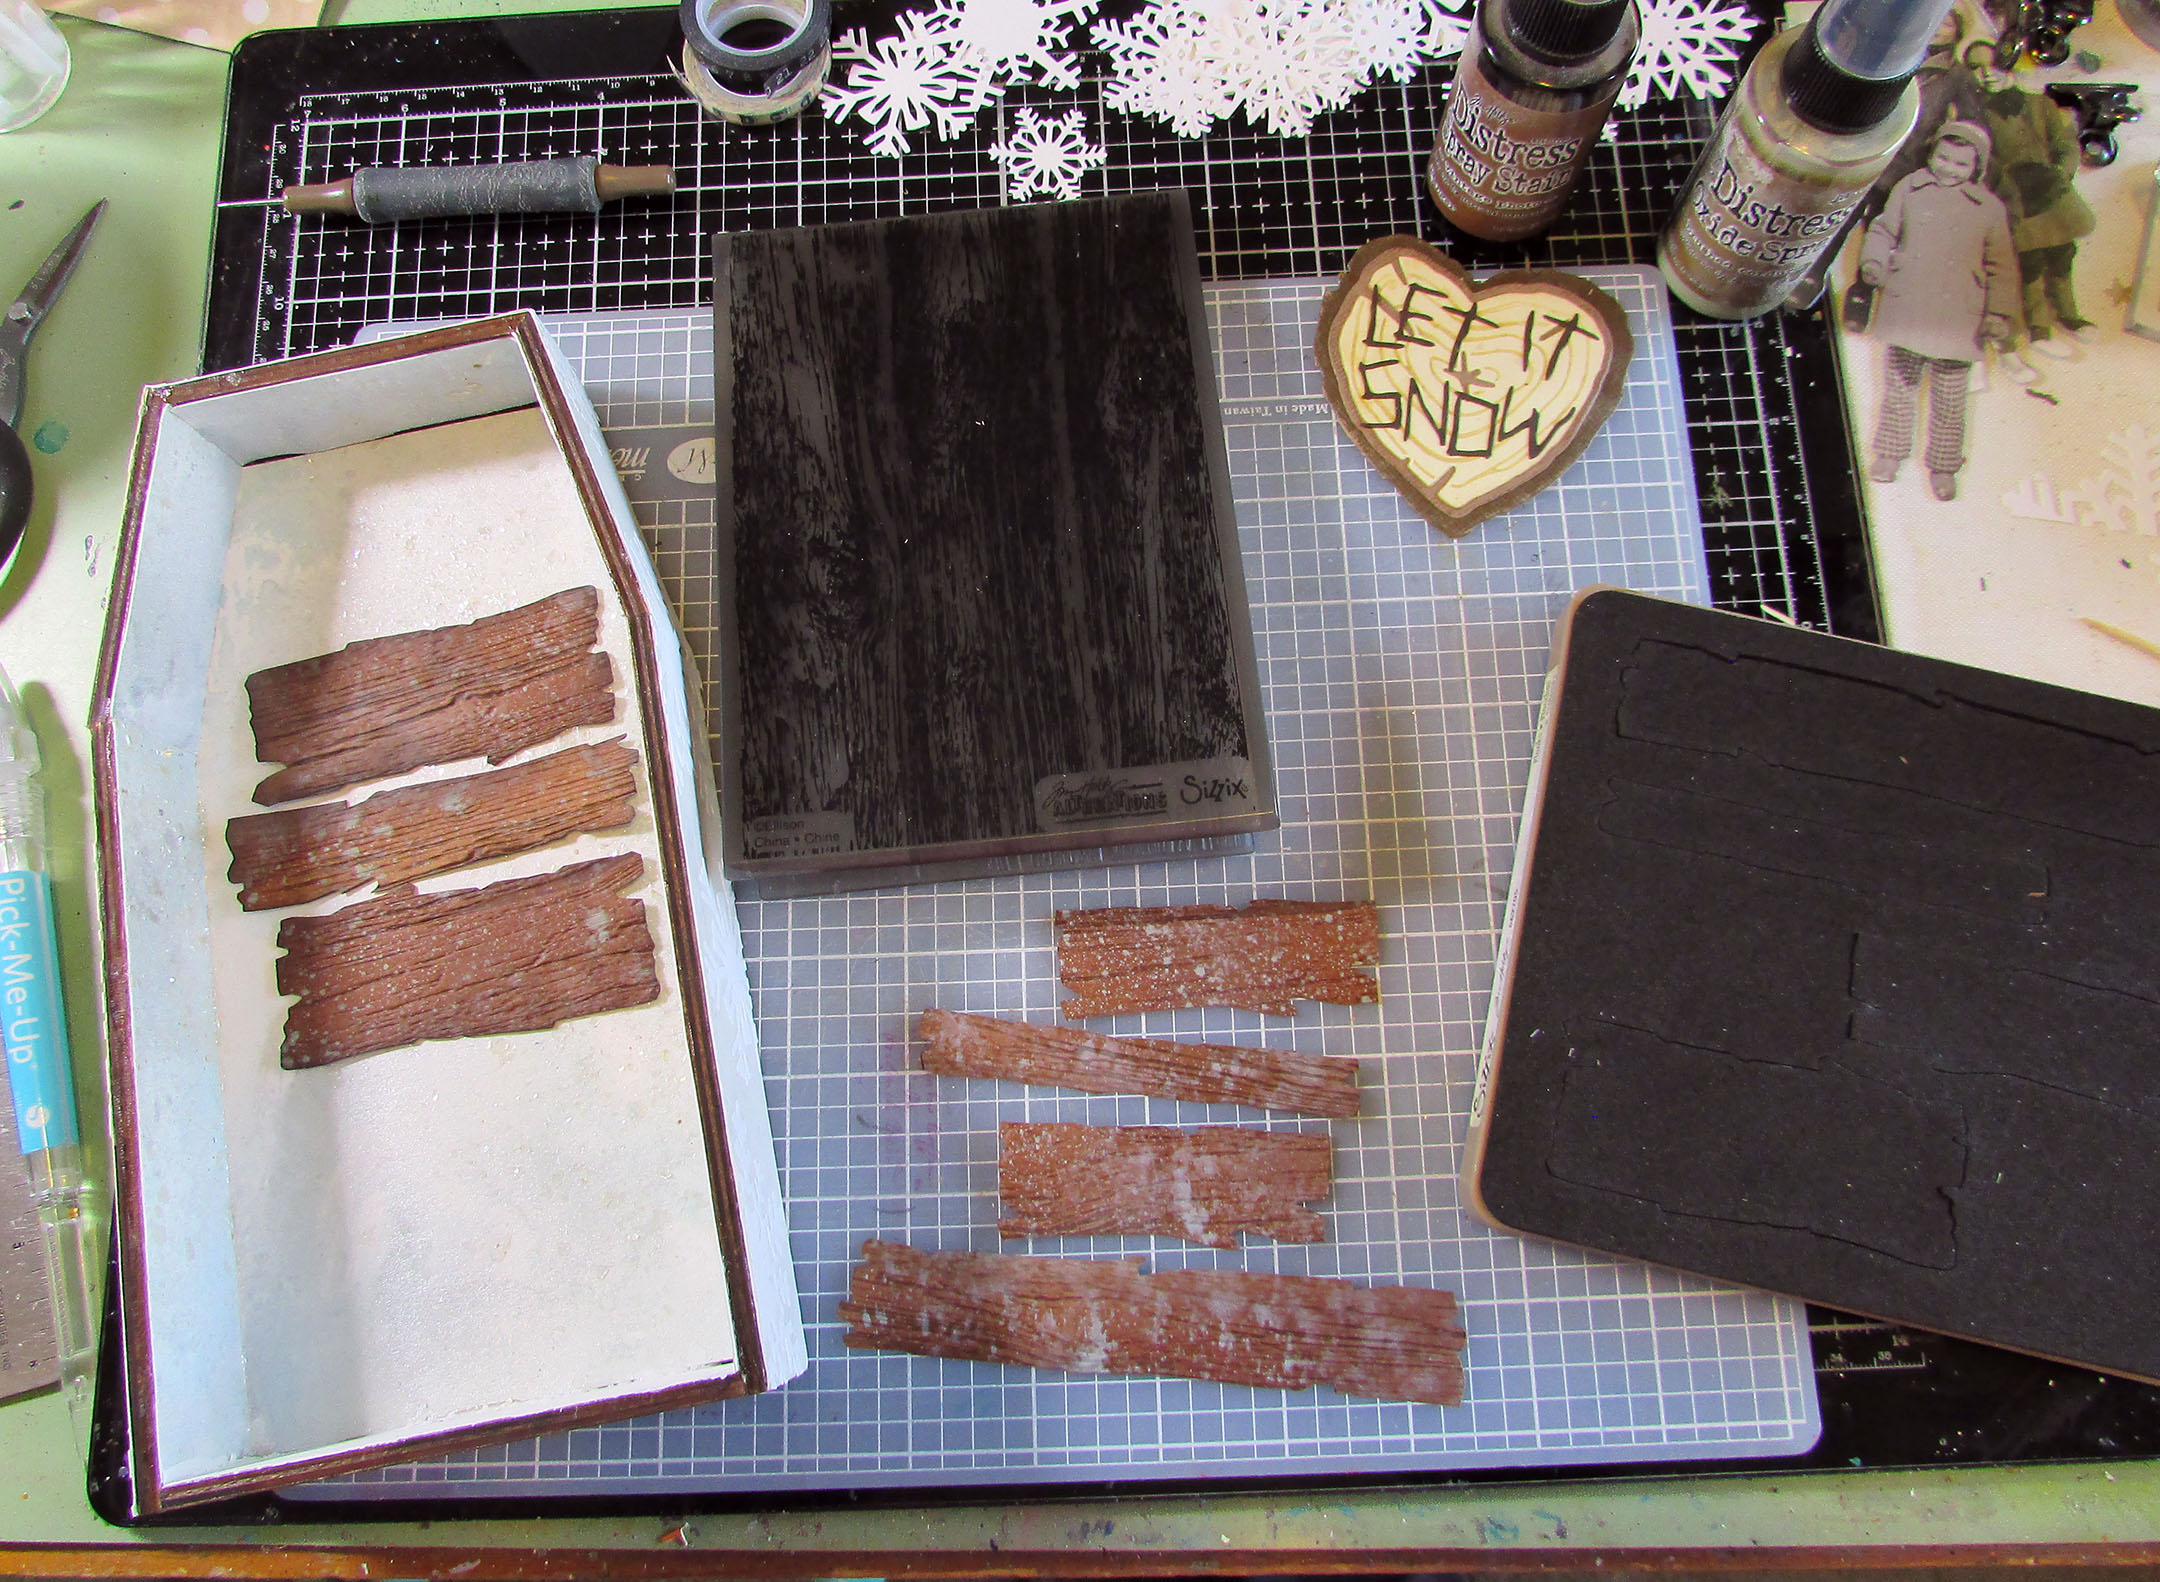
The wood slats behind the heart were cut out of inked Kraft Heavystock and then embossed using the Lumber 3-D Embossing Folder by Tim Holtz. The wood edges of the shrine I covered with Trims Design Tape.

Step 3 - Coloring Paper Dolls
I used Distress Watercolor Pencils to tint the Paper Doll I chose for my vignette. Paula Cheney has a great tutorial post on all the ins and outs of using them for coloring the dolls. Definitely check that out.

This particular figure is from a Paper Doll pack from a few years ago but there are plenty of options in the 2022 Christmas pack too. I used a combination of coloring directly onto the figure, then blending the color with a water/brush as well as 'painting' with the pigment pulled directly off of the tip of a pencil that had been dipped in water.
Thanks for stopping by. Keep an eye on the Funkie Junkie Boutique Blog, Inspiration Ave. because you are now getting regular doses of expanded (and inspiring) content each week. Don't miss it…
Supplies used:
Tim Holtz Thinlits Die Set - Wood Slice
Tim Holtz - 3-D Textured Impressions Embossing Folder - Lumber
Tim Holtz Thinlits Die Set - Festive Things
Tim Holtz Thinlits Die Set - Paper Snowflakes
Tim Holtz Thinlits Die Set - Paper Snowflakes, Mini
Tim Holtz Bigz Die - Planks
Distress Crackle Paste Opaque
Tim Holtz Idea-ology - Design Tape, Trims
Tim Holtz Idea-ology - Baubles
Tim Holtz Idea-ology - Metal Gates
Distress Rock Candy Dry Glitter
Stampers Anonymous Glitter Duster
Distress Mica Flakes
Distress Holiday Grit Paste - Snowfall
Distress Watercolor Pencils
Distress Spray Stains - Tumbled Glass, Brushed Pewter, Vintage Photo
No comments:
Post a Comment
Thank you so much for leaving a comment. I appreciate it!