
It's August and we're already eleven days in! Time just gets away from you doesn't it? I'm here with Part 1 of my Wonder Woman fangirl junk journal project. This month on Eileen Hull's blog, the Inspiration Team is focusing on junk journals and all the fun stuff you can do inside of them. (If you missed last week's post, you can find it here.) I am a huge Wonder Woman fan (since watching Linda Carter in my tender years) and I've been saving ephemera for a themed junk journal for quite a while now. I decided it was time to get 'er done! This post covers my start and hopefully I'll be able to show you the whole thing next week.

First I tackled the cover. Eileen's Journal XL Die is one of my favorites to use for junk journals. It's her biggest one and you can fit all sorts of goodies in it. I used a whole pile of stencils and various Distress Inks, Distress Oxide Inks and sprays to create lots of layers.

I fussy cut an image of Wonder Woman and collaged it onto the back cover. I used a stencil and applied iCraft Deco Foil Transfer Gel through it around the image. This Gel remains tacky when dry and when you rub one of the Deco Foil sheets over the top of it, the foil adheres. Easy bling! I did the same thing with another stencil on the front.
Covering the insides of the cover was really easy using fabric and Eileen's Easy Cut Adhesive Sheets to adhere it to the mat board. You have to be careful with wet glues and fabric because they often soak though. Eileen's sheets are strong and of course dry so you can neatly sidestep that issue.

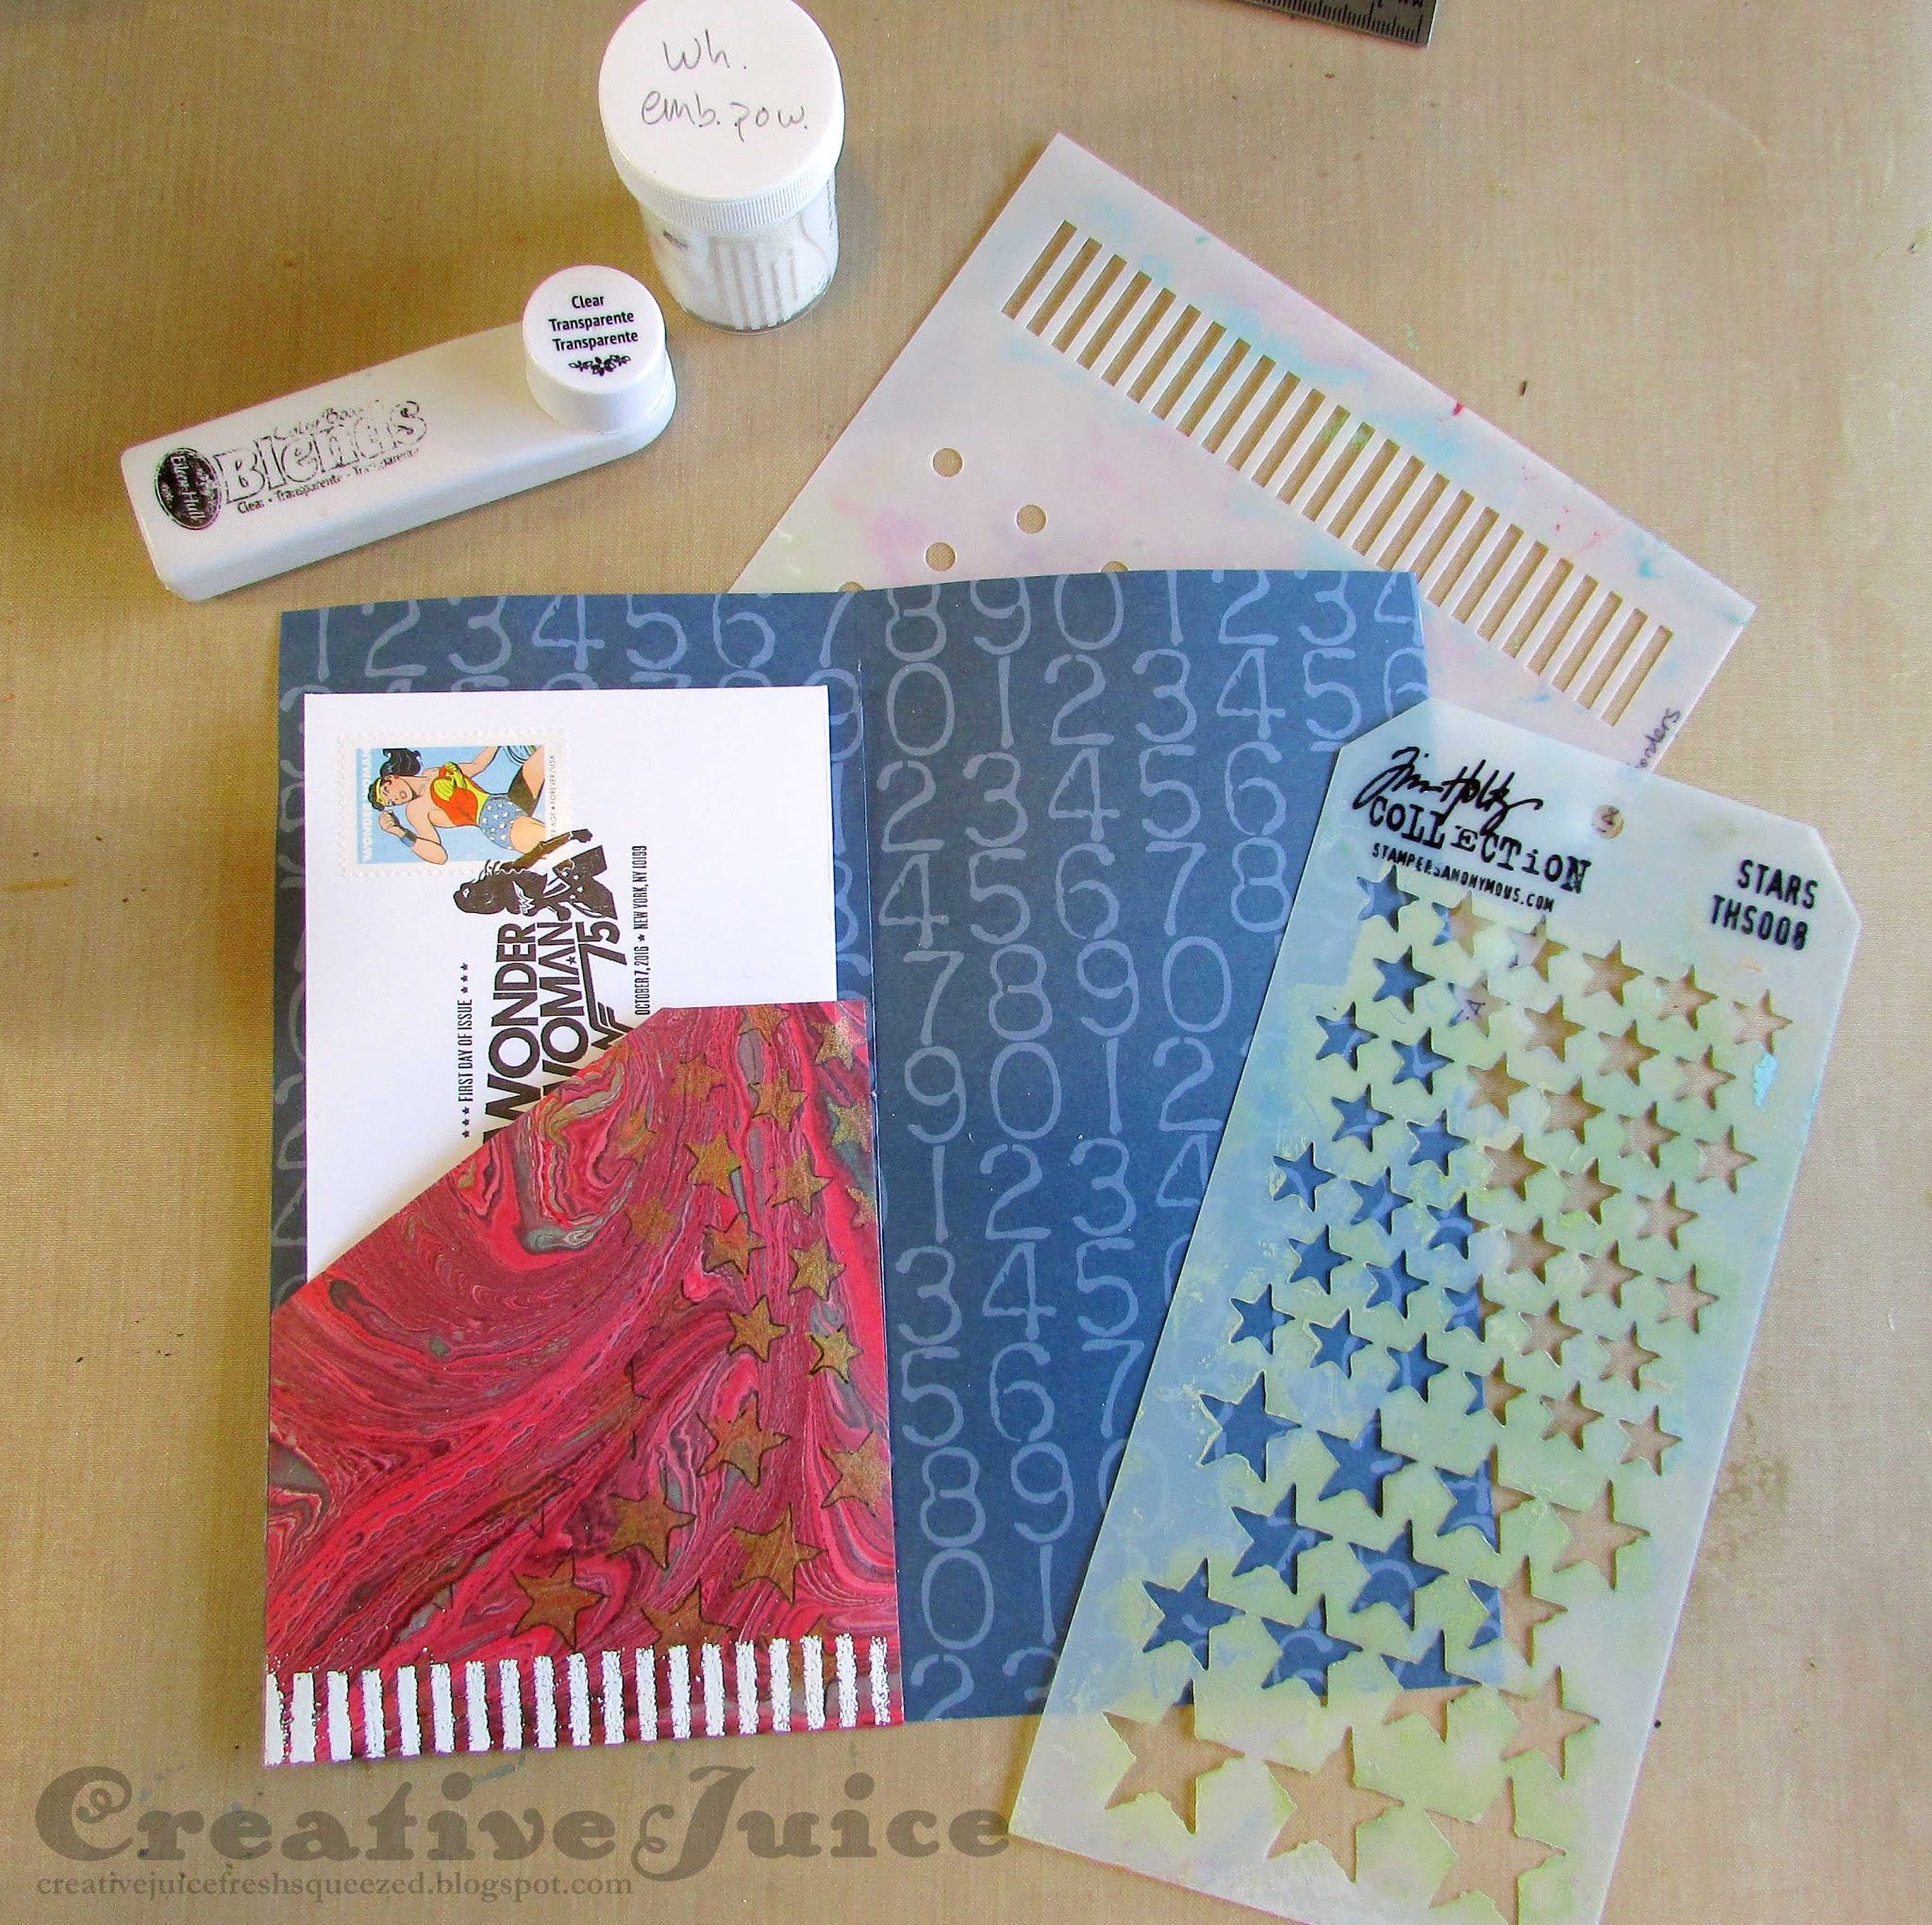
Of course the final journal will have all sorts of pages and goodies inside, but for now here are two ideas that you can incorporate into your own journals. First is a pocket for holding tags, tickets or other ephemera you want to be able to remove. It's super easy! Cut your base page first (I made mine 8" tall and 8 3/8" wide to allow for trimming the signatures to 4 1/4" wide when assembled.)

Fold the side and bottom tabs back and adhere to the page. I will make sure this page will be on the outside of a signature so the outer fold doesn't get cut off when I trim my signatures. I also added some stenciling and embossing to the pocket for added interest.
Finished pages:
 |
| Hmmm… what will I put in the second pocket? |
Next up is an experiment that I think turned out pretty cool! I wanted to try something that had transparent layers so I pulled out my trusty laminator and gave it a whirl:
 |
| Closed |
 |
| Open! |
I die cut stars from tissue paper and a scalloped border from marbled vellum to layer inside of the laminate envelope.
Next I ran it through my hot laminating machine, afterwards using Archival ink to stencil some designs on top.
| Making two pages while I was at it! |
I added a strip of folded paper to use as a hinge for attaching it to a journal page. Eileen's Red Liner Tape is really strong and grabbed right ahold of the plastic. I ran the Wonder Woman cut out through my Xyron Creative Station Lite to apply adhesive to the back. (Quick and easy and it looks good from the back.)
I added some details on the page underneath that would be fun to have peeking through. More Red Liner Tape on the hinge stuck the flap firmly to the page.
Be sure to stop by next week to see the completed journal!
In the meantime, if you want to check out some of my past junk journals you can maybe glean some more ideas for yourself. I've made a bunch of them, some with a favorite thing as a theme (like mermaids), some filled with photos of a season (fall in Idaho), one with all the art envelopes I received from ATC trades and one to record our experience seeing the Great American Eclipse of 2017. Junk journals can be used for pretty much anything! Have a great rest of the week and go do something creative.
Supplies used:
Dies:
Eileen Hull Sizzix
Journal XL Die ( Sizzix / SB )
Tim Holtz Sizzix
Stacked Stars #658771 - retired
Other:
Tim Holtz stamp set - Grunged
Tim Holtz stamp set - Mesh & Linen
Tim Holtz stamp set - Christmas Nostalgia
Tim Holtz Layering Stencils: Hocus Pocus, Zig Zag, Mesh, Stars, Minis Set 1, Stripes, Gradient Dot
Sizzix Mat Board
Distress Ink
Distress Oxide Ink
cotton fabric
Elastic cord for binding
Eileen Hull Blends Ink - Clear
Eileen Hull Red Liner Tape
Eileen Hull Easy Cut Adhesive Sheets
Deco Foil Transfer Gel
Deco Foil sheets - Gold
Some links in this post are affiliate links which do not affect the price you pay but allow me to earn a small percentage of a sale. Thanks! (My husband also thanks you!) If you shop at Topflight Stamps, use my coupon code LISAHOEL for 12% off your order.
Wow Lisa! Really cool- I love the idea for the laminated pages <3 And the Journal is the perfect size for that WW image... Love this project and can't wait to see the rest!
ReplyDeleteLisa I want to make one exactly like this!!!! Everything is fabulous and so well done. I can't believe how well you lined up the fabric for the inside cover! (I had that fabric and gave it to my sister but now I want it back!) Love the laminated page, too! Can NOT wait to see the next edition!
ReplyDeleteThis is so darn creative! Thanks so much for the shout-out for our Deco Foil Gel and Foils!
ReplyDeleteAwesome JJ Lisa! Love your laminated pages and use of vellum. Wow, haven't used vellum in forever, you've given me ideas!
ReplyDeleteThis is very cool, love how you did the laminated vellum page that is such a good idea!
ReplyDelete