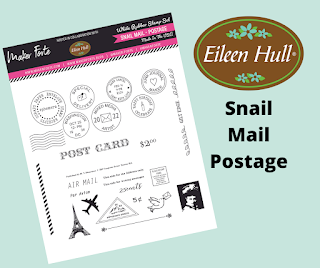
Good morning! Today is another new release day! Eileen Hull has been partnering with Maker Forte to create stamps to tickle your creative muse. Two new sets are now available to add to your crafting arsenal:
I am loving the vintage vibe of these two sets. You can read about Eileen's inspiration for them on her blog post. Also to be found there is a list of links to the designers who have been busy creating with these lovelies and have projects for you to see!
Don't miss Eileen's Live on Friday the 25th at Noon EST! You can find her streaming on both her YouTube channel and in FaceBook. She will be sharing samples from the Team and telling us all about her new stamps. Check out the blog posts from the other Team members too (list on Eileen's blog). We are sharing our makes for your inspiration!
Tutorial Time!
I used a variety of techniques to create this project. First I rummaged through my stash of patterned cardstock and found a likely assortment to use (from way back lol).
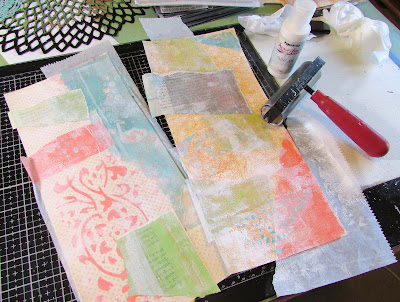
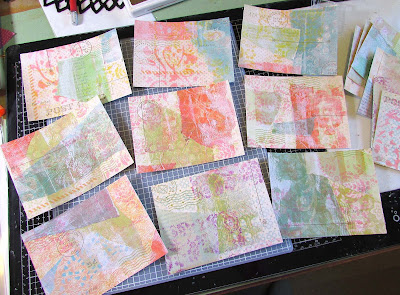
Step 2 - I created a stack of gel prints made on deli paper, a translucent paper good for collage. (Hot tip: today I was watching a gel printing video and the artist recommended printing on archival tissue paper. It's apparently stronger than regular tissue paper and even better for collage than deli paper. I haven't tried it yet but sounds very good!)
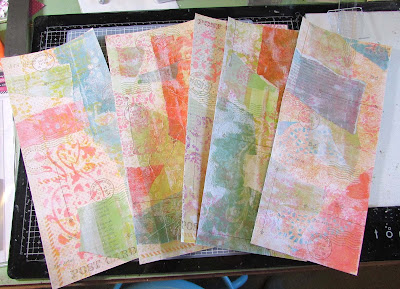
Step 3 - My plan was to create "master sheets" that I could collage, stamp, etc. and then cut into postcard backgrounds. I first used torn sections of the deli paper prints and painted book pages to collage onto strips of patterned cardstock (5.25" x 12").
I also lightly brayered some white Fresco Chalk Paint over the collaged strips to help the pieces visually blend together.
Step 4 - Next came the stamping part! I used various colors of archival ink and Eileen's new (and older) stamps to add pattern and visual texture to the collaged sheets.
Step 5 - Once I had the postcard backgrounds cut out, I added ephemera and diecut elements. After that I doodled on them with gel pens, then added final touches of embossing with Distress Glaze and stencils.
 |
| Cut out a sheet of stamps |
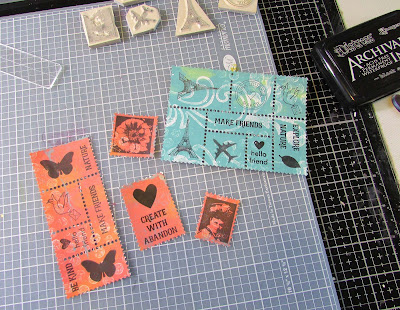 |
| Stamp your stamps! Tear at the perforations. Easy! |
Step 6 - I made the folio folder that holds the postcards following the directions that Eileen shared with us in a recent live video. Each folder is made with a single sheet of 12"x12" cardstock! It's like magic LOL. I made two folders and glued them together to hold more postcards (because I made so many, they are addictive.)
 |
Here is one folder with the pocket flaps glued but not
fully assembled. |
Thanks for stopping by! I hope you have been inspired to go get crafty. ;-) Don't miss Eileen's release live video and pay a visit to the blogs of the team to see their projects too!
Supplies used:
Snail Mail Thinlits Die Set ( Sizzix / SB )
Snail Mail Postage
Vintage Damask
Snail Mail Postage
Snail Mail, Everyday Sentiments
Snail Mail, Inspiration
Gel Press supplies:
Other:
patterned cardstock
Tim Holtz Paper Dolls, Botanical Ephemera
brayer
found objects for mark making
thick cardstock
Stablio water soluble pencil - brown, orange, green
Sakura Souffle pens
Uniball Signo white gel pen
Distress Collage Medium - matte
stencils
Distress Glaze embossing powder - Pink Flamingo, Speckled Egg, Twisted Citron, Wild Honey, Peeled Paint, Salvaged Patina
embossing ink
Distress Crayons
Some links in this post are affiliate links which do not affect the price you pay but allow me to earn a small percentage of a sale. Thanks! (My husband also thanks you!)




These postcards are awesome & the folder is just a great bonus!
ReplyDelete