Showing posts with label 4th of July. Show all posts

Wednesday, July 1, 2026

Happy Independence Day with Topflight Stamps

This week at Topflight Stamps our theme is "Stars". It's certainly the perfect opportunity to create a festive themed card for the 4th of July!


Lisa Hoel for Topflight Stamps #creativejuicefreshsqueezed #topflightstamps


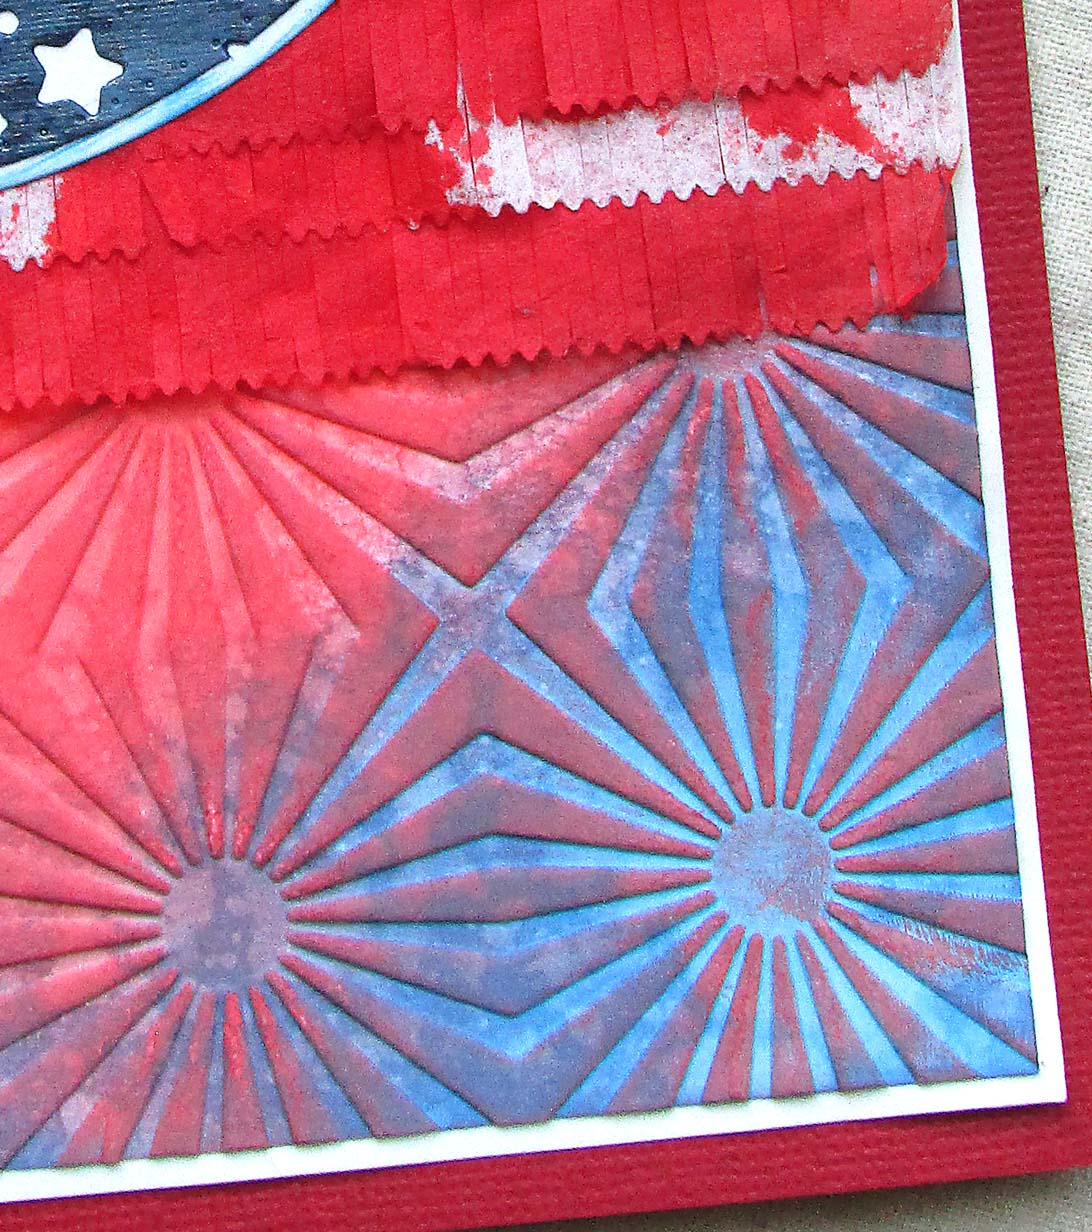
The background was created with Lindy's Stamp Gang sprays and Magical Shakers plus some Lavinia Dinkles powder. They all combined with inky goodness! Over that I applies texture paste through the Stars & Rays stencil and then sprinkled on WOW! Caramel Vanilla embossing powder. When the paste was dry, I heat embossed the powder.

Thanks for stopping by and be sure to check out the Topflight Stamps store for a wide selection of different and hard to find stamps, stencils and other paper crafting supplies from all around the world! Also keep an eye on the Topflight Stamps blog. There is new inspiration posted often!

Topflight Stamps Supplies Used:

AALL & Create stencil - Stars & Rays
Visible Image stamp set - Birthday Wishes
Visible Image stamp set - Rock Out
Visible Image stamp set - Birthday Balloons
WOW! embossing powder - Caramel Vanilla
Lindy's Starburst Sprays - Autumn Leaves (Autumn Maple Crimson)
Lindy's Magical Shaker Set - Under the Sea #2 (Yellow Tang Yellow)
Lavinia Dinkles - Chilli Jam
Texture Paste


Wednesday, May 24, 2023

Funkie Junkie Focus – Americana

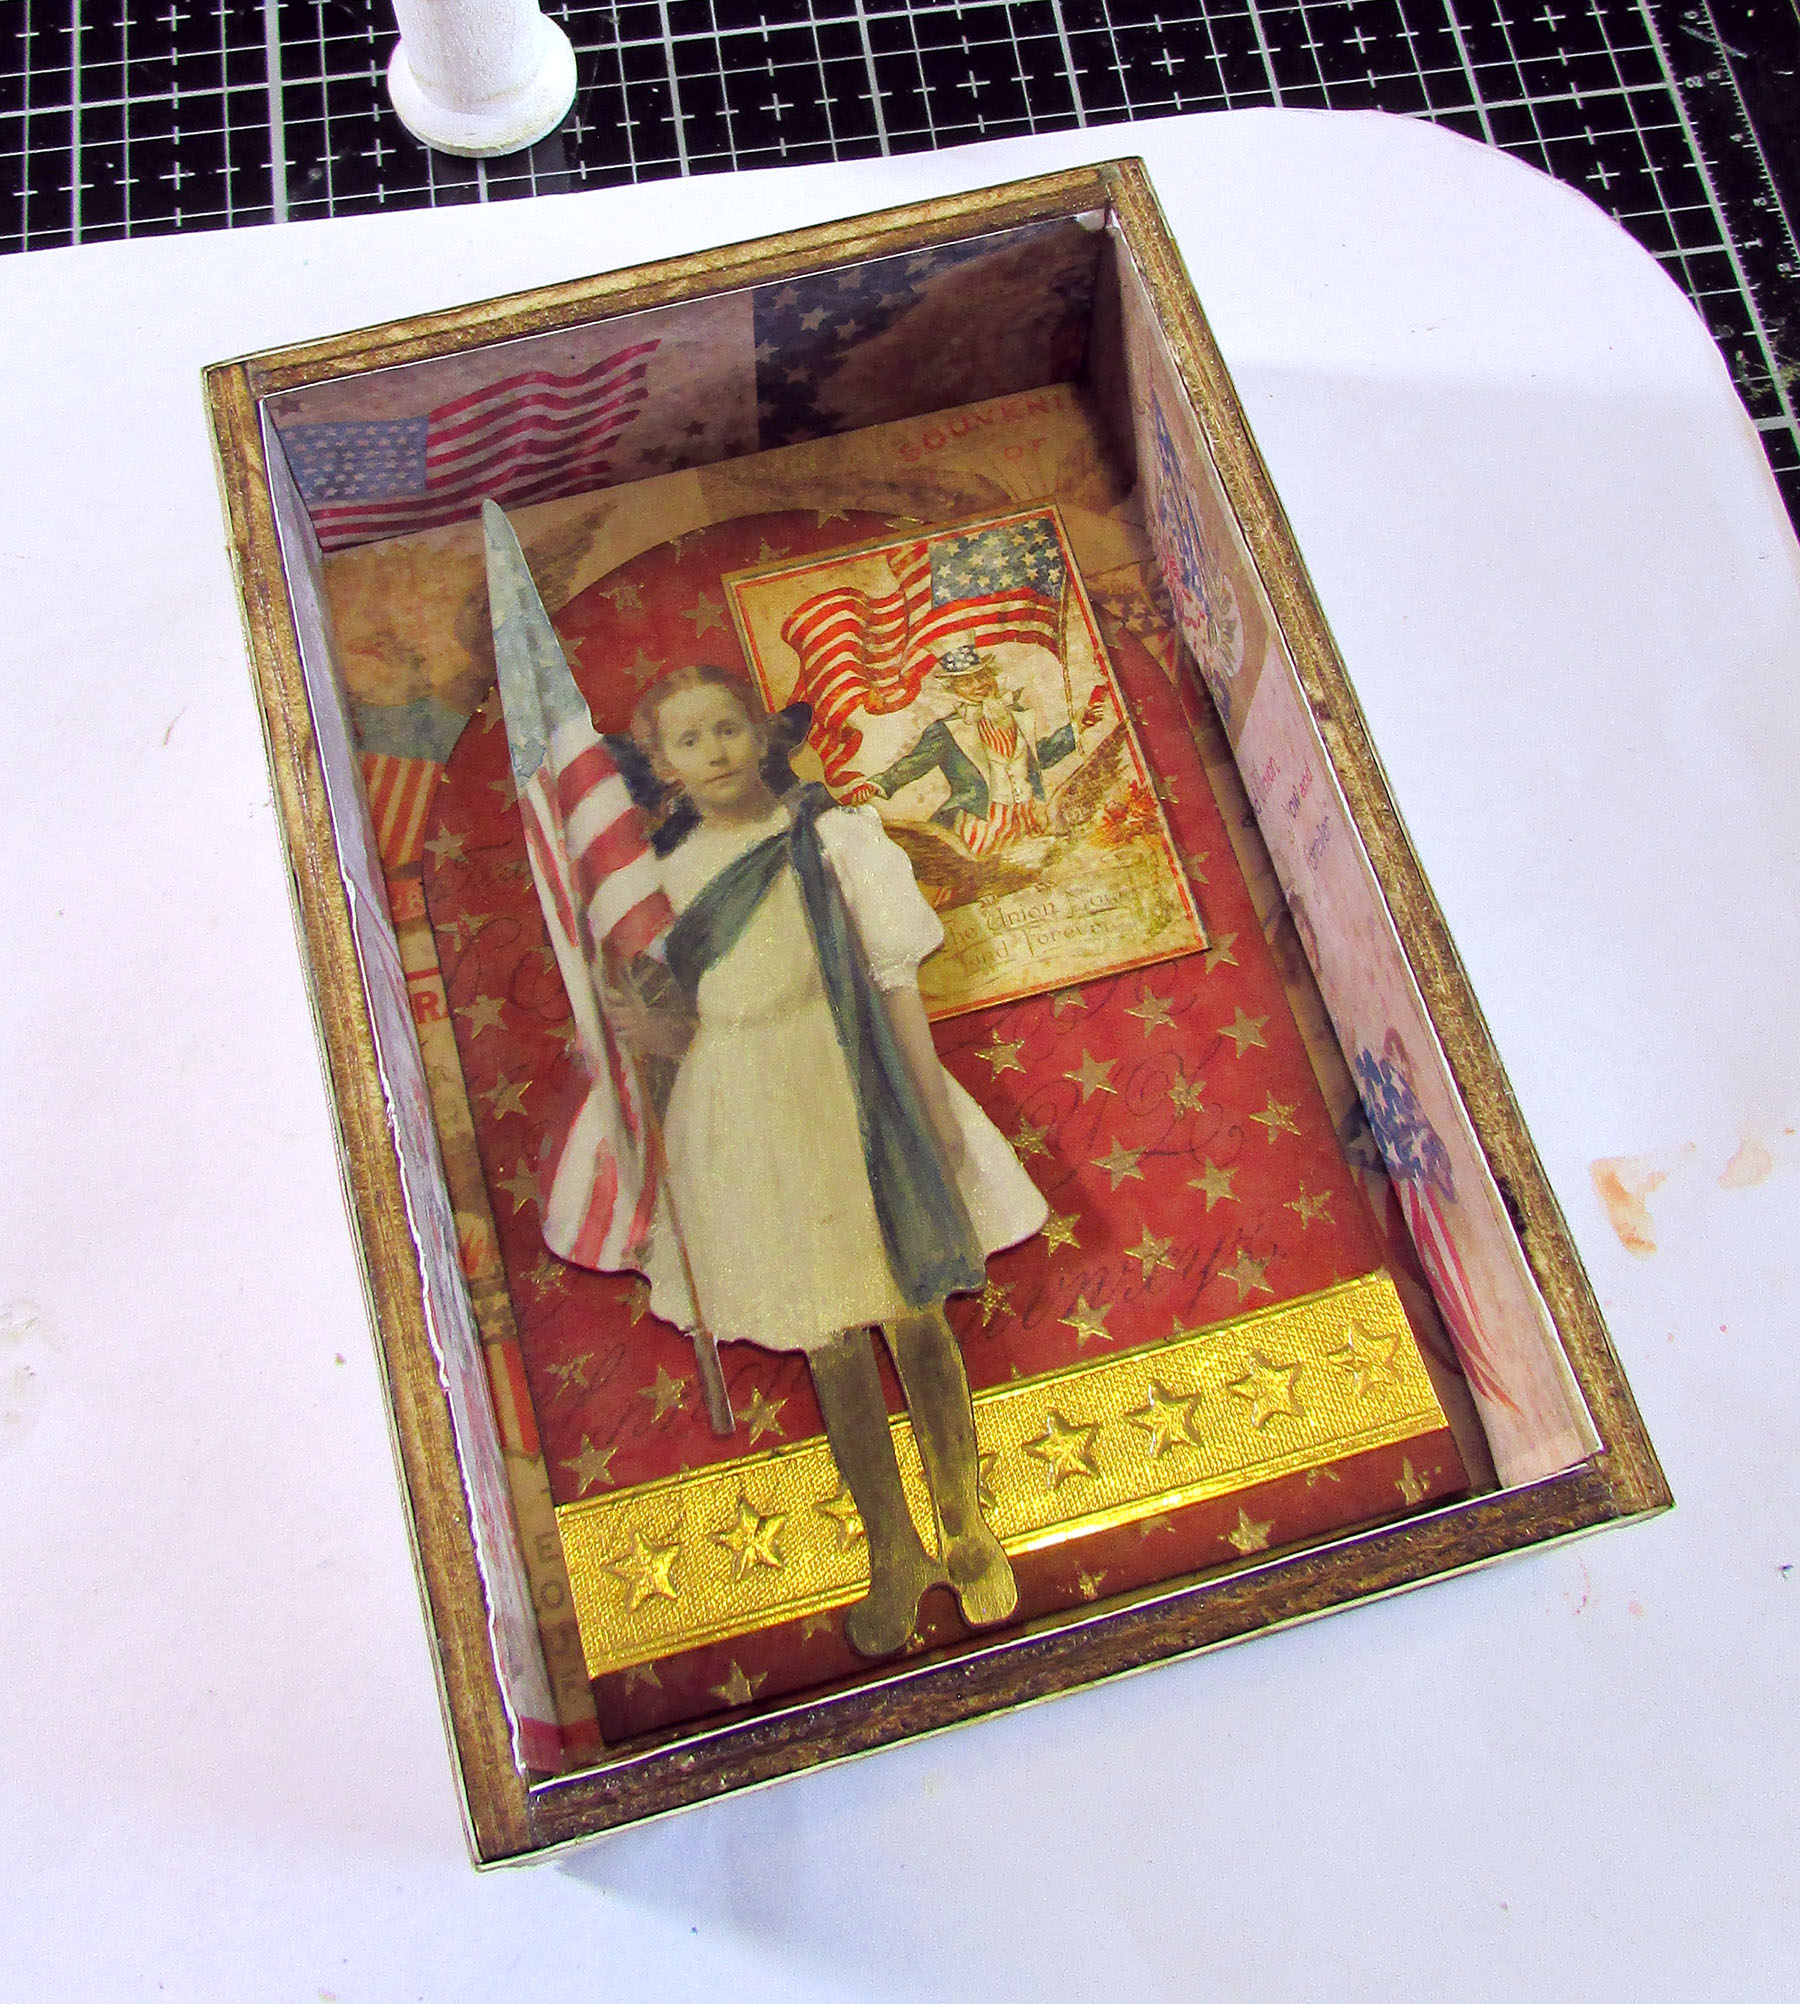
Hello there! Our current theme over at the Funkie Junkie Boutique's blog Inspiration Ave. is "Americana". I thought this was a great opportunity to raid my stash and combine old and new Tim Holtz products into a patriotic red white and blue make.
Lisa Hoel for The Funkie Junkie Boutique - Americana   #creativejuicefreshsqueezed  #mymakingstory #tim_holtz #thefunkiejunkieboutique #sizzix

The new Etcetera Facades are perfect to use with Vignette Boxes! There are a variety of sizes and styles in the pack.

Lisa Hoel for The Funkie Junkie Boutique - Americana   #creativejuicefreshsqueezed  #mymakingstory #tim_holtz #thefunkiejunkieboutique #sizzix

I love making little scenes in the Vignette Boxes!

Lisa Hoel for The Funkie Junkie Boutique - Americana   #creativejuicefreshsqueezed  #mymakingstory #tim_holtz #thefunkiejunkieboutique #sizzix

I decorated the back too!


Let's take a look at some of the how-to!

Step 1) I have a long retired 12 x 12 Paper Stash pad (Seasonal) that was perfect for lining the Vignette Box!


Step 2) Also in my collection is a Paper Stash pad called Motif that consists of white and kraft papers with resist patterns printed on them. I chose the 'star' pages and colored them with Distress Ink.


Step 3) I love all the Impresslits Embossing Folders that Tim has designed. I used the Star Trim and Medallion folders for this project. (both retired) Metallic Cardstock works really well!

I used a brown Distress Crayon to add a little grunge.

Step 4) The base is a finial and the round cut out from the Etcetera Facades pack.


Step 5) Using Distress Watercolor Pencils is now my favorite way to color Idea-ology Paper Dolls. 


Step 6) I took the cut out from the facade I used to create a panel to glue into the back of the box.


Step 7) Another fun new Idea-ology product is the set of Figure Stands. Of course the star was perfect for this project! I used Gilded Foundry Wax to color the star gold and Distress Paint on the stand part.

Thanks for stopping by. Keep an eye on the Funkie Junkie Boutique Blog, Inspiration Ave. because you are now getting regular doses of expanded (and inspiring) content each week. Don't miss it…

Supplies used:

Tim Holtz Impresslits -  Star Trim, Medallion (retired)
Tim Holtz stamp set - Typography

Tim Holtz Idea-ology: 
Kraft Stock - Metallic Colors, Metallic Classics
Paper Stash 12 x 12 - Motif, Seasonal (retired)
Grey Two-tone Woodgrain Cardstock
Vignette Boxes
Etcetera Facades
Figure Stands
Paper Dolls
Finial Set
Salvage Stickers - Seasonal
Crinkle Ribbon
Metal Adornments, Stars

Corner Filigree Metal Piece

Distress Collage Medium Matte
Distress Archival Ink - Black Soot
Distress Paint - Picket Fence, Prize Ribbon

Distress Spray Stains - Prize Ribbon, Blueprint Sketch
Distress Ink Ink Pads - Blueprint Sketch, Antique Linen, Prize Ribbon, Vintage Photo, Lumberjack Plaid, Crackling Campfire
Distress Crayon - Walnut Stain
Foundry Wax - Gilded
Distress Watercolor Pencils

Wednesday, July 7, 2021

Patriotic 4th of July Decor - the Tutorial!

Did you catch the Release Party & Blog Hop last week for Eileen Hull's brand new Sizzix dies? We had a fun time (watch the replay) and the Blog Hop was packed full of inspiring makes from the Teams! Eileen has three new dies in her Chapter 3 release:


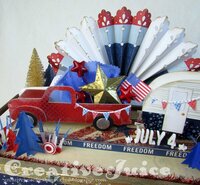
The Vintage Truck Die pairs perfectly with the 3-D Camper Die from the Chapter 2 release and I had a vision of making a patriotic decoration for Independence Day!

Lisa Hoel for Eileen Hull - Patriotic holiday decoration with Eileen's new Vintage Truck Die and Camper Die! #eileenhull #eileenhulldesigns #eileenhullsizzix #ehinspirationteam #eheducators #Sizzix #mymakingstory #diecutting

Lisa Hoel for Eileen Hull - Patriotic holiday decoration with Eileen's new Vintage Truck Die and Camper Die! #eileenhull #eileenhulldesigns #eileenhullsizzix #ehinspirationteam #eheducators #Sizzix #mymakingstory #diecutting

Hope you are sitting comfortably, this is a long tutorial post! 

A closer look…

Lisa Hoel for Eileen Hull - Patriotic holiday decoration with Eileen's new Vintage Truck Die and Camper Die! #eileenhull #eileenhulldesigns #eileenhullsizzix #ehinspirationteam #eheducators #Sizzix #mymakingstory #diecutting

Lisa Hoel for Eileen Hull - Patriotic holiday decoration with Eileen's new Vintage Truck Die and Camper Die! #eileenhull #eileenhulldesigns #eileenhullsizzix #ehinspirationteam #eheducators #Sizzix #mymakingstory #diecutting

Let's see how it all came together!

Step 1 - Truck Parts: I covered the matboard with Rinea Foil Paper before I cut out the parts. If you are covering your board with paper, don't forget to think about which side will be up and the way it should face as you cut your parts!


Step 2 - Truck Assembly: Before I glued the parts together, I used the Rinea Ghost Ink Reinker ink to remove some of the color from the foil paper to distress it. Their Ghost Ink Pad and Reinker ink react with the color on their foil paper and you can get some very interesting effects using it. I squeezed a drop of the ink onto my craft mat and then used a makeup sponge to gently dap some ink onto the edges of the truck parts. You just wait 10 - 20 seconds and then wipe the color away, exposing the silver base foil. Easy!


Step 3 - Truck hood: After I put together the truck, I decided I really wanted to add a hood. This is what I came up with and hand cut/scored.


Step 4 - Filling the back of the truck: I used crumpled blue tissue paper and stars to fill the back of the truck. I covered the 3-D star with Eileen's Golden Rod Molten Dimensions Embossing Powder (love how it looks!)


Step 5 - Camper Trailer Parts:

I forgot to cut out a 2nd base side flap so the photo
only shows one. You need 2!

Step 6 - Ghost Stamping: I used the Rinea Ghost Ink Pad to lift the blue off of the trailer side panels. I used a stamping platform because it took 2 or 3 "stampings" to remove all the blue. (Wipe off your stamp each time!)


Parts ready to assemble! There is that 2nd base side flap.

Step 7 - Gluing the trailer together: I like to use a quick grab wet glue for assembling so I have a bit of play time to get parts aligned correctly before it sticks. Strong dry tape works well too though. Glue guns can work but it is easy to get bulky hot glue in the seams and they don't lay flat.


Step 8 - Working on the base: I cut out trees (on the Truck Die) from red and blue cardstock for my scene. I also added some red and blue Stickles for some extra bling.


I found the wooden box at a garage sale and grabbed it for its potential. ;-) Good find I say! I made an insert of foam core and covered it with patterned paper.


The back is half of the largest Party Fans cut and glued to a piece of matboard.


As a final touch, I used the Tapered Fringe Strip Die to cut some 'grass' to tuck around my paper trees. I also used some buttons and bottle brush trees from my stash to add some more details.

Thanks for stopping by! Be sure to keep an eye on Eileen's blog for more new die inspiration from the Educator and Inspiration Teams.

Supplies used:

Dies:
Eileen Hull Sizzix 
Vintage Truck Box  ( Sizzix / SB )
3-D Camper Box  ( Sizzix / SB )
Wreath & Snowflake Set (for Star)  ( Sizzix / SB )
Banners & Pennants - retired


Other Sizzix
Sizzix 3-D Impresslits Embossing Folder - Star Trim #663297 - retired


Other:
Carabelle Stamp - Background Stars
Stamperia Stamp - Stripes
Stickles
embossing ink
Eileen Hull Molten Dimensions Embossing Powder - Golden Rod, Polished Silver
Tim Holtz Idea-ology Typography
Tim Holtz Idea-ology Adornments Stars
cardstock


Some links in this post are affiliate links which do not affect the price you pay but allow me to earn a small percentage of a sale. Thanks! (My husband also thanks you!) 

Wednesday, June 30, 2021

Blog Hop Release Party - Eileen Hull's Ch. 3 Sizzix Dies!


Celebrate every day with these versatile Chapter 3 Sizzix dies! Although themed as a holiday collection, just think of how many ways you can decorate these dies to celebrate every season of the year, simply by changing out the paper and colors!

The Truck and Camper pair are a match made in heaven. Set it on the mantel, (paired with the Camper Die!), hang on the tree, fill with treats or create your holiday cards with them. The Ornament Box may be used several ways – use the circle shapes separately as ornaments or build up the sides and add treats, snacks and gifts. Decorate the box with elements from the Thinlits Wreath & Snowflake dies or use those elements in your journals, tags, pages and pockets! You will want them all!


Make sure to head over to the blogs to see all of the fabulous samples created by the team. I know you will be as inspired as I am! I had a lot of fun creating with these new dies. My main project is a 4th of July decoration made using the new Vintage Truck and the Camper Dies.

Tutorial next week!

I also created two Christmas projects using the Ornament Box and the Wreath & Snowflake Dies:


There is a GIVEAWAY too! Leave a comment on each of the designers' blog posts and you will be entered to win one of the new dies! An additional die will be given to someone who attends and comments in the Release Party Facebook Live.

But wait, there's more! Join us for the Chapter 3 Release Party, where team members from around the world will share their projects! The Release Party will be on Facebook Live on Thursday, July 1 at 12:00 Eastern time. You will find the video on @Eileen Hull Designs Facebook Page. Thanks for joining us!

NOW IT'S TIME TO GET HOPPING! Follow along the list of links below for an eyeful of inspiration and a chance to win one of the new dies.


Thanks for stopping by!!


Monday, July 10, 2017

A Jillian Vance Design Sneak Peek…

Check out the whole thing over at the AJVD blog! I have a fun and festive new card posted and I used some of the new Distress Oxide Inks – love those things!!

mmmm, Oxides…


Have a great week and stay cool! ;-)

Thursday, July 3, 2014

Artist Trading Block & Celebrating Independence Day!

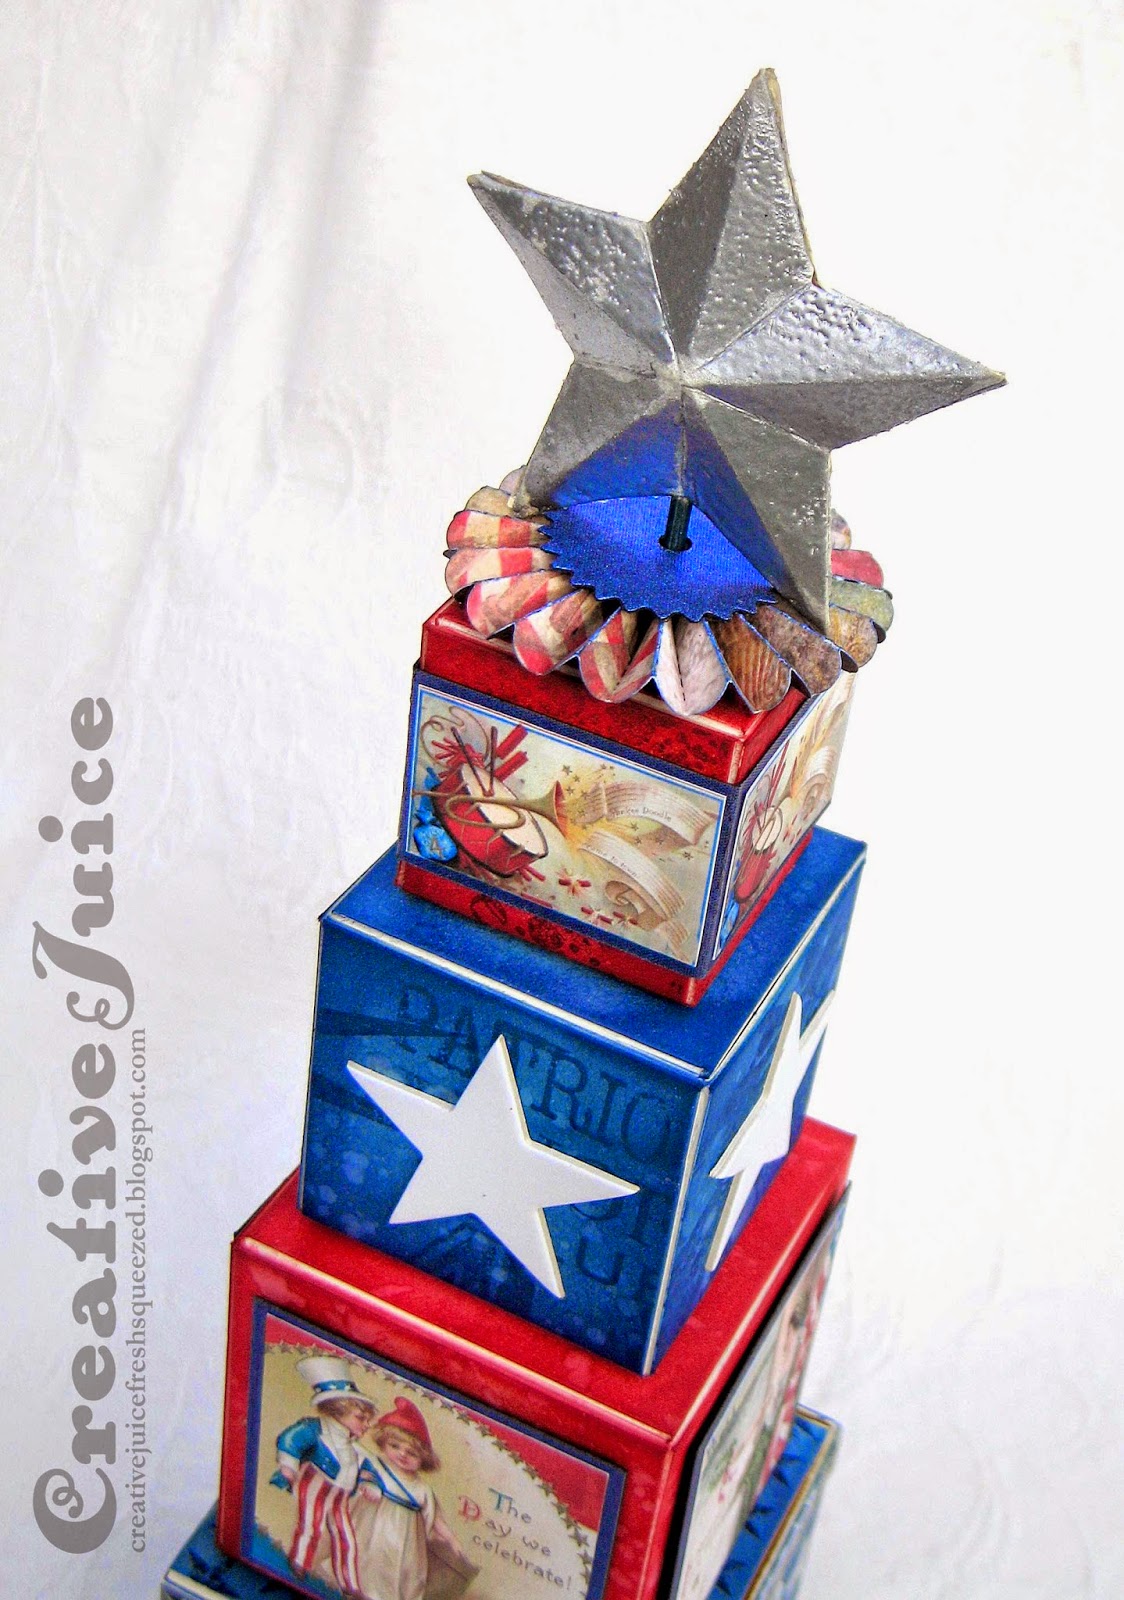
Hello friends! I got a crafty idea in my head and I was able to make it a reality before the holiday it is meant to celebrate. Yes, I finished a 4th of July decoration before the 4th of July! Behold the ATB tower of Americana goodness (in multiple angles lol):


turning…

more turning…


keep turning…

Whew, there is a lot to see here. Now for two detail photos and then I can give you some info on how I put this all together.


First of all, I got all the fabulous vintage graphics from The Graphics Fairy. This is a wonderful resource for quality free graphics. You can download them and then use them in projects. It's fun to see all the different things people do with them.

Of course the structure is made with blocks cut with Eileen Hull's scoreboards dies Block and Blocks (set of 3) dies from Sizzix. I used the smallest Oval Movers & Shapers die to cut the windows in the bottom block. Distress inks let me build up some beautiful color on the surfaces, I flicked them with water to create a cool mottled effect too. The very bottom block uses clear embossing powder as a resist. Before inking the block panels, I stamped them with the Americana word stamp and embossed with clear powder. Then I went over it with blending foam and the blue inks; it makes it look enameled. I like how the blue gets in the nooks and crannies of the melted embossing powder.

The top is made with a rosette and the smallest star from the Star Bright die. I painted it silver first and then did a layer of silver embossing powder over the top of that. If you flick the back of your cardstock after you sprinkle the powder on but before you melt it, you will knock some off which ends up giving you a cool orange peel texture when you heat it. I like the rough flaky look of it.

This month Eileen's Art with Heart Challenge is Red, White & Beautiful. Link up your own project there to have a chance at winning a great prize pack. Also check out The Artists On the Block for some fabulous ATB eye candy. There is inspiration galore to be found!

Most of the supplies I used for this project can be found at Inspiration Emporium. Follow the links below and use my code JUICE to save 10% if you go shopping. I will also point out that US shipping is always $5 and international shipping is just $10! ;-)