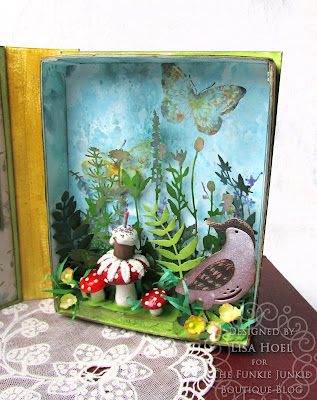
Hello there, our new challenge at the Funkie Junkie Boutique Blog is live and you won't want to miss out! Our hostess is Laura Gilhuly and the theme is Celebrate Friendship.

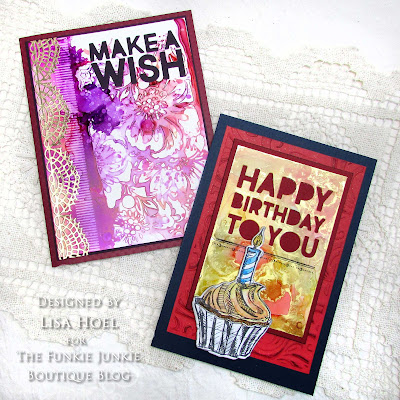
I created a birthday card for a good friend of ours. We have known him for decades so he is indeed an "old friend" ha ha. Scroll on to take a peek at some of my design process...
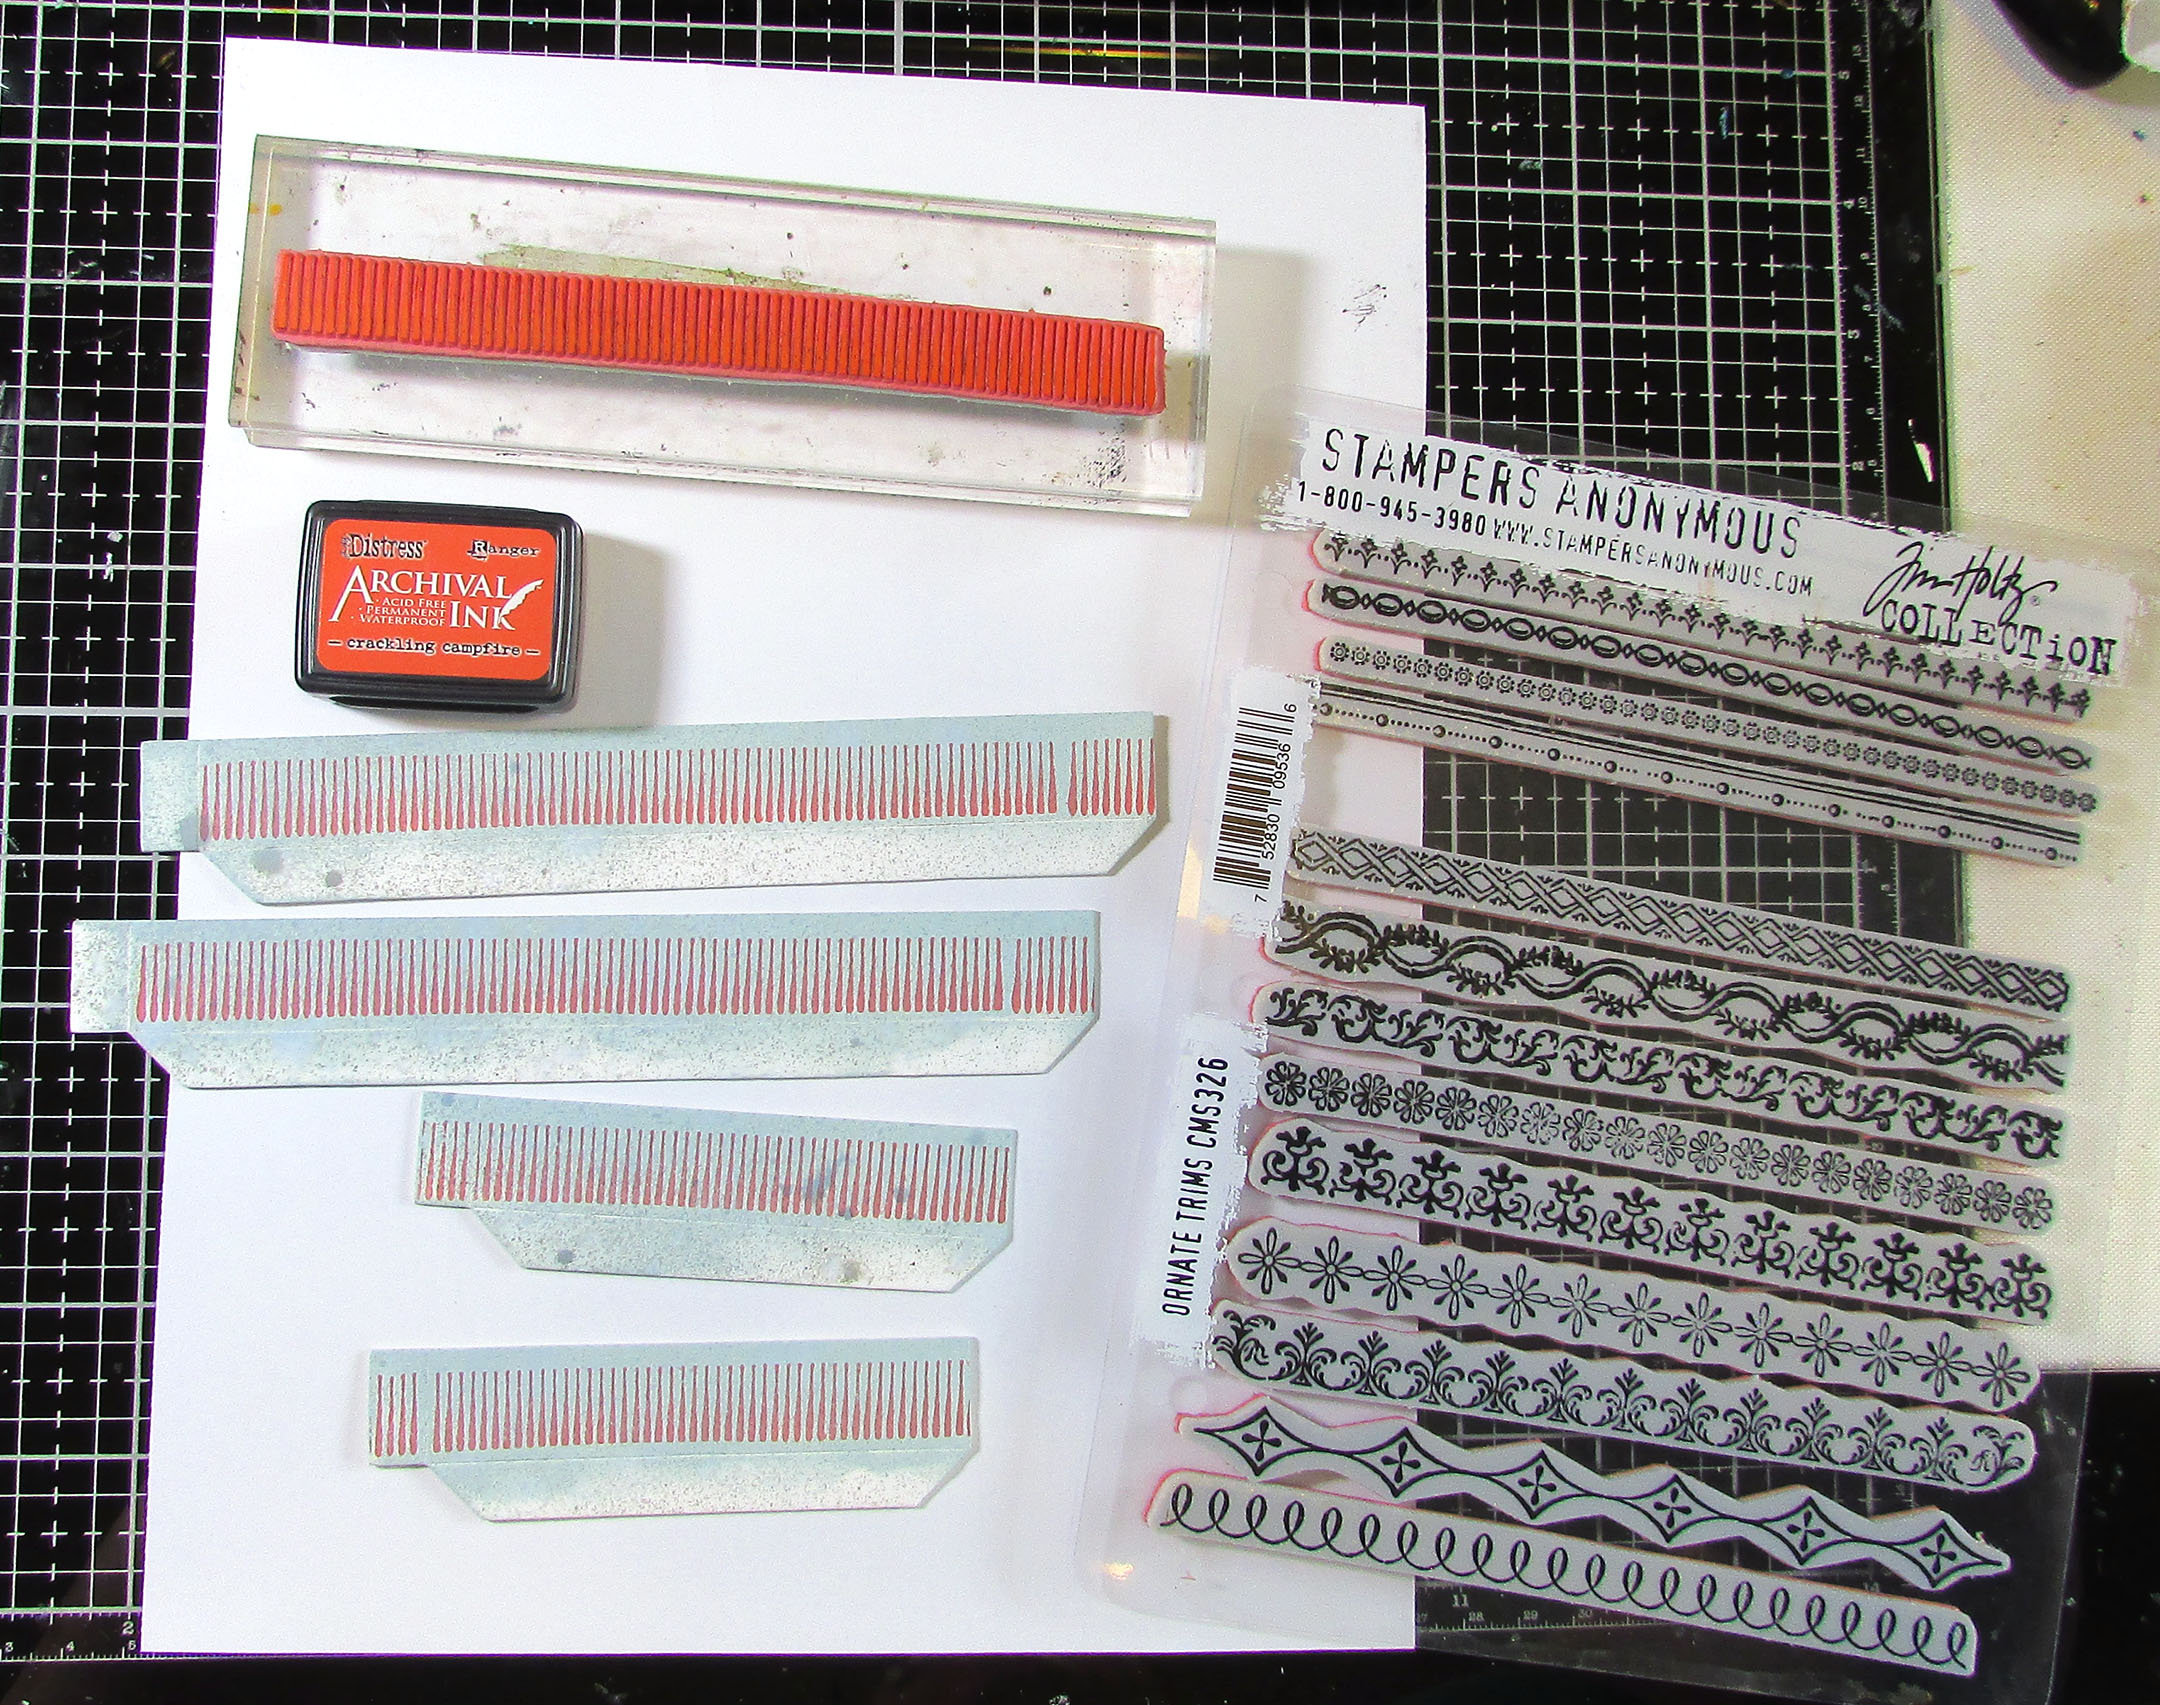
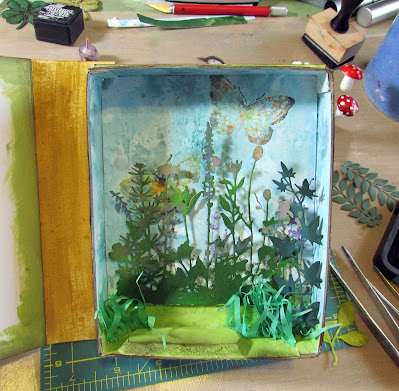
Step 1 - I had some fun creating backgrounds for the various layers. The star layer (which showed through the star cutouts) was Iron Gate Halloween Mica Stain sprayed onto white cardstock. The night sky was an inky combo of Uncharted Mariner Distress Spray (regular and oxide) with a dash of Oxide Villainous Potion spray spritzed in.

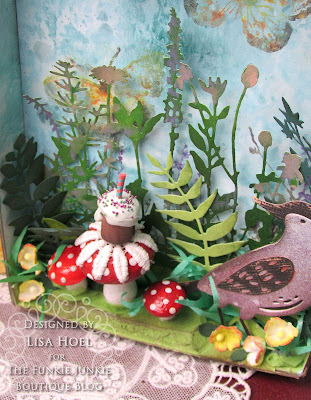
Step 2 - I wanted to experiment with using the new Distress Watercolor Pencils for coloring the layers of a Sizzix Colorize Die. I really like the new pencils. I used them to layer on the color and then blended them out with water and a paintbrush. I will definitely be playing more with these great new pencils!


I gave the combined yellow layers a very light mist of Harvest Moon Mica Stain to give it a little glimmer.

Perfect! I'll definitely be using this technique on other layered dies like Otis.

Thanks for stopping by! I hope you check out the fun challenges we have on the Funkie Junkie Boutique Blog. They are always good for sparking your creativity! You have two weeks to join the current challenge so I hope you give it a go.
Supplies used:
Tim Holtz die set - Colorize Otis
Tim Holtz die set - Tree Line
Tim Holtz die set - Swirling Stars
Tim Holtz die set - Alphanumeric Label #664177 retired
Halloween Distress Mica Stain - Iron Gate, Harvest Moon
Distress Oxide Spray Stains - Uncharted Mariner, Villainous Potion
Distress Spray Stains - Uncharted Mariner
Ranger Archival Inks - Black Soot