Let's take a look at how this came together:
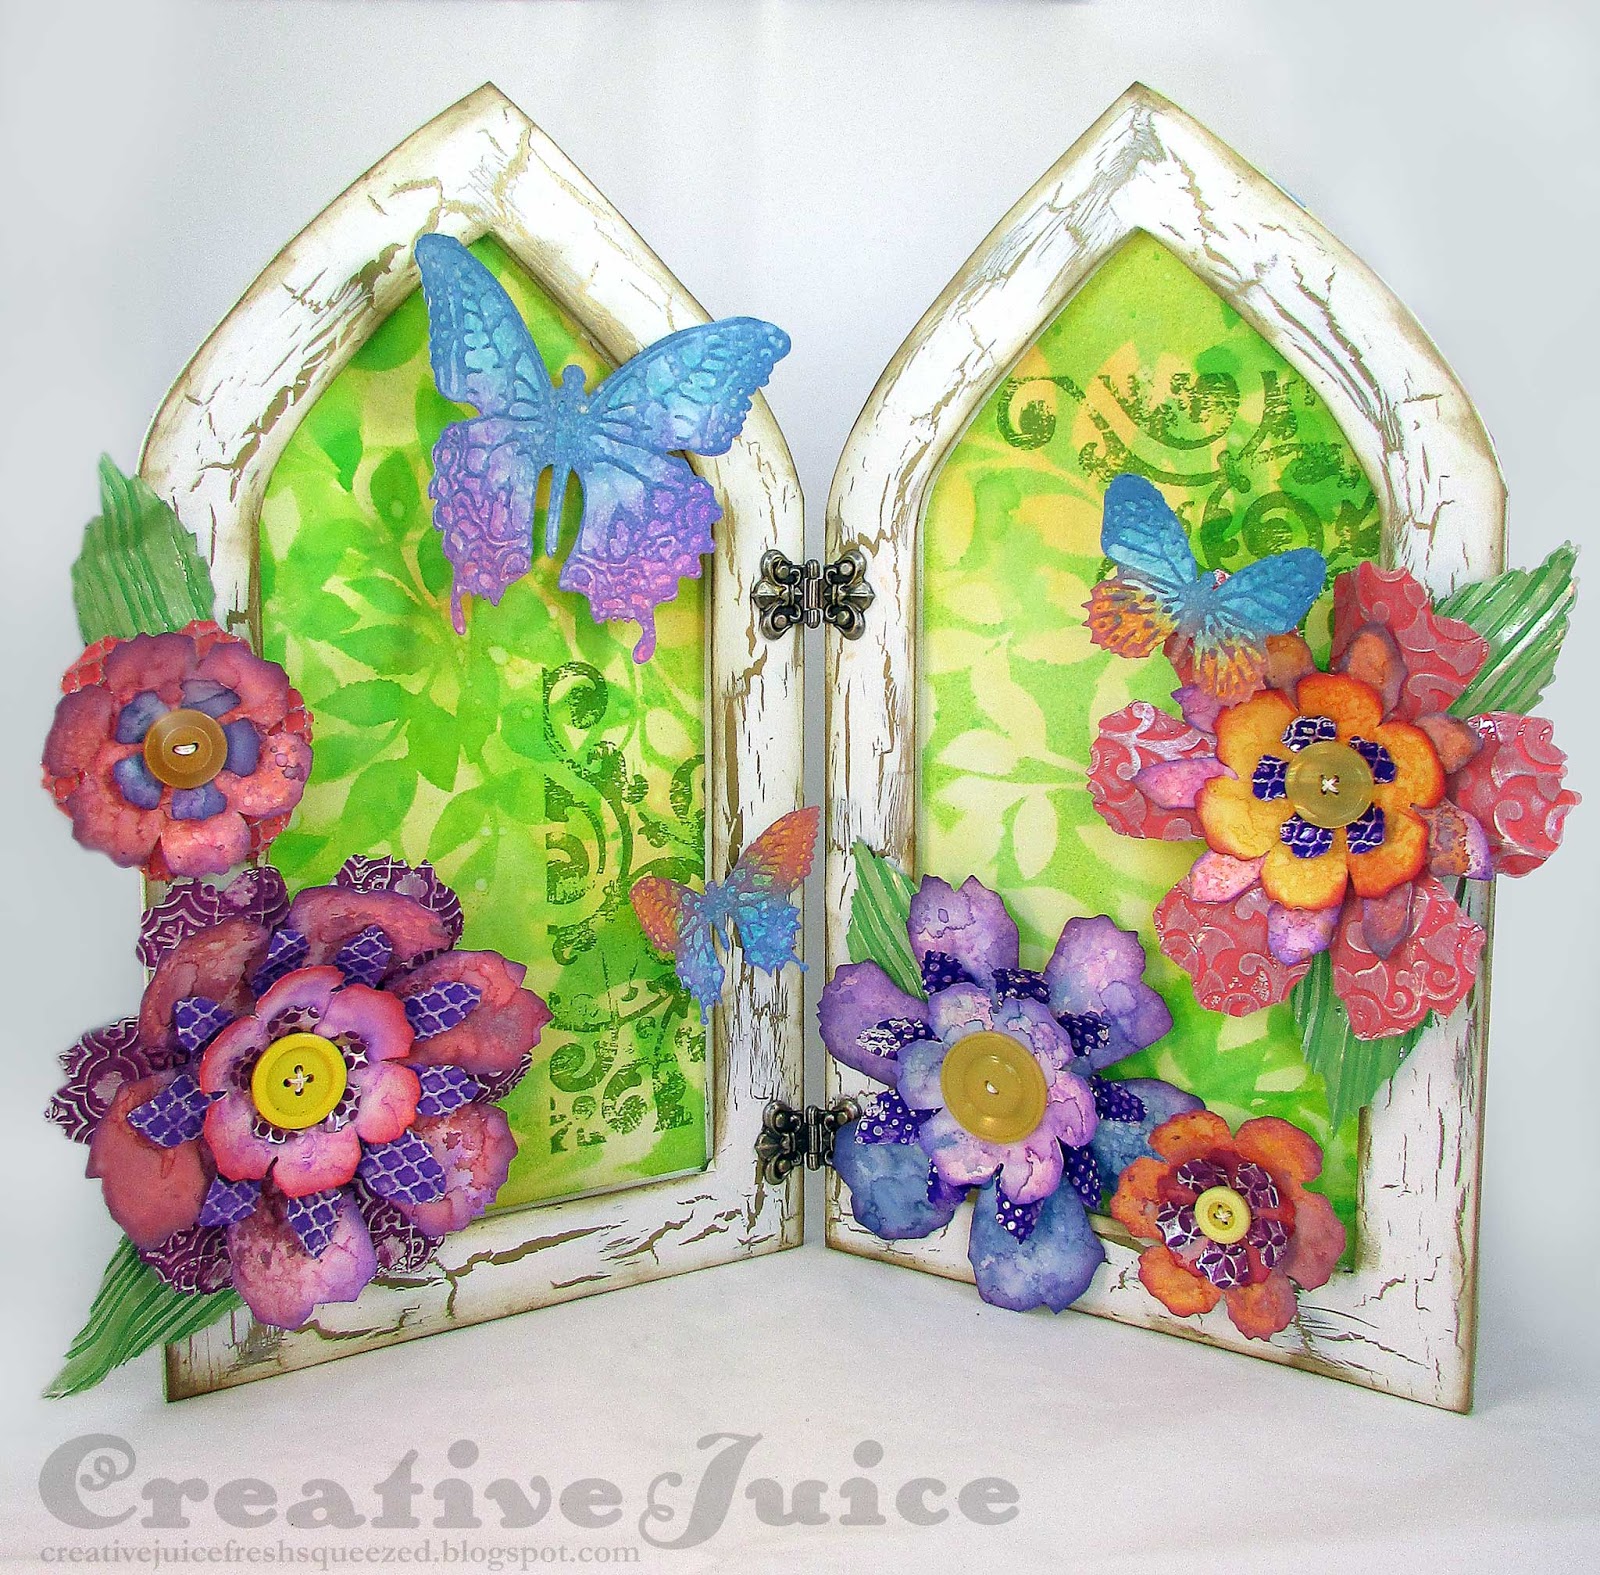
Step 1 – I used Distress Spray Stains and a leaf stencil to create the background in the arches.

First I misted the heavy mixed media paper (Strathmore brand) with Squeezed Lemonade and Wild Honey, adding misted water to help it blend. After it was dry, I laid down the leaf stencil and misted with Twisted Citron. After removing the stencil and lightly drying the paper with my heat gun, I flipped the inky stencil over and used it to make a monoprint on top. I couldn't let all that stain on the stencil go to waste! ;-) Additional splattering with water added more texture.
Step 2 – I drafted out the arches in a graphics program and printed a template to use as my cutting pattern. Using a sharp craft knife, I cut them out of foam core board and base coated them with gold acrylic paint.

To achieve the mega crackle effect, brush a generous layer of cheap PVC glue (like white school glue, don't use your good stuff!) onto the surface. Let it dry slightly (I only waited a few minutes) and then brush a layer of paint right over the glue. I used a generous amount of glue on my brush and lightly applied it over the glue layer. Don't overwork it. It should start to crack almost immediately. Just leave it alone and let it do its thing.
Step 3 – Blending the Butterflies! I got my hands on the new Distress Oxide Inks and boy are they fun to play with! For the butterflies, I used the blending sponges to apply the ink to the die cut butterflies. (Sizzix Layered Butterfly and Butterfly Duo)

After spritzing them with water to make the ink react, I embossed them in the matching embossing folders and did additional inking with the blending sponges to bring out the embossed designs.
Step 4 – Flowers and more Oxide Ink fun!

To create the swatches I cut the flower parts from, I smooshed the pads onto my craft mat, misted with water and then dragged my paper through the ink. (Tim Holtz did lots of CHA videos explaining the inks.) I misted and sprinkled with water, added more layers of ink and had a blast.

Once I had several inked papers, I used the Jumbo Tattered Florals die to cut them up. I also cut layers out of metal sheets, embossed them, and painted them with Distress Paint. I bent and curled the layers before assembling to give the flowers more volume.

I used a hot glue gun to attach the blooms and butterflies to the arches.

I'm looking forward to seeing real flowers outside! We'll see how quickly that comes to pass. I think I'll be waiting a month or so. In the meantime, be sure to check out the Welcome Spring! challenge at the Frilly & Funkie blog to catch an eyeful. I hope you'll join in the challenge too. =)
The supplies I used for this project can be found at Sizzix or Simon Says Stamp. Follow the links below and a shopping you may go!