Hello Eileen Hull fans! Did you catch the Chapter 4 Release party and blog hop last week? If so, then you know that Eileen's latest release is awesome! Here's what she had to say about it:
"The Chapter 4 Sizzix Release is exciting for so many reasons – there are two never-done-before designs! One is the Full Size Journal which is a Bigz Pro size – you will need a machine with at least a 9" throat to cut this die- like a Big Shot Plus or Pro. Not to worry, if you don't have that machine, Eileen will have the pre-cut pieces available in her Etsy store for you to work with. The other new technology is a 3-D Embossing Folder! It's called Sweater and is oh so cozy. Also new this release is a Bigz Notepad Die with lots of options for materials and uses, and a Heart Mandala Thinlits Die to decorate with! "
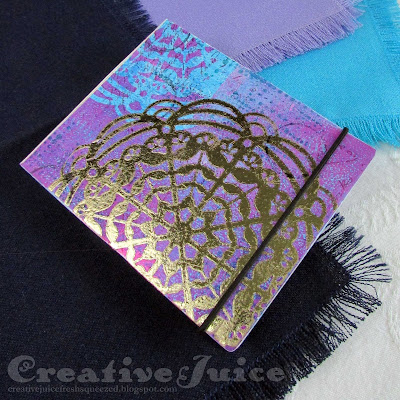
Today I'm sharing the tutorial for the monoprinted Post-it pad holder I made using the Notepad and Heart Mandala Dies.
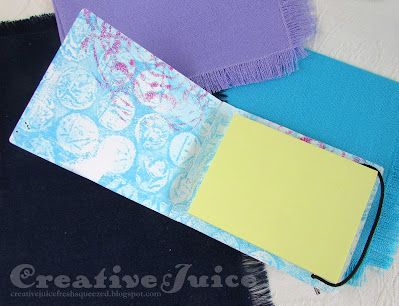
Open it up and you will find a Post-it pad!
More foiling on the back:
Let's see how it all came together!Step 1 - after cutting out the cover pieces using Sizzix mat board, I printed directly onto the surfaces using my Gel Press plate. If you haven't played with monoprinting on gel plates you are missing out on a ton of fun! (Go fall into the rabbit hole of the Gel Press YouTube channel, you won't be sorry! If you are totally unfamiliar, here is a basics video.)
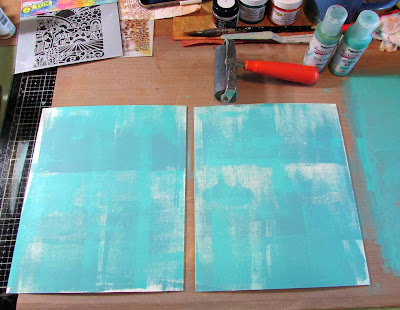
I brayered blue paint onto my gel plate and pressed a piece of bubble wrap into the paint to leave a texture. Next I pressed my cover pieces onto the plate to transfer the paint. (I did this to both sides.)
Step 2 - Creating layers in gel plate printing is the fun part! I added another color layer over the blue. I brayered pink paint onto the plate and positioned a mask cut from deli paper using the Heart Mandala Die. (Dies are so versatile!) The mask prevents the paint underneath from transferring onto your print (thus revealing the underlying layer already on your print).
At this stage, when the paint was dry on the covers, I also added more visual texture by stamping on them with archival inks.Step 3 - Adding the foiling: Here's another trick to extend the use of your dies! I cut a Heart Mandala shape out of a double sided adhesive sheet. After peeling off the backing paper on one side, I stuck it onto the front cover and then carefully trimmed off the overhanging bits to use on the back cover.
 |
| The supplies! |
I made sure to burnish the shapes down well so the adhesive would be firmly stuck to the covers.
After peeling off the second backing sheet, all I had to do was lay the Sizzix Effectz Foil sheet (shiny side up) over the sticky part, burnish, then peel off. Easy! I repeated for the back cover. What a great way to add bling to a project.Step 4 - Since I wanted the notepad cover to be the height of a Post-it pad, I trimmed off the last two sections of the Notepad spine to make it thinner.
Step 5 - Finishing inside: the 5" long Post-it pad is too long to fit into the cover so I trimmed it and then glued it onto the back cover.
Step 6 - For a closure, I punched two holes into the back cover and then slid the ends of these elastic straps through.
Thanks for stopping by! Be sure to keep an eye on Eileen's blog for more inspiration from the Educator and Inspiration Teams.
Supplies used:
Other:
brayer
Tim Holtz Stamp Sets - Ledger Script, Grunged
Tim Holtz Idea-ology: Elastic Bands
lots of different acrylic paints from my stash
Archival (permanent) inks
Some links in this post are affiliate links which do not affect the price you pay but allow me to earn a small percentage of a sale. Thanks! (My husband also thanks you!)

