Sunday, May 30, 2021

Steampunk Card for Topflight Stamps

Hello and happy Monday to you! This week on the Topflight Stamps blog we are taking a closer look at the AALL & Create brand. (One of my favorite brands, so many cool stamps and stencils!) I went steampunk and created a fun mixed media card.

Lisa Hoel for Topflight Stamps - this week our brand focus is AALL & Create! Check out my fun steampunk card. #creativejuicefreshsqueezed #topflightstamps

The background started out as a Gel Press print and I added stamping, embossing and stencil mono-printing over it. It's a pretty busy background so I stamped my focal image onto an oval die cut and mounted it on a Wobble spring to pop it off the background and provide a fun interactive element. (I love the Dashing Crow stamp!)

Lisa Hoel for Topflight Stamps - this week our brand focus is AALL & Create! Check out my fun steampunk card. #creativejuicefreshsqueezed #topflightstamps

I stamped and fussy cut the lightbulbs. I also used Hunkydory foam squares to make them stand off of the background as well.

There is a Memorial Day Sale going on over in the store through Monday at Midnight EST! Check it out! ;-)


Thanks for stopping by and be sure to check out all the wonderful products from around the world you can find all in one place, Topflight Stamps.

Supplies used:

Topflight Stamps Products:

AALL & Create Stamps - #445 Dashing Crow, #116 Steampunk Border, #434 Newsprint Numbers, #387 Steampunk Alchemist
AALL & Create stencil - #111 Digits Geared
AALL & Create washi - #16 Burlap Black

PaperArtsy Fresco Finish Chalk Paint Chalk
Versafine Black Pigment Ink
Gel Press Plate
Prism Ink - Thundercloud
WOW Embossing Pad
Boho Blends embossing powder - Antique Yellow
Hunkydory foam squares
Wobble springs

Other:
cardstock
Tim Holtz Hex Fasteners
Tim Holtz Small Talk stickers, Snarky

Some links in this post are affiliate links which do not affect the price you pay but allow me to earn a small percentage of a sale. Thanks! (My husband also thanks you!) If you shop at Topflight Stamps, use my coupon code LISAHOEL for 12% off your order.

Wednesday, May 26, 2021

Part 2 of the "Unconventional Materials" Project – Submarine Tunnel Book!

This month Eileen Hull's May project theme is "Unconventional Materials". Her design Teams have been hard at work and stretching their creativity by using 'not so normal' supplies and her Sizzix dies to create some really cool makes! Check out her blog if you've missed any posts this month. Last week I shared Part 1 of my Submarine Tunnel Book. You only got to see the cover but now you can see the coral reef tunnel book I created inside!

Lisa Hoel for Eileen Hull - Submarine Tunnel Book made with Eileen's Sizzix Folio Album Die and lots of #TimHoltz goodies    #eileenhull #eileenhulldesigns #eileenhullsizzix #ehinspirationteam #eheducators #Sizzix #mymakingstory #diecutting
the 'porthole' cover

Open it up and what do you see?

Lisa Hoel for Eileen Hull - Submarine Tunnel Book made with Eileen's Sizzix Folio Album Die and lots of #TimHoltz goodies    #eileenhull #eileenhulldesigns #eileenhullsizzix #ehinspirationteam #eheducators #Sizzix #mymakingstory #diecutting
An explosion of tropical color!

Some of the unconventional materials used are Tyvek mailing envelopes, paint chips and candy wrappers!
Lisa Hoel for Eileen Hull - Submarine Tunnel Book made with Eileen's Sizzix Folio Album Die and lots of #TimHoltz goodies    #eileenhull #eileenhulldesigns #eileenhullsizzix #ehinspirationteam #eheducators #Sizzix #mymakingstory #diecutting

I think this just might be an octopus's garden!

Lisa Hoel for Eileen Hull - Submarine Tunnel Book made with Eileen's Sizzix Folio Album Die and lots of #TimHoltz goodies    #eileenhull #eileenhulldesigns #eileenhullsizzix #ehinspirationteam #eheducators #Sizzix #mymakingstory #diecutting

Back on the outside, here are a few details of the cover:

Lisa Hoel for Eileen Hull - Submarine Tunnel Book made with Eileen's Sizzix Folio Album Die and lots of #TimHoltz goodies    #eileenhull #eileenhulldesigns #eileenhullsizzix #ehinspirationteam #eheducators #Sizzix #mymakingstory #diecutting
Porthole is a Sizzix Shaker Dome!

Lisa Hoel for Eileen Hull - Submarine Tunnel Book made with Eileen's Sizzix Folio Album Die and lots of #TimHoltz goodies    #eileenhull #eileenhulldesigns #eileenhullsizzix #ehinspirationteam #eheducators #Sizzix #mymakingstory #diecutting
Detail of the closure (see Part 1 for the how-to)

The tunnel "frame" is created using Eileen's Bookbinding Die (tutorial below):

Lisa Hoel for Eileen Hull - Submarine Tunnel Book made with Eileen's Sizzix Folio Album Die and lots of #TimHoltz goodies    #eileenhull #eileenhulldesigns #eileenhullsizzix #ehinspirationteam #eheducators #Sizzix #mymakingstory #diecutting

Let's see how it came together! Visit my Part 1 blog post for the cover tutorial. This tutorial is about the inside construction.

Step 1 – Playing with Tyvek. Tyvek is a synthetic nonwoven material that is durable and tear resistant. It's used in applications such as shipping supplies, housewrap, and worksuits. However, it is not heat stable which is a property we can exploit for art! I found this video from Sandra Duran Wilson very helpful in explaining what you can do with it. I used mailing envelopes as my Tyvek source.


I used various acrylic paints to color the cut up envelopes. If your paint is too thick it will inhibit the bubbling when heat is applied so I kept my layers thin.


You can use a heat gun or an iron to apply heat to the Tyvek to make it bubble. It tends to curl and move around more with the heat gun so I stuck with my iron because I wanted flatter pieces I could put inside my book.


Watch the video for more detailed directions, but basically you need to sandwich the painted Tyvek between two press sheets (baking parchment or silicon craft mats) and then hover the hot iron over the top. You don't place the iron directly onto the Tyvek or press sheet covering it. It bubbles unpredictably which is part of the fun!

I cut and glued sections onto the insides of the front
and back covers of the book.

Step 2 – Brackets for Tunnel Pages. I cut four of the bookbinding folding spine units, two for each side. I folded them up and glued them together (see below).


'How to fold' detail

To make them easier to handle, I mounted each of the two spine units to a piece of cardstock cut to 3" x 4.75".


Then I glued the units into my cover:


Step 3 – I made a bunch of "reef parts" to have at the ready as I began assembly. I used cardstock and some more unusual materials (as per our May theme!)

Paint chips!

I think the Funky Cactus Die Set is great for 'coral'!

Candy wrappers!

I started by decorating the inside cover with die cuts, more of the Tyvek "bubbles" and "pirate treasure" from my bits and bobs stash.


Step 4 – Making the Tunnel pages. First I cut four pages to create my tunnel. The page die from the Folio Page, Pocket & Flowers Die Set made it really easy! I cut the centers out with the smallest opening for the back page and then gradating out in size to the front.


I checked the fit and made sure I liked the spacing and size of my tunnel openings.

Looks good!

I had some tiny clothespins which were handy for temporarily clipping the pages into place.


Step 5 – Assembly! I worked from back to front, gluing and stamping as I went.


To glue the pages in, I used a quick grab wet glue and applied a thin line to the back of the side edges of the tunnel page. My little clothespins were useful in holding the page in place while the glue dried. (Didn't take long).


Next layer!


Last layer and the little side pieces to cover the front set of spine tabs.


Well, that was a long post again! Congrats, you made it through. ;-)

Thanks for stopping by and next week will be a new month with a new theme! Be sure to keep an eye on Eileen's blog for some more inspiration.

I am also entering this into the Funkie Junkie Challenge Blog "Anything Goes" challenge. They always have fun challenges to enter every two weeks so check them out!

Supplies used:

Dies:
Eileen Hull Sizzix 
Folio Journal  Sizzix / SB )
Bookbinding & Label ( Sizzix / SB )
Folio Page, Pocket & Flowers ( Sizzix / SB ) 
Grass, #660326 - retired

Tim Holtz Sizzix
Funky Cactus Sizzix / SB )
Holiday Greens, Mini Sizzix / SB )
3-D Embossing Folder - Foundry Sizzix / SB )
Wacky Transport #1 Sizzix / SB )
Funky Festive Sizzix / SB )
Funky Festive, Large Sizzix )

Other:
Topflight Stamps, Lavinia Brand stamps - School of FishSea Creatures, Seaweed 2, Mini Fish, Fish Set
Topflight Stamps, Pink Ink Designs - Shell Nymph
Sizzix mat board
Distress Ink, Distress Oxide Ink - various colors
Distress Paint - Salvaged Patina, Black Soot
Distress Glaze - Salvaged Patina
Tim Holtz Idea-ology Hardware Heads
Tim Holtz Idea-ology Hitch Fasteners
Crop-a-dile Tool
eyelets
elastic cord
Stickles glitter glue - various colors


Some links in this post are affiliate links which do not affect the price you pay but allow me to earn a small percentage of a sale. Thanks! (My husband also thanks you!) If you shop at Topflight Stamps, use my coupon code LISAHOEL for 12% off your order.

Wednesday, May 19, 2021

Part 1 of the "Unconventional Materials" Project

This month Eileen Hull's project theme is "Unconventional Materials". Her design Teams have been hard at work and stretching their creativity by using 'not so normal' supplies and her Sizzix dies to create some really cool makes! Check out her blog if you've missed any posts.

For me, this is Part 1 of my project – the cover. (You will have to tune in next week to see what the insides are!)

Lisa Hoel for Eileen Hull - May is themed "Unconventional Materials" #eileenhull #eileenhulldesigns #eileenhullsizzix #ehinspirationteam #eheducators #Sizzix #mymakingstory #diecutting

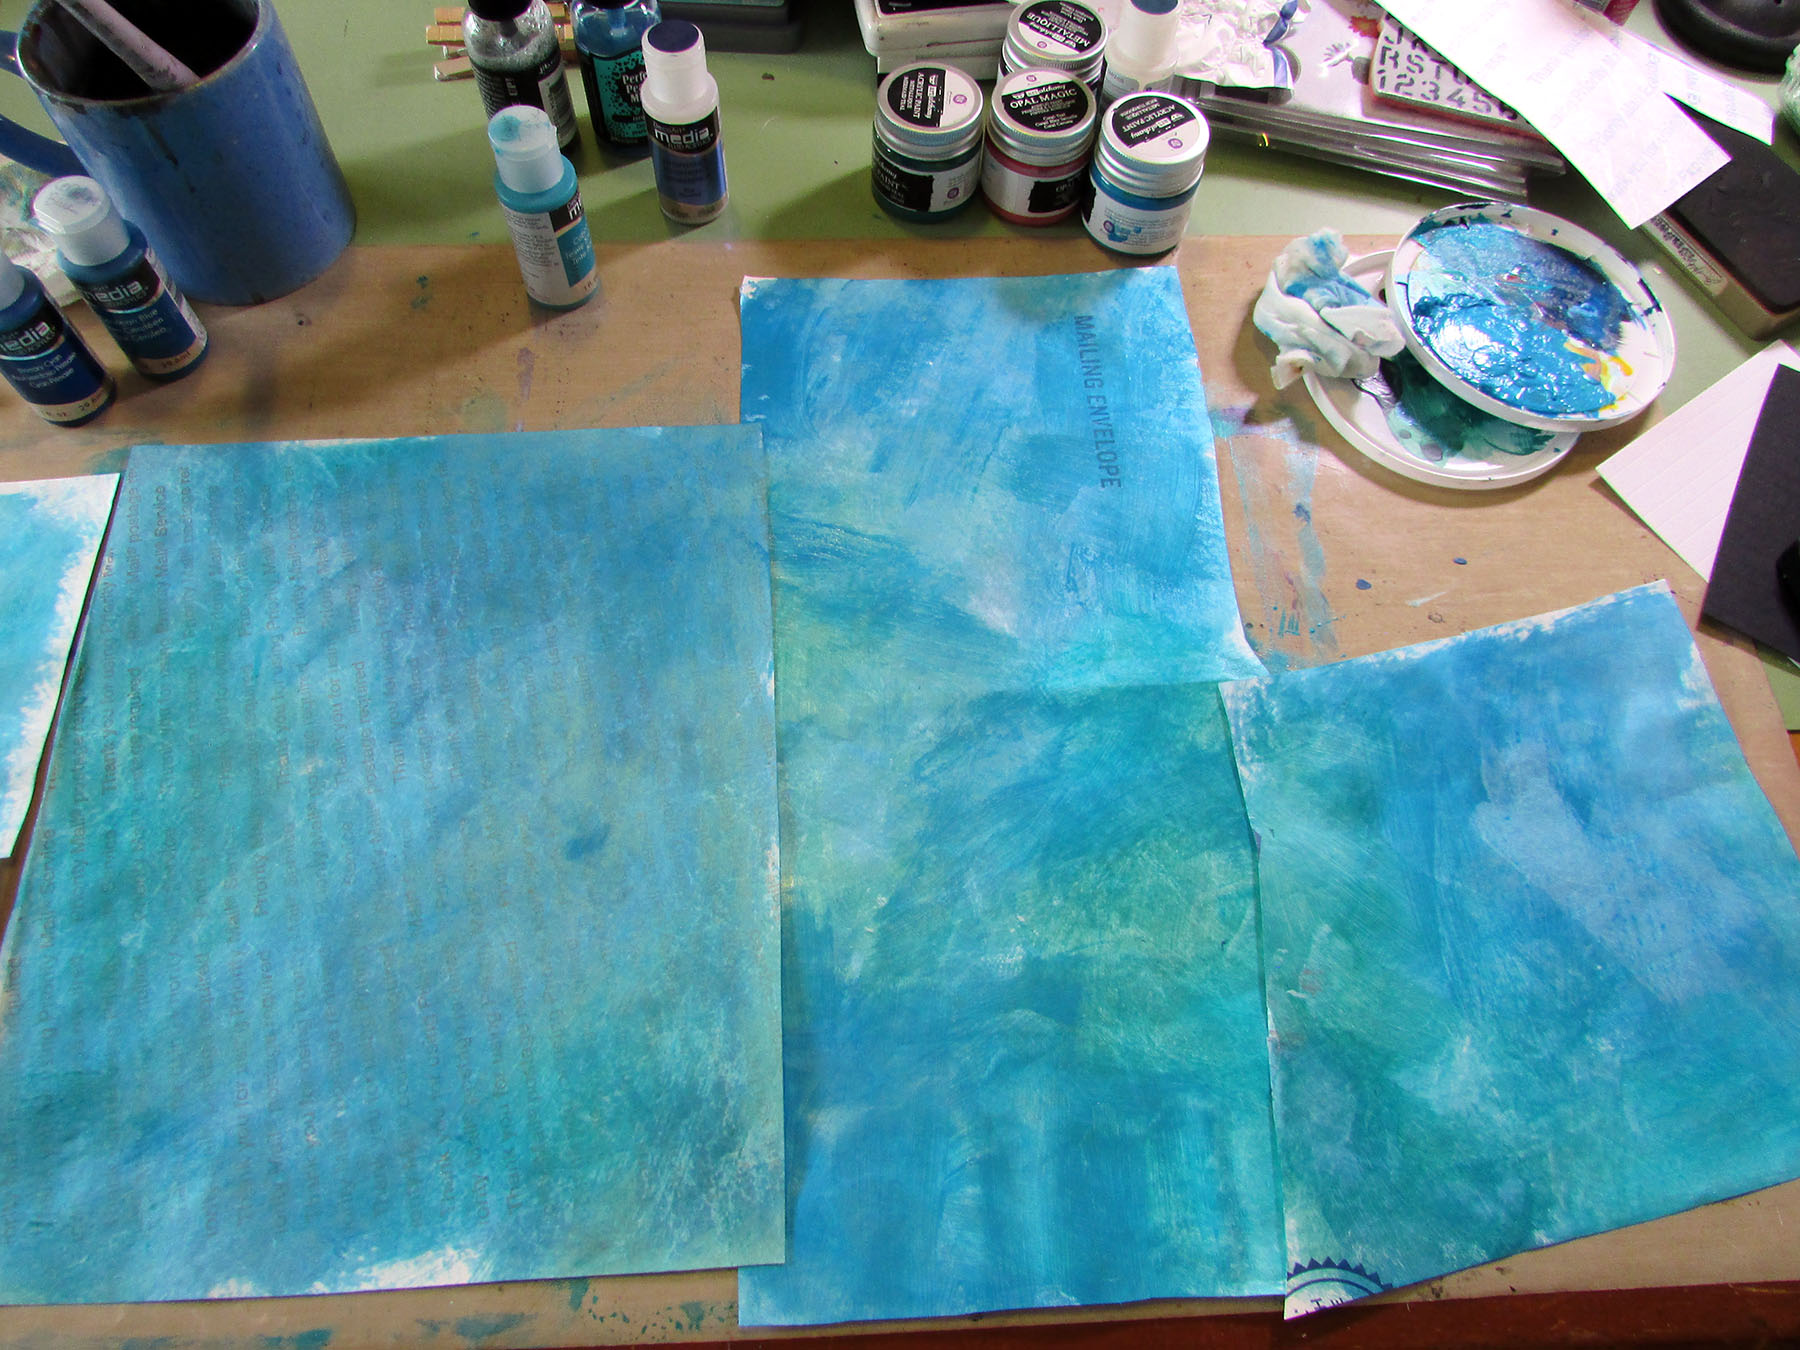
I used the Folio Journal for the cover and the metal is from embossed aluminum cans! My hubby very kindly drank several cans of Arnold Palmer Iced Tea for me so I could have some tall cans to cut up lol.

Lisa Hoel for Eileen Hull - May is themed "Unconventional Materials" #eileenhull #eileenhulldesigns #eileenhullsizzix #ehinspirationteam #eheducators #Sizzix #mymakingstory #diecutting

The 3.5" Sizzix Shaker Domes make great portholes! I used stamping and diecuts to create my ocean scene and then covered it with a dome.

Detail of the closure:

Lisa Hoel for Eileen Hull - May is themed "Unconventional Materials" #eileenhull #eileenhulldesigns #eileenhullsizzix #ehinspirationteam #eheducators #Sizzix #mymakingstory #diecutting

So, what do you think will be inside? ;-) Guesses are welcome but in the meantime, let's see how I made the cover.

Step 1 – Preparing the aluminum to emboss
As I mentioned, I found some extra tall drink cans (about 7.5" tall) to cut up. This gave me a useable piece of metal that was about 6.25" tall, plenty of width to span the Folio cover which is 5.25" tall. I used sturdy scissors to cut away the top and bottom. Be careful, the edges can be a bit jaggedy and sharp. I trimmed them a little to smooth out the edges once I freed the main part of the can from the top and bottom.

Lisa Hoel for Eileen Hull - May is themed "Unconventional Materials" #eileenhull #eileenhulldesigns #eileenhullsizzix #ehinspirationteam #eheducators #Sizzix #mymakingstory #diecutting

Step 2 – Embossing the metal
The Sizzix 3-D Foundry embossing folder worked beautifully to emboss the can material. I did have to cut my can metal into sections to emboss because the folder is a bit too long to run sideways through my Big Shot. It didn't quite fit!  TIP: The inside of the can had a coating on it. I used a metal dish scrubbie to sand the metal before I embossed it so paint would better stick to it. It also added to the distressed look in its final form. Sandpaper or steel wool would work too I imagine.

Lisa Hoel for Eileen Hull - May is themed "Unconventional Materials" #eileenhull #eileenhulldesigns #eileenhullsizzix #ehinspirationteam #eheducators #Sizzix #mymakingstory #diecutting

In rough cutting the mat board for the cover bases, I knew I wasn't going to be using the Folio flaps so I didn't want to waste material. One piece I cut 7.5" long ('front') and the other 10" long ('back').

Step 3 – Gluing the embossed metal
I used a strong liquid tacky glue (Crafter's Pick - The Ultimate! is my favorite) to glue the pieces of embossed metal onto the mat board. I weighted them down with books and let them dry for a few hours before cutting the covers out with the Folio Die.

Lisa Hoel for Eileen Hull - May is themed "Unconventional Materials" #eileenhull #eileenhulldesigns #eileenhullsizzix #ehinspirationteam #eheducators #Sizzix #mymakingstory #diecutting

After I cut the covers out, I distressed them with Black Soot Distress Paint. I painted it on, let it dry for a few minutes and then wiped most of it off with a slightly damp paper towel. I love how the paint stays in the nooks and crannies.

Step 4 – Assembly
I wanted to make my book as wide as possible and have a smooth spine so I did not overlap any of the spine portions of the front and back covers. I butted the edges up and glued them to a separate piece of mat board I cut to place on the inside (3" x 5.25").


Lisa Hoel for Eileen Hull - May is themed "Unconventional Materials" #eileenhull #eileenhulldesigns #eileenhullsizzix #ehinspirationteam #eheducators #Sizzix #mymakingstory #diecutting

For the closure, I attached a Hitch Fastener to the side and added some eyelets in the overhanging flap. I ran a piece of elastic cord through the eyelets and tied it off so it made a loop to hook over the Hitch Fastener. Also, I later added a starfish charm I had in my stash that I had covered with Salvaged Patina Distress Glaze.

Lisa Hoel for Eileen Hull - May is themed "Unconventional Materials" #eileenhull #eileenhulldesigns #eileenhullsizzix #ehinspirationteam #eheducators #Sizzix #mymakingstory #diecutting

Lisa Hoel for Eileen Hull - May is themed "Unconventional Materials" #eileenhull #eileenhulldesigns #eileenhullsizzix #ehinspirationteam #eheducators #Sizzix #mymakingstory #diecutting

Thanks for stopping by! Next week will be Part 2 with the insides reveal! Be sure to keep an eye on Eileen's blog for some super inspiration.

Supplies used:

Dies:
Eileen Hull Sizzix 
Folio Journal  Sizzix / SB ) 

Tim Holtz Sizzix
Funky Cactus Sizzix / SB )
Holiday Greens, Mini Sizzix / SB )
3-D Embossing Folder - Foundry Sizzix / SB )

Other:
Topflight Stamps, Lavinia Brand stamps - School of Fish, Sea Creatures
Sizzix mat board
Distress Ink, Distress Oxide Ink - various colors
Distress Paint - Salvaged Patina, Black Soot
Distress Glaze - Salvaged Patina
Tim Holtz Idea-ology Hardware Heads
Tim Holtz Idea-ology Hitch Fasteners
Crop-a-dile Tool
eyelets
elastic cord


Some links in this post are affiliate links which do not affect the price you pay but allow me to earn a small percentage of a sale. Thanks! (My husband also thanks you!) If you shop at Topflight Stamps, use my coupon code LISAHOEL for 12% off your order.

Wednesday, May 5, 2021

Day & Night Reversible Journal with Eileen Hull's Sizzix Dies

Hello and welcome to May! As you know, Eileen Hull is the Queen of journaling dies and she her designs are always so versatile. I had an idea to use several of her newest accessory dies for the Folio Journal and create a reversible junk journal. Plus, all the accessory dies work well in any of her journal dies! I used the Pocket Notebook for my base. Let's take a look:

Lisa Hoel for Eileen Hull – Day & Night reversible junk journal  #eileenhull #eileenhulldesigns #eileenhullsizzix #ehinspirationteam #eheducators #Sizzix #mymakingstory #diecutting
The "Day" side


Lisa Hoel for Eileen Hull – Day & Night reversible junk journal  #eileenhull #eileenhulldesigns #eileenhullsizzix #ehinspirationteam #eheducators #Sizzix #mymakingstory #diecutting

Flip it around and you will find the "Night" side:

Lisa Hoel for Eileen Hull – Day & Night reversible junk journal  #eileenhull #eileenhulldesigns #eileenhullsizzix #ehinspirationteam #eheducators #Sizzix #mymakingstory #diecutting

Lisa Hoel for Eileen Hull – Day & Night reversible junk journal  #eileenhull #eileenhulldesigns #eileenhullsizzix #ehinspirationteam #eheducators #Sizzix #mymakingstory #diecutting

I glued two Pocket Notebook covers together to form the "reversible" book:

Lisa Hoel for Eileen Hull – Day & Night reversible junk journal  #eileenhull #eileenhulldesigns #eileenhullsizzix #ehinspirationteam #eheducators #Sizzix #mymakingstory #diecutting

The pages of each half are decorated appropriately:

Lisa Hoel for Eileen Hull – Day & Night reversible junk journal  #eileenhull #eileenhulldesigns #eileenhullsizzix #ehinspirationteam #eheducators #Sizzix #mymakingstory #diecutting


I used the Card, Waterfall & Tags Die Set to create pockets and flaps that contain snippets of pages from an old wildlife identification book.

Lisa Hoel for Eileen Hull – Day & Night reversible junk journal  #eileenhull #eileenhulldesigns #eileenhullsizzix #ehinspirationteam #eheducators #Sizzix #mymakingstory #diecutting

Lisa Hoel for Eileen Hull – Day & Night reversible junk journal  #eileenhull #eileenhulldesigns #eileenhullsizzix #ehinspirationteam #eheducators #Sizzix #mymakingstory #diecutting
The flap edges tuck under decorative brads to hold them closed.

Lisa Hoel for Eileen Hull – Day & Night reversible junk journal  #eileenhull #eileenhulldesigns #eileenhullsizzix #ehinspirationteam #eheducators #Sizzix #mymakingstory #diecutting


Lisa Hoel for Eileen Hull – Day & Night reversible junk journal  #eileenhull #eileenhulldesigns #eileenhullsizzix #ehinspirationteam #eheducators #Sizzix #mymakingstory #diecutting

Night side:

Lisa Hoel for Eileen Hull – Day & Night reversible junk journal  #eileenhull #eileenhulldesigns #eileenhullsizzix #ehinspirationteam #eheducators #Sizzix #mymakingstory #diecutting

Lisa Hoel for Eileen Hull – Day & Night reversible junk journal  #eileenhull #eileenhulldesigns #eileenhullsizzix #ehinspirationteam #eheducators #Sizzix #mymakingstory #diecutting

I also used the pocket from the Folio Page, Pocket & Flowers Die Set to hold the largest tag on some of the pages. It's great how they all mix and match!


Lisa Hoel for Eileen Hull – Day & Night reversible junk journal  #eileenhull #eileenhulldesigns #eileenhullsizzix #ehinspirationteam #eheducators #Sizzix #mymakingstory #diecutting

Lisa Hoel for Eileen Hull – Day & Night reversible junk journal  #eileenhull #eileenhulldesigns #eileenhullsizzix #ehinspirationteam #eheducators #Sizzix #mymakingstory #diecutting

Lisa Hoel for Eileen Hull – Day & Night reversible junk journal  #eileenhull #eileenhulldesigns #eileenhullsizzix #ehinspirationteam #eheducators #Sizzix #mymakingstory #diecutting

Lots of stamping with Distress Oxide Inks on the dark Night backgrounds. Also, I used embossing powders for shine and to help some images stand out from the background.

Lisa Hoel for Eileen Hull – Day & Night reversible junk journal  #eileenhull #eileenhulldesigns #eileenhullsizzix #ehinspirationteam #eheducators #Sizzix #mymakingstory #diecutting

Some of the How-To!
Step 1 – backgrounds for the pages: I forgot to take photos of the "Day" backgrounds, oops! Lots of mists, Distress Inks and some resist stenciling/stamping. For the "Night" backgrounds I used Distress Paint because of its marvelous water reactive properties and I knew it would give me a cool marbled effect and then be perfect for stamping on.


After this first layer of Chipped Sapphire and Wilted Violet, I added another layer of Black Soot paint. (Craft mat swipe and dip technique) I kept it very thin and used lots of water so the backgrounds wouldn't get too dark. I set all my backgrounds aside as I moved to working on the covers.

Step 2 – covers: I cut the covers out of  Mat board and painted them with PaperArtsy Fresco Paint using a brayer. I love the texture the brayer gives you and the chalk finish of Fresco Paint is great to stamp on as well.


Sizzix has a great new line of Making Essentials that really add some great effects to projects. Here I used the Effectz 3-D Adhesive through a stencil to create the sun rays. When the Adhesive dries, it is still tacky so I just laid the Foil Sheet over it and rubbed it on. It adheres perfectly to the tacky adhesive. I did the same thing with the silver stars on the Night cover.


The sun and moon faces were created with polymer clay pressed into Prima's Finnabair 
Star & MoonSilicone Mould. After I had baked them to harden them, I painted them up and then used a touch of the new Sizzix Luster Wax to give them some shine. (Perfect!)

Step 3 – assembling the cover: Below are the two completed cover halves. The insides are also painted and finished at this point.


I glued the Day and Night halves together and added the ribbon closures at the same time. I also cut the accordion fold binding pieces in readiness for the next step. The Bookbinding Die cuts and scores the accordion fold binding at the same time. It is sized to fit perfectly into the Folio Journal but is easily adapted to any journal size. Here I just cut an additional piece and trimmed a 1" section off to extend the binding to fit the Pocket Notebook.


Step 4 – adding the binding: Fold the binding as shown below and use either glue or tape adhesive to stick the "peaks" together.

Glue (or use strong dry adhesive) to adhere the folded binding unit to the spine of the cover. After I glued it in, I realized that the "valleys" would probably show a bit with the pages in so I painted them a matching blue color. For the Night side binding, I went and re-cut the parts out of black cardstock.


Step 5 – page assembly: The Pocket Notebook is a die that also cuts pages as well as the cover pieces (super handy!) I cut pairs of "front/back" pages out of my backgrounds I previously made. (Mind the fronts and backs!) I decorated the page halves completely before sticking them together.

I used my tape runner to add adhesive. IMPORTANT, do not add adhesive right at the inner page edge that slips over the binding tabs. (I only forgot once ha ha.)


I lined up the pages and stuck them together, then trimmed them to 4" wide with my Deckle Trimmer from Tim Holtz. I really like it. The blades are nice and sharp and had no trouble cutting through the pages and any extra paper layers at the edge.


Step 6 – Installing pages: I applied strips of strong Red Liner Tape to each side of the binding tabs. After removing the tape liner, I slipped the page over the sticky binding tab and pressed it all together. (A bone folder was helpful in this.)


This is an easy way to add pages to your journals and the Bookbinding Die with the cutting/scoring all in one pass is so convenient!


Adding the tag slots: This was also easy to do thanks to Eileen's Card, Waterfall & Tags Die Set. I just figured out where I wanted to have the tag poke out and used the little slot die to cut into the page itself. (Of course this happens before the two page halves are stuck together.) You can make a wider slot for the bigger tags by cutting one slot, moving the slot die over and running it through again. (Use washi or low tack tape to hold the die in place.)

IMPORTANT: When you stick your pages together, don't apply adhesive in the area where the tag's "pocket" is!


Whew, that was long! Thanks for stopping by and checking out my post. Be sure to keep an eye on Eileen's blog because all month long we will be sharing some awesome projects from the Teams. The May theme is to create with "Unconventional Materials" so you will be seeing some super creative ideas. Eileen has invited her Fan Club to join in and share their unique makes as well.

Supplies used:
Eileen Hull Sizzix Dies:
Pocket Notebook ( Sizzix )
Bookbinding & Label ( Sizzix / SB )
Card, Waterfall & Tags ( Sizzix / SB )
Folio Page, Pocket & Flowers ( Sizzix / SB )
Trinket Box - retired

Tim Holtz Sizzix Dies:
Flower Field ( Sizzix / SB )
Detailed Butterflies, Mini ( Sizzix / SB )
Wildflower Stems #1 ( Sizzix / SB )
Feathered Friends ( Sizzix / SB )
Entomology ( Sizzix / SB )
Skeleton Leaves ( Sizzix / SB )
Fall Foliage ( Sizzix / SB )
Wildflowers #2 ( Sizzix )
Gate Keeper ( Sizzix / SB )

Sizzix:
Mat board
Effectz 3-D Adhesive
Effectz Foil Sheets - Gold & Silver
Effectz Luster Wax - Gold & Silver
Distress Paint: Chipped Sapphire, Wilted Violet, Black Soot

Huge old pile of Tim Holtz Stamp Sets: Classics #1, Entomology, Nature Walk, Bird Feather, Ledger Script, Ornate Trims, Specimen, Field Notes, Spring Sprung, Glorious Bouquet, Psychedelic Grunge, Slate & Stone, Tree Line, Halloween Cutouts, Tiny Toadstools, Grunged, Haunted House, Snarky Cat Halloween


Topflight Stamps Products:

Lavinia Stamps - Forest SceneTree BranchSea FlowerWhimsical HaresFern Heads, Small Berries, Brodwin & Maylin, Moon, Fox 1, Fairy Foragers, Trailing Ivy, Star Gazing
Indigo Blu - Autumn Nights, Floral Fantasy
Carabelle - Background Stars
Pink Ink - Moth & Legends stamp/die set
Paper Artsy - ETS24
Katzelkraft -Winter Scene
Crafty Individuals - Crackle Background

Versafine Black Pigment Ink
Prism Inks - Thundercloud
WOW Embossing Ink
PaperArtsy Fresco Paint: Smurf, China, Inky Pool, Metallic Glaze, Antarctic, Amethyst

Other:
whole bunch of inks and embossing powders
Strathmore Mixed Media Paper for pages
Prima Finnabair Silicone Mould - Star & Moons
white polymer clay

Some links in this post are affiliate links which do not affect the price you pay but allow me to earn a small percentage of a sale. Thanks! (My husband also thanks you!) If you shop at Topflight Stamps, use my coupon code LISAHOEL for 12% off your order.