Tuesday, February 21, 2023

Love Journaling – Valentine Tag Journal

Hello there, February is flying by! Our Eileen Hull Inspiration Team's theme for the month has been "Love Journaling". The designers have been interpreting this in all sorts of fun ways (check out Eileen's blog). I decided to make a Valentine themed tag journal with a matching stand.

Lisa Hoel for Eileen Hull - Love Journaling Valentine tag journal with stand  #EileenHull  #eileenhulldesigns  #sizzix #mymakingstory #TeamEileen #mysizzixstory

For the stand, I discovered that the pocket from Eileen's Frame Pocket Journal Die fits perfectly on the Phone Stand. Nice! 

Lisa Hoel for Eileen Hull - Love Journaling Valentine tag journal with stand  #EileenHull  #eileenhulldesigns  #sizzix #mymakingstory #TeamEileen #mysizzixstory

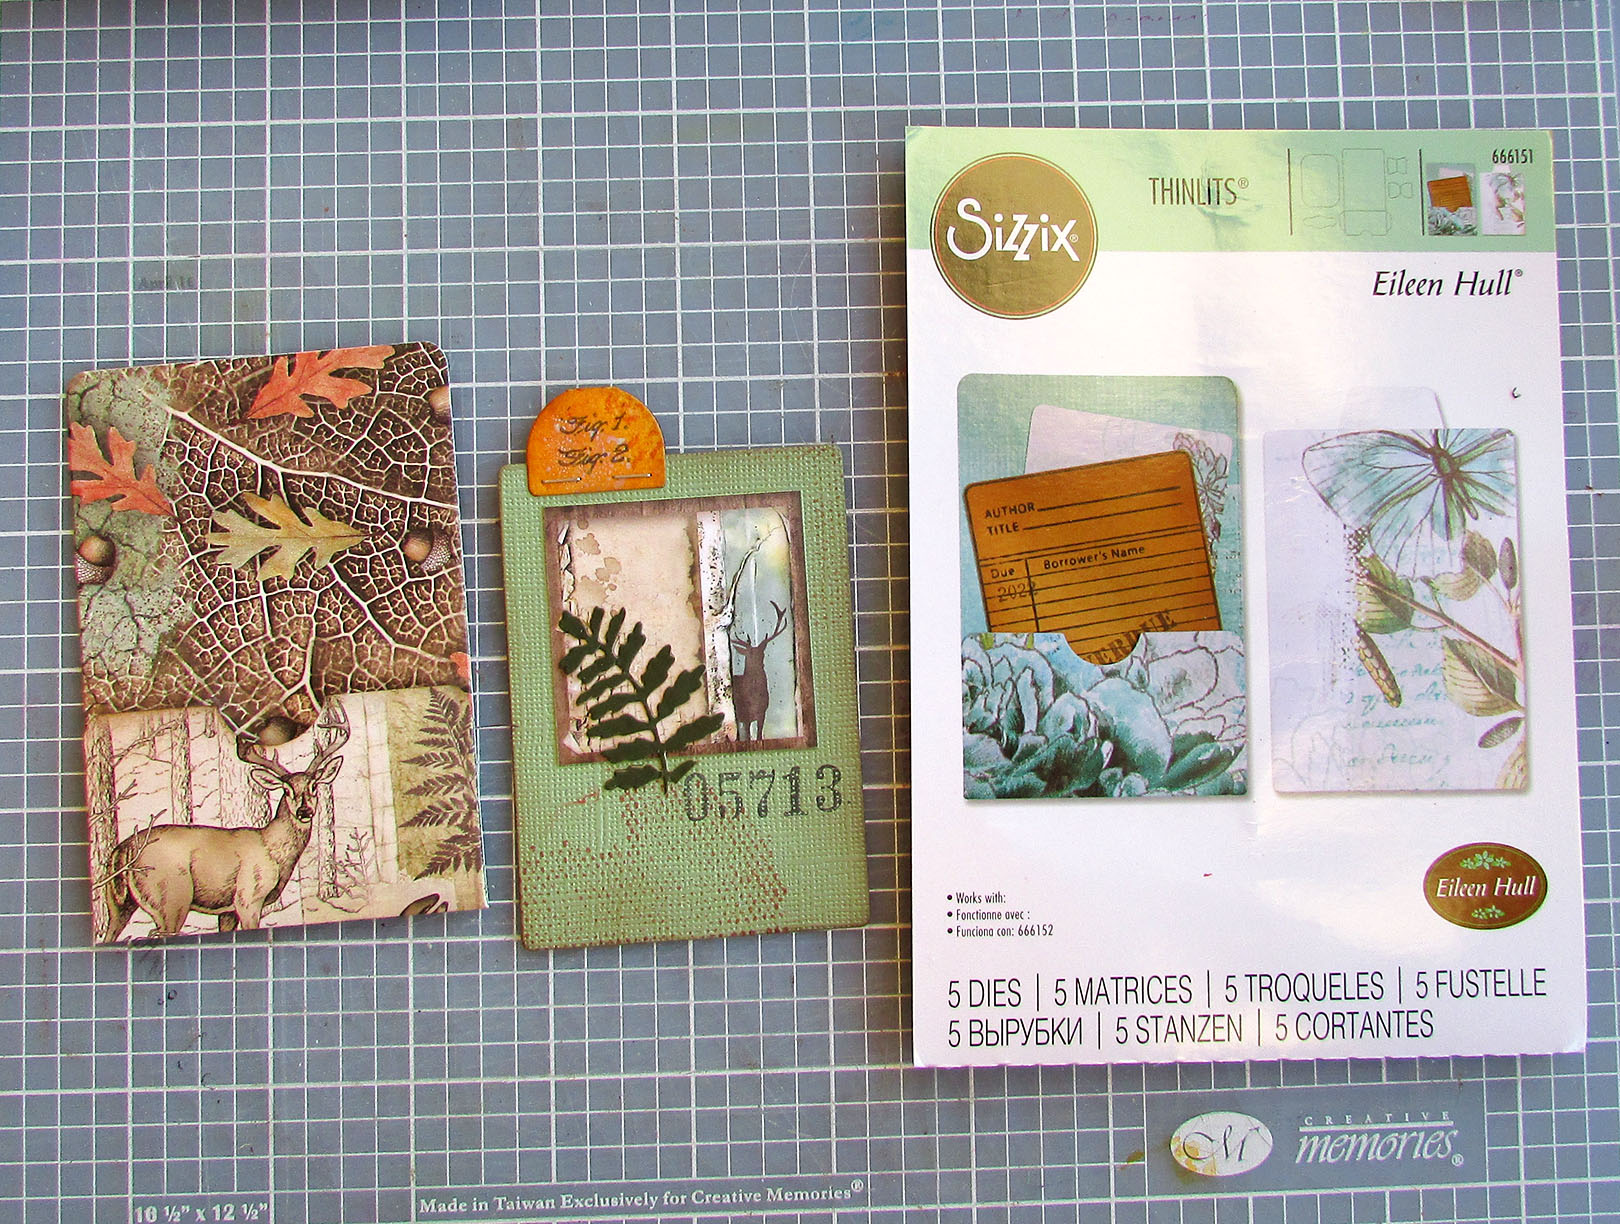
I used the Library Pocket, ATC Card & Tabs Die Set, to make journaling cards for the pages. I imagined that you could write all the reasons you love your significant other on each page. 

Lisa Hoel for Eileen Hull - Love Journaling Valentine tag journal with stand  #EileenHull  #eileenhulldesigns  #sizzix #mymakingstory #TeamEileen #mysizzixstory

Lisa Hoel for Eileen Hull - Love Journaling Valentine tag journal with stand  #EileenHull  #eileenhulldesigns  #sizzix #mymakingstory #TeamEileen #mysizzixstory

Did I mention how I love that the pocket fits perfectly on the phone stand? ;-) Let's take a look at some of the tutorial steps…

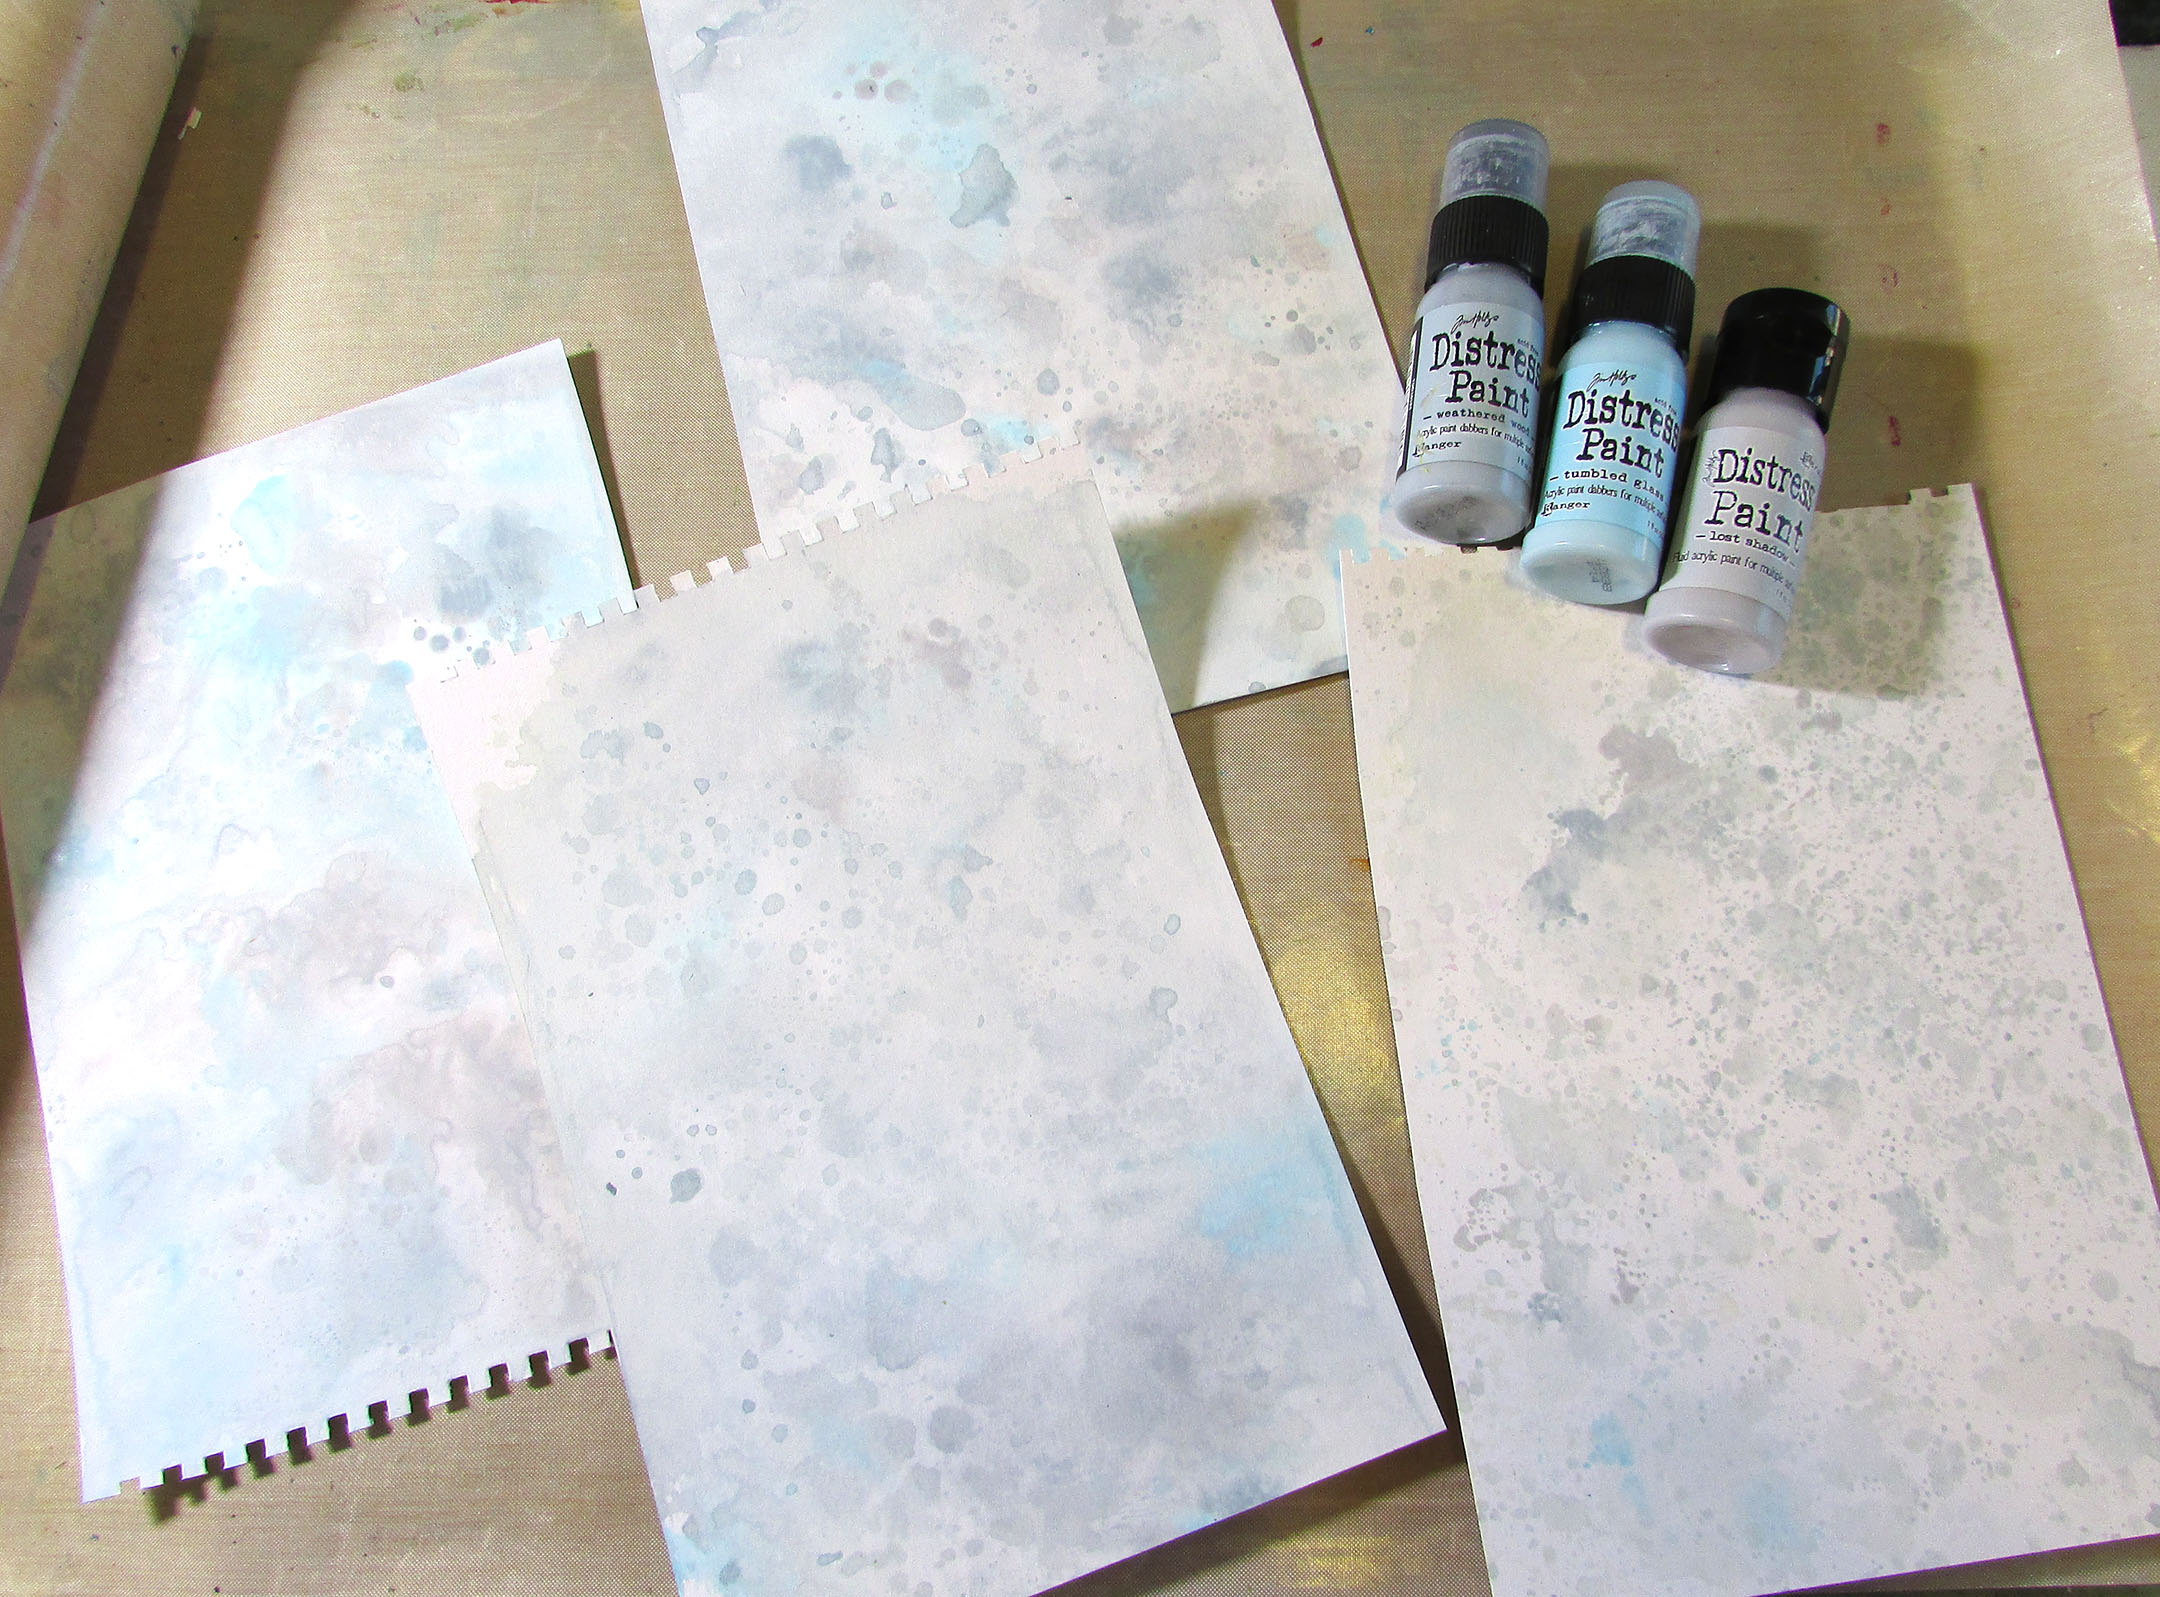
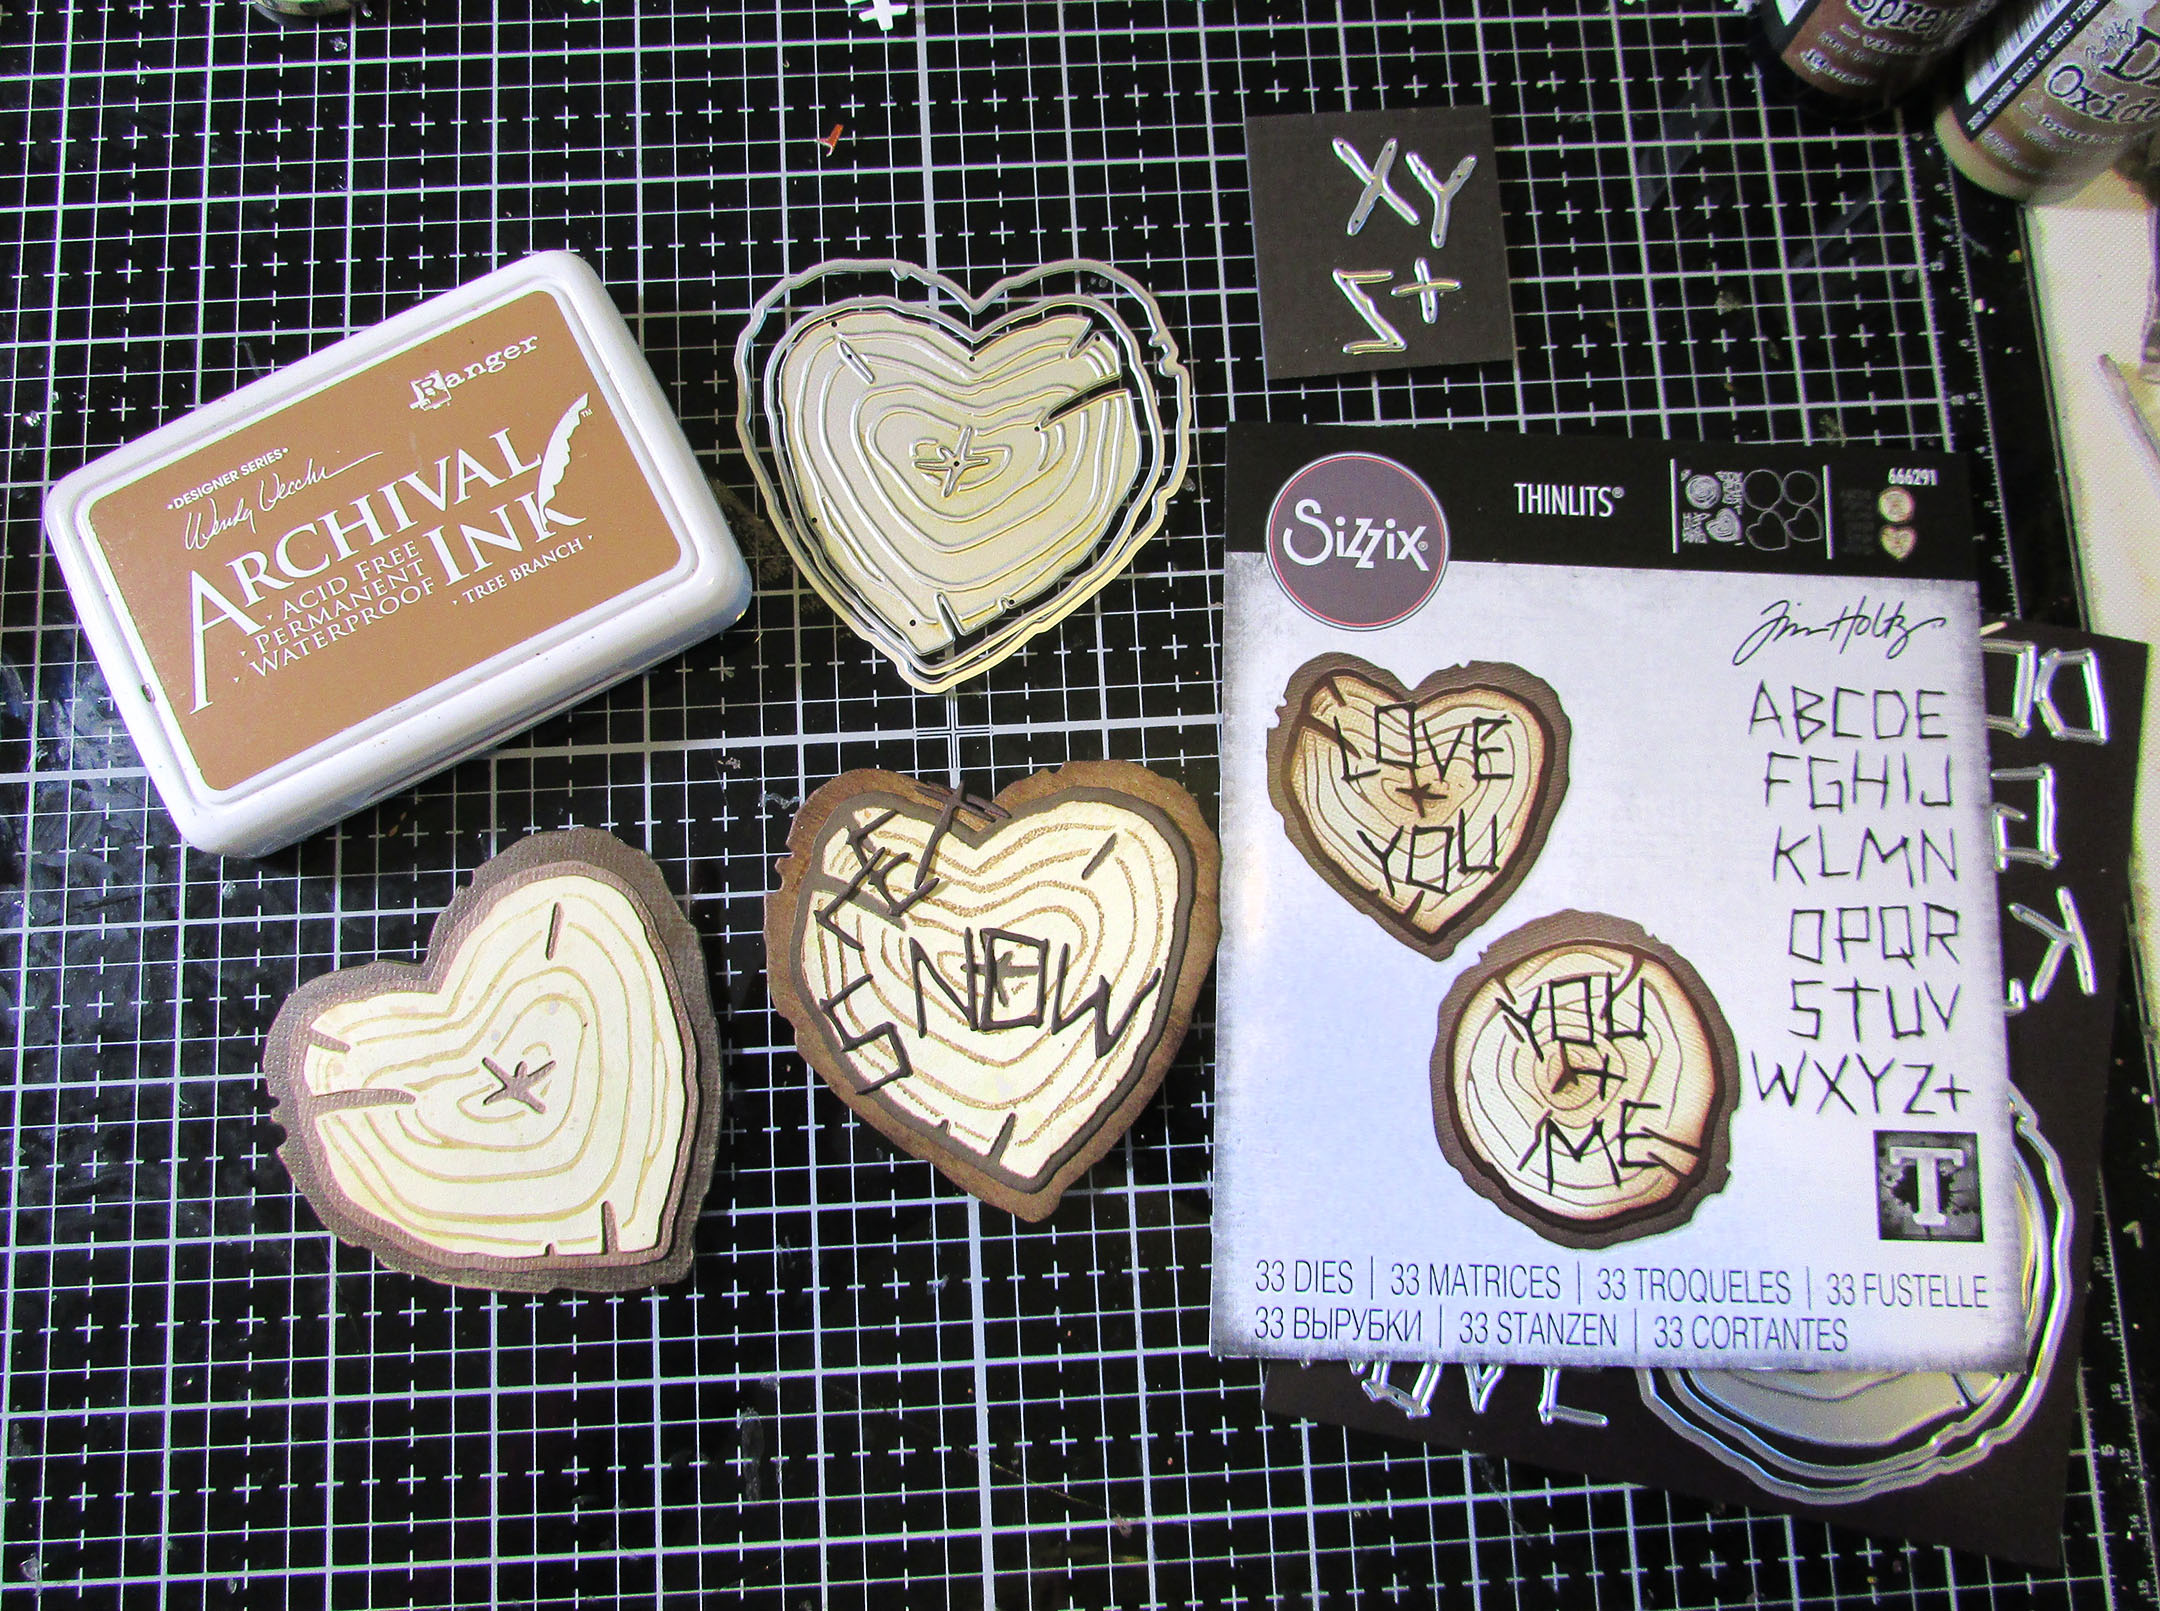
Step 1 – I used my Gel Press plate to print onto sheets of mat board to lay down all the base colors and textures. After I cut out the parts I stenciled on the hearts. (Tip, you can use your dies to create your own stencils. I used Eileen's retired Hearts Journaling Cards dies to cut through a thin piece of plastic to make the stencil I used below.)

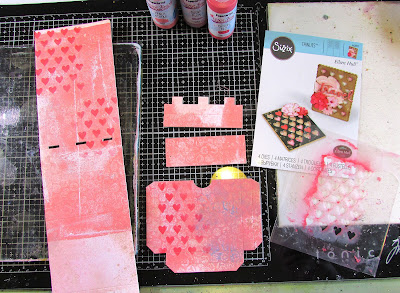
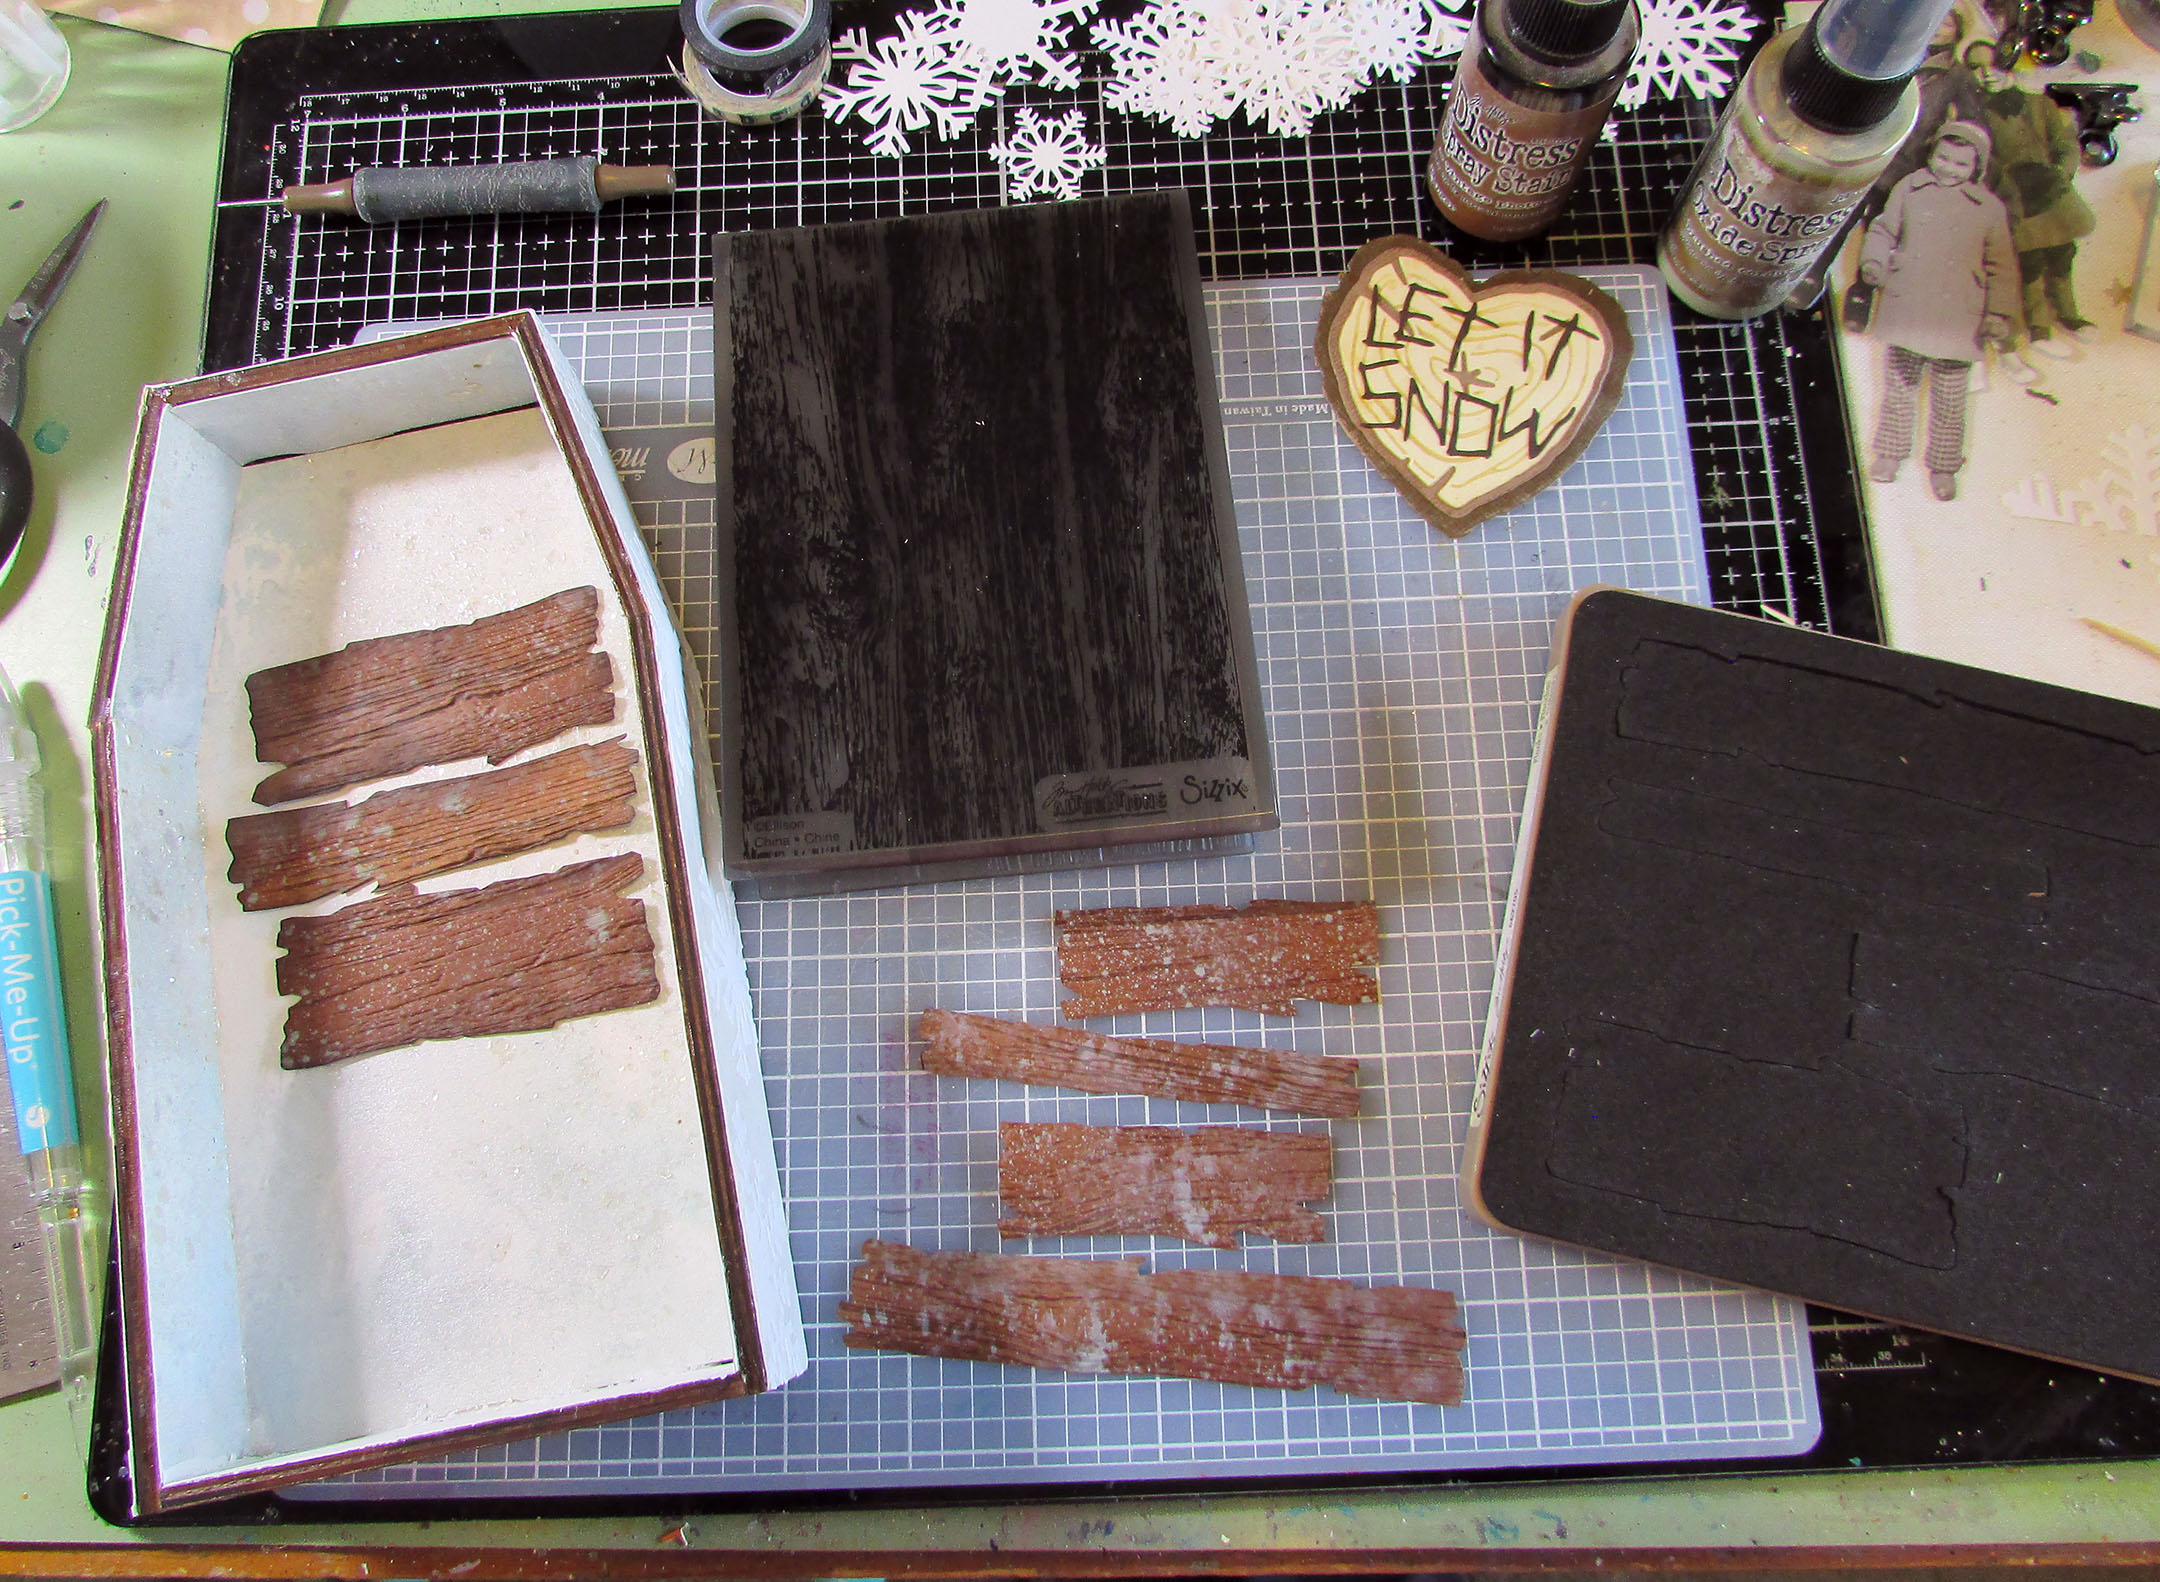
I didn't use the little phone stand front pieces but they made
it into the photo. Ignore them ha ha.

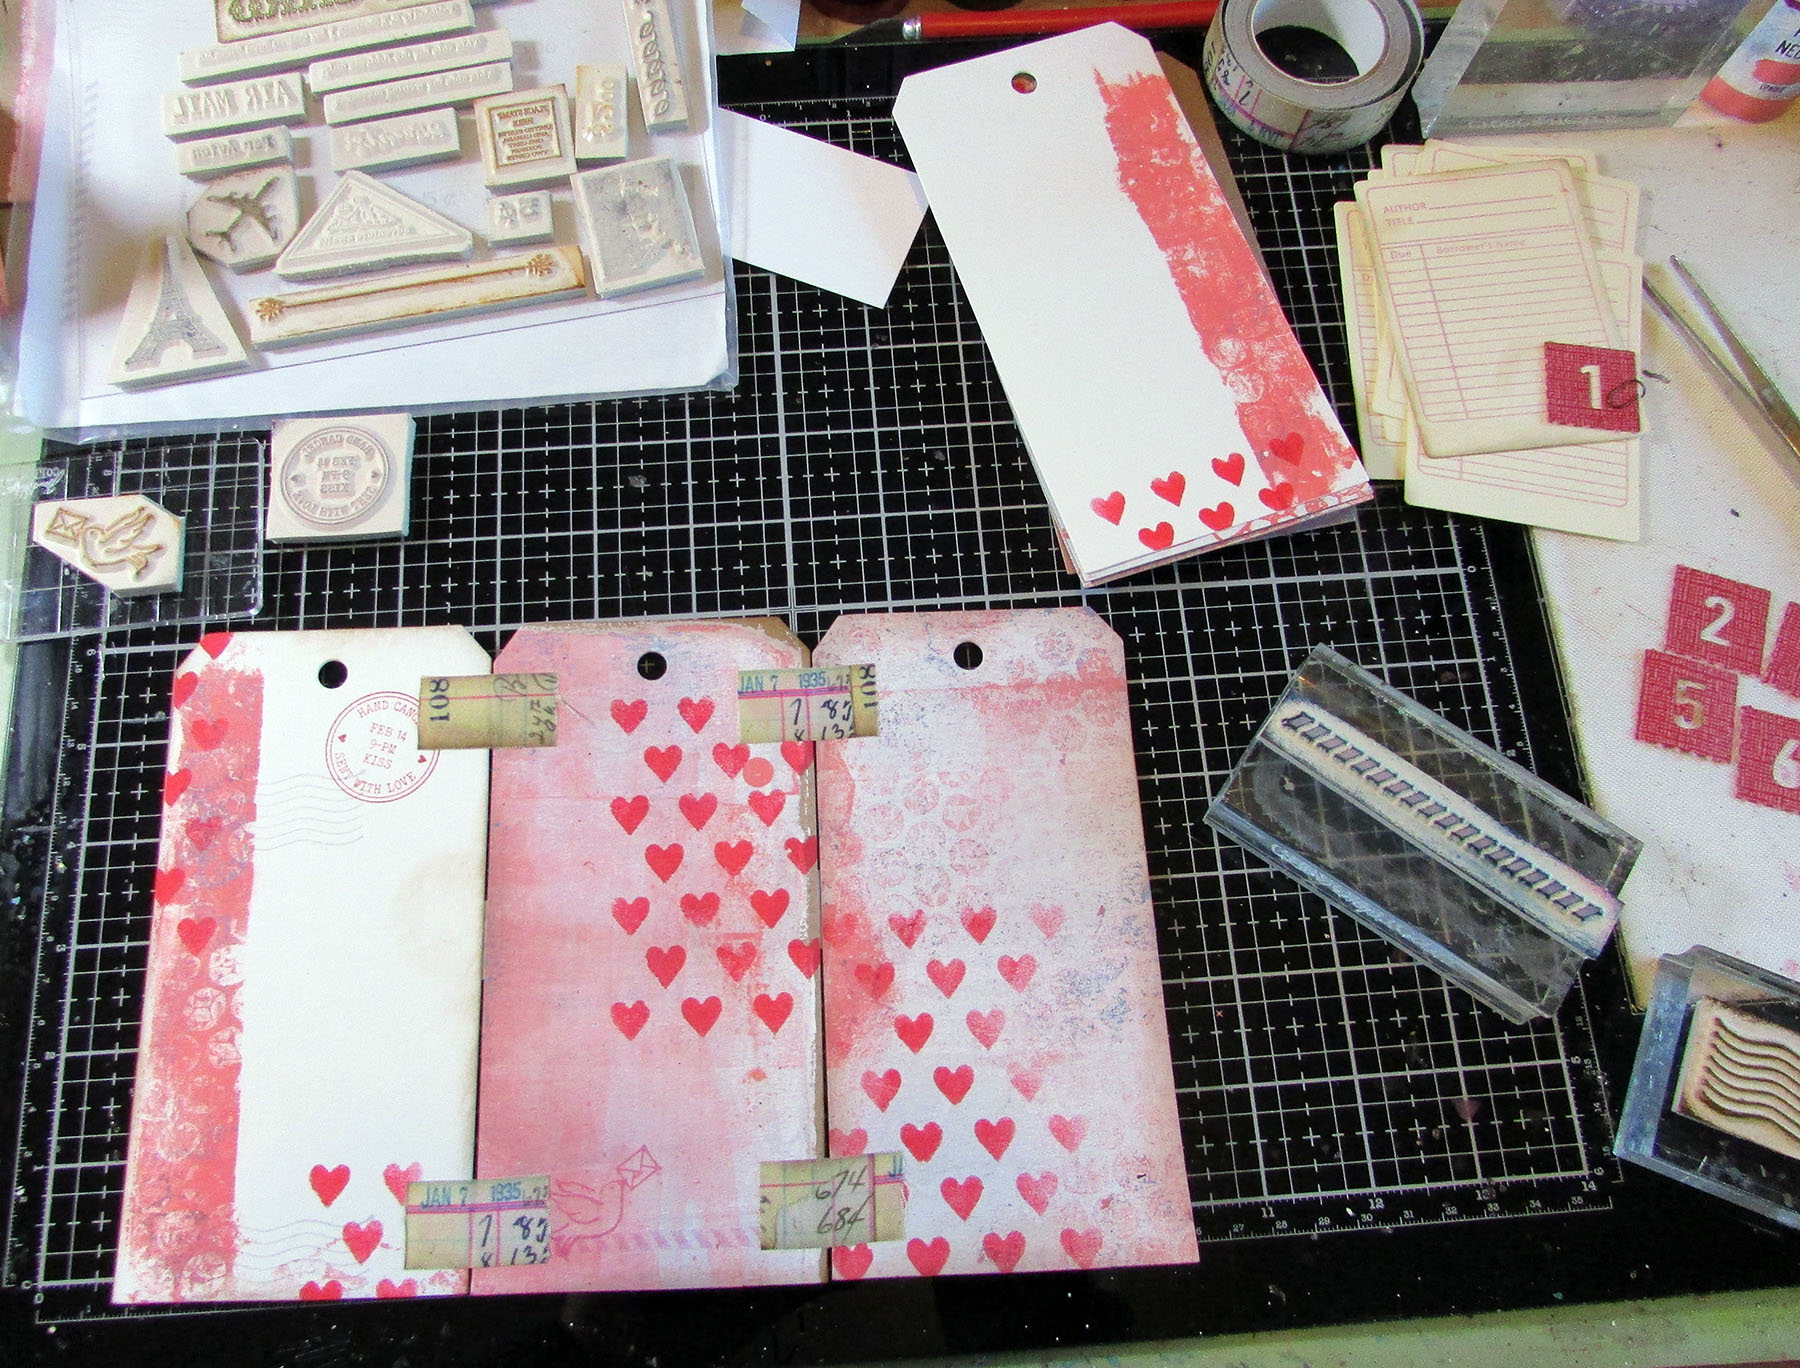
Step 2 – I also printed the tags, cut out of white and kraft cardstock. Another tip, you can use your dies to make stamps! I used the Mandala Die to cut a shape from fun foam and adhered it to a piece of scrap plastic. I used it to stamp with paint on the tags.

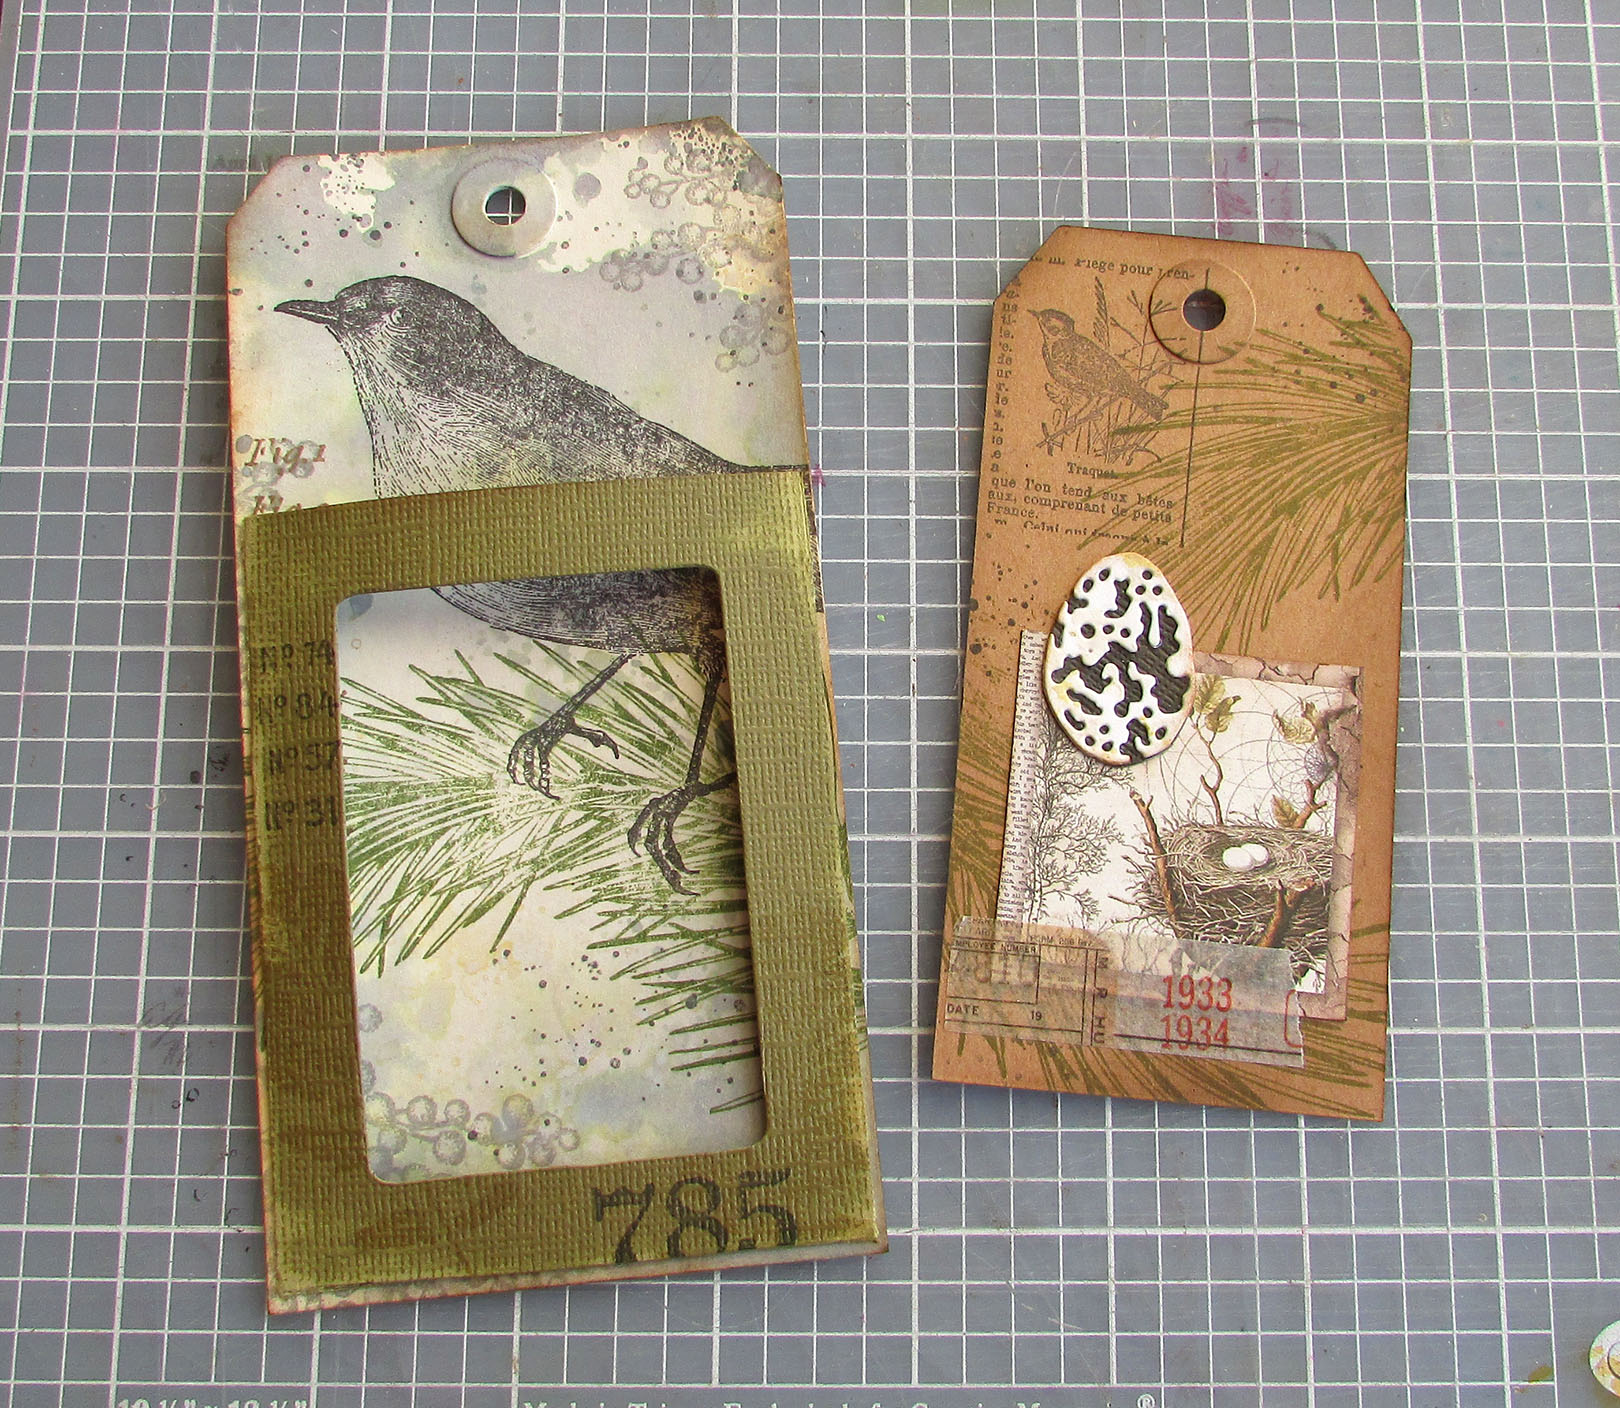
Step 3 – I added some stamping to the tags (Eileen's Snail Mail - Postage set) and attached them to each other with pieces of Linen Tape. Easy peasy!


Thanks for stopping by and be sure to keep an eye on Eileen's blog for more inspiration from the Educator and Inspiration Teams.

Supplies used:

Eileen Hull ScoreBoards Plus Die - Frame Pocket Journal ( SizzixSB , FJ )
Eileen Hull Die Set - Library Pocket, ATC Card & Tabs  ( SizzixSB , FJ  )
Eileen Hull Die - Tile Alphanumeric  ( SizzixSB, FJ  )
Eileen Hull Die - Phone Stand ( SizzixSB , FJ  )
Eileen Hull Die - Mandala ( SizzixSB )
Eileen Hull Die - Journaling Cards, Hearts - retired
Tim Holtz Die Set - Alphanumeric Bulletin ( SizzixSB , FJ  )
Tim Holtz Die Set - Vintage Labels ( SizzixSB , FJ  )

Eileen Hull Stamp Sets: Snail Mail - Postage, Buttons, Cards & More
Tim Holtz Stamp Set: Hashtags
Gel Press plate
Idea-ology Mini Paper Clips
Idea-ology Linen Tape

Some links in this post are affiliate links which do not affect the price you pay but allow me to earn a small percentage of a sale. Thanks! (My husband also thanks you!)


Wednesday, February 15, 2023

Funkie Junkie Focus - All About Love

Hello February! Our current Funkie Junkie Focus theme is "All About Love". I still have Tim Holtz Idea-ology products left from Christmas crafting so I decided to "Valentine" them.

Lisa Hoel for The Funkie Junkie Boutique - All About Love Valentine's Curio Clock  #creativejuicefreshsqueezed  #mymakingstory #tim_holtz #thefunkiejunkieboutique #sizzix

The red Christmas Curio Clock is perfect for Valentine's Day too! I painted a Salvaged Snowman in Valentine colors so he fits perfectly in the scene.

Lisa Hoel for The Funkie Junkie Boutique - All About Love Valentine's Curio Clock  #creativejuicefreshsqueezed  #mymakingstory #tim_holtz #thefunkiejunkieboutique #sizzix

The outside is decorated with washi tape, baker's twine and an Idea-ology token.

Lisa Hoel for The Funkie Junkie Boutique - All About Love Valentine's Curio Clock  #creativejuicefreshsqueezed  #mymakingstory #tim_holtz #thefunkiejunkieboutique #sizzix

Of course I felt compelled to incorporate Tiny Lights because everything is better when it lights up. ;-)

Here's a look at how this came together…

Step 1 – I first painted the Salvaged Snowman with Distress Paints.When the paint was thoroughly dry, I antiqued it using Hickory Smoke Distress Crayon.


Step 2 – I used Lost Shadow, Weathered Wood and Tumbled Glass Distress Paint to make some backgrounds. These three colors have a great wintery feel!


Step 3 – I used the Falling Hearts Tim Holtz Die to cut into the clock background. I backed the whole thing with a circle of pink glassine paper I had in my stash. (You could use tissue paper or alcohol inked plastic too.)


Step 4 – Installing the Tiny Lights wasn't hard. I drilled a hole through the metal clock backing and coiled the light string around inside. I started out hot gluing it in place but the glue wasn't sticking well to the slick metal. Tape ended up working better. I put some little foam core spacers around the edges of the back to create space between the lights and the paper background.


Step 5 – An older die set, Mini Christmas Things, had the perfect little snowflake shape to add the final February wintery touch.


Not just for Christmas!

Thanks for stopping by. Keep an eye on the Funkie Junkie Boutique Blog, Inspiration Ave. because you are now getting regular doses of expanded (and inspiring) content each week. Don't miss it…

Supplies used:

Tim Holtz Thinlits Die Set - Falling Hearts
Tim Holtz Thinlits Die Set - Mini Christmas Things
Tim Holtz Thinlits Die Set - Funky Nordic

Tim Holtz Idea-ology - Christmas 2022 Curio Clock
Tim Holtz Idea-ology - Christmas Salvaged Santa & Snowman
Tim Holtz Idea-ology - Tiny Lights
Tim Holtz Idea-ology - Woodland Tree Lot

Distress Rock Candy Dry Glitter
Stampers Anonymous Glitter Duster
Distress Paint - Lost Shadow, Kitsch Flamingo, Black Soot, Ripe Persimmon, Fossilized Amber, Lumberjack Plaid, Gathered Twigs, Weathered Wood, Tumbled Glass
Distress Spray Stains - Spun Sugar
Distress Oxide Spray Stain - Spun Sugar, Evergreen Bough
Distress Crayon - Hickory Smoke
Distress Mica Stain - Winterberry
pink glassine


Wednesday, February 1, 2023

Funkie Junkie Focus – Frozen Winter

Hello there and welcome to my take on the current Funkie Junkie focus! The theme is Frozen Winter so I happily created a home decor piece to display since I had to put all my Christmas decorations away.

Lisa Hoel for The Funkie Junkie Boutique - Frozen Winter  #creativejuicefreshsqueezed  #mymakingstory #tim_holtz #thefunkiejunkieboutique #sizzix

I've used new and old favorites in the creation of this project. The structure is the Halloween 2022 Vignette Arched Shrine box. (It's not just for Halloween!) 

Lisa Hoel for The Funkie Junkie Boutique - Frozen Winter  #creativejuicefreshsqueezed  #mymakingstory #tim_holtz #thefunkiejunkieboutique #sizzix

The outside is covered with strips of Holiday Gray Two-tone Woodgrain Cardstock and diecut snowflakes.

Lisa Hoel for The Funkie Junkie Boutique - Frozen Winter  #creativejuicefreshsqueezed  #mymakingstory #tim_holtz #thefunkiejunkieboutique #sizzix

I wanted to capture the joy of snowy weather when you are a child. This little girl is ready with her snowballs! (Baubles covered with Snowfall Grit Paste.) I also thought this was a perfect opportunity to use the new Tim Holtz Wood Slice Thinlits Die Set. I like that it comes with the alphabet so you can "carve" whatever message you want.

Let's take a look at some of the "how-to":

Step 1 - I love the new Wood Slice Die Set! I first inked the inner wood portion die with Archival Vintage Photo ink so it would transfer when I cut that piece. I thought the rings ended up too dark and there wasn't enough contrast with the letters. I recut the pieces with different brown cardstock and used a lighter brown Archival Ink on the die. (Heart on the left.) Much better!


Step 2 - I lined the shrine with paper spritzed with Tumbled Glass and Brushed Pewter Distress Spray Stains. I also brushed on Collage Medium and sprinkled it with Distress Mica Flakes. That added great sparkle to the background.

The wood slats behind the heart were cut out of inked Kraft Heavystock and then embossed using the Lumber 3-D Embossing Folder by Tim Holtz. The wood edges of the shrine I covered with Trims Design Tape.


Step 3 - Coloring Paper Dolls
I used Distress Watercolor Pencils to tint the Paper Doll I chose for my vignette. Paula Cheney has a great tutorial post on all the ins and outs of using them for coloring the dolls. Definitely check that out.


This particular figure is from a Paper Doll pack from a few years ago but there are plenty of options in the 2022 Christmas pack too. I used a combination of coloring directly onto the figure, then blending the color with a water/brush as well as 'painting' with the pigment pulled directly off of the tip of a pencil that had been dipped in water. 

Thanks for stopping by. Keep an eye on the Funkie Junkie Boutique Blog, Inspiration Ave. because you are now getting regular doses of expanded (and inspiring) content each week. Don't miss it…

Supplies used:

Tim Holtz Thinlits Die Set - Wood Slice
Tim Holtz - 3-D Textured Impressions Embossing Folder - Lumber
Tim Holtz Thinlits Die Set - Festive Things
Tim Holtz Thinlits Die Set - Paper Snowflakes
Tim Holtz Thinlits Die Set - Paper Snowflakes, Mini
Tim Holtz Bigz Die - Planks

Distress Embossing Glaze - Twisted Citron
Distress Crackle Paste Opaque
Tim Holtz Idea-ology - Christmas Paper Dolls
Tim Holtz Idea-ology - Design Tape, Trims
Tim Holtz Idea-ology - Baubles
Tim Holtz Idea-ology - Metal Gates
Distress Rock Candy Dry Glitter
Stampers Anonymous Glitter Duster
Distress Mica Flakes
Distress Holiday Grit Paste - Snowfall
Distress Watercolor Pencils
Distress Spray Stains - Tumbled Glass, Brushed Pewter, Vintage Photo
Distress Oxide Spray Stain - Brushed Corduroy


Wednesday, January 25, 2023

Forest Junk Journal – Chapter 1 Sizzix Dies with Eileen Hull

Time for a closer look at the second project I made for Eileen Hull's Chapter 1 Release Party! It's a forest themed junk journal that is stuffed full of fun stuff.

Lisa Hoel for Eileen Hull - Sizzix Chapter 1 release projects  #EileenHull  #eileenhulldesigns  #sizzix #mymakingstory #TeamEileen #mysizzixstory

I love the flap on the new Frame Pocket Journal Die; it adds a nice touch. You can also make the journal without it (you can configure it a number of ways.) 

Lisa Hoel for Eileen Hull - Sizzix Chapter 1 release projects  #EileenHull  #eileenhulldesigns  #sizzix #mymakingstory #TeamEileen #mysizzixstory

The large pocket component can be cut out of mat board and used inside the journal covers to hold tags and other ephemera. You can also cut it out of paper and fold it into a flat pocket to use on a journal page instead.

Lisa Hoel for Eileen Hull - Sizzix Chapter 1 release projects  #EileenHull  #eileenhulldesigns  #sizzix #mymakingstory #TeamEileen #mysizzixstory

The pocket frame part of the die is a wonderful element to use through out your journal. Here I mounted it onto a large tag as a base and a smaller tag fits right into it.

Lisa Hoel for Eileen Hull - Sizzix Chapter 1 release projects  #EileenHull  #eileenhulldesigns  #sizzix #mymakingstory #TeamEileen #mysizzixstory

Here's a look at the inside pages:

Lisa Hoel for Eileen Hull - Sizzix Chapter 1 release projects  #EileenHull  #eileenhulldesigns  #sizzix #mymakingstory #TeamEileen #mysizzixstory
Frame pocket again on a page with a slide in tag.

Lisa Hoel for Eileen Hull - Sizzix Chapter 1 release projects  #EileenHull  #eileenhulldesigns  #sizzix #mymakingstory #TeamEileen #mysizzixstory

Lisa Hoel for Eileen Hull - Sizzix Chapter 1 release projects  #EileenHull  #eileenhulldesigns  #sizzix #mymakingstory #TeamEileen #mysizzixstory
Here's the frame pocket on a page with a card that slides out.

Lisa Hoel for Eileen Hull - Sizzix Chapter 1 release projects  #EileenHull  #eileenhulldesigns  #sizzix #mymakingstory #TeamEileen #mysizzixstory

Lisa Hoel for Eileen Hull - Sizzix Chapter 1 release projects  #EileenHull  #eileenhulldesigns  #sizzix #mymakingstory #TeamEileen #mysizzixstory

Lisa Hoel for Eileen Hull - Sizzix Chapter 1 release projects  #EileenHull  #eileenhulldesigns  #sizzix #mymakingstory #TeamEileen #mysizzixstory

Lisa Hoel for Eileen Hull - Sizzix Chapter 1 release projects  #EileenHull  #eileenhulldesigns  #sizzix #mymakingstory #TeamEileen #mysizzixstory

Lisa Hoel for Eileen Hull - Sizzix Chapter 1 release projects  #EileenHull  #eileenhulldesigns  #sizzix #mymakingstory #TeamEileen #mysizzixstory

Lisa Hoel for Eileen Hull - Sizzix Chapter 1 release projects  #EileenHull  #eileenhulldesigns  #sizzix #mymakingstory #TeamEileen #mysizzixstory

Lisa Hoel for Eileen Hull - Sizzix Chapter 1 release projects  #EileenHull  #eileenhulldesigns  #sizzix #mymakingstory #TeamEileen #mysizzixstory

Lisa Hoel for Eileen Hull - Sizzix Chapter 1 release projects  #EileenHull  #eileenhulldesigns  #sizzix #mymakingstory #TeamEileen #mysizzixstory
The Library Pocket is great for pages.

Lisa Hoel for Eileen Hull - Sizzix Chapter 1 release projects  #EileenHull  #eileenhulldesigns  #sizzix #mymakingstory #TeamEileen #mysizzixstory

Some process high lights:

1) Here are the parts for the journal structure. I cut them out of mat board first and then added the patterned paper with adhesive sheets, trimming excess. I wanted to be able to precisely place the patterned paper on the cover parts so I did it this way. You can also adhere paper to the mat board first and then cut the parts. 

Cut with a craft knife through the patterned paper over the
score lines if you adhere it afterwards.

2) I stamped the insides of the journal cover before assembling.


I like to use a wet glue adhesive to glue my covers together. Strong red line tape also works well. Tip: peel the top layers off the mat board tabs to lessen the bulk of your glued joint.

3) Pocket frame component from the Frame Pocket Journal Die. I mounted it on a tag for this example. It holds a smaller tag. I like the peek a boo window.


4) Here's a closer look at the Library Pocket, ATC Card & Tabs Die. So handy and versatile! I used the pockets throughout the journal and liberally sprinkled tabs everywhere ha ha.


You made it through this really long post! Good job! Thanks for stopping by and be sure to keep an eye on Eileen's blog for more inspiration from the Educator and Inspiration Teams.

Supplies used:

Eileen Hull ScoreBoards Plus Die - Frame Pocket Journal ( Sizzix, SB )
Eileen Hull Die Set - Library Pocket, ATC Card & Tabs  ( SizzixSB )
Eileen Hull Die - Tile Alphanumeric  ( SizzixSB )
Tim Holtz 3-D Embossing Folder - Tree Rings ( SizzixSB )
Tim Holtz 3-D Embossing Folder - Pine Branches ( SizzixSB )
Sizzix 3-D Embossing Folder - Leaf Veins ( SizzixSB )

Tim Holtz Sizzix Die Sets: Bunny Hop, Branched Birch, Feathered Friends, Block Adventure Words, Funky Insects, Funky Nature, Darling Deer, Garden Greens, Funkie Foliage, Garden Greens
Tim Holtz Stamp Sets: Slight Alterations, Nature Walk, Ledger Script, Birch & Pine, Curiosities, Forest Floor, Yuletide Gatherings, Tiny Toadstools, Tree Line, Bird Feather, Specimen, Field Notes, Falling Leaves, Leaf Prints 2, Entomology
Patterned paper - Stamperia 8x8 pad, Forest Life

Some links in this post are affiliate links which do not affect the price you pay but allow me to earn a small percentage of a sale. Thanks! (My husband also thanks you!)


Tuesday, January 24, 2023

Sizzix Chapter 1 Card Tutorial with Eileen Hull Dies

Hello there! All this month Eileen Hull's designers have been sharing the tutorials from their fabulous projects shared in the Chapter 1 Release Party January 3rd. This week it's my turn! First up is this mixed media card I created.

Lisa Hoel for Eileen Hull - Sizzix Chapter 1 release projects  #EileenHull  #eileenhulldesigns  #sizzix #mymakingstory #TeamEileen #mysizzixstory

The new Chapter 1 release:


Here is a bit of the how-to for my project…

1) First I embossed a piece of white card stock using the 3-D Tablecloth Embossing Folder. This new folder is right up there with Eileen's other 3-D Embossing Folders. The detail is AMAZING! I love it. I inked the embossing folder with Archival ink first, then embossed the paper. The ink transfers into the recessed areas of the embossing. It really makes the details pop.


2) The background is a full sheet of Tile Alphanumeric cut out of a gel print. You can also tear it apart at the perforations to make little letter squares or use the letters themselves. Very versa-tile! (ha ha)


3) The Library Pocket, ATC Card and Tab Die Set makes a great little pocket to hold a card that can be removed to write a little message on.


4) I also used some of Eileen's stamp sets (Buttons, Cards & More and Making Plans) to add stamping for visual texture to the card.


Thanks for stopping by and be sure to keep an eye on Eileen's blog for more inspiration from the Educator and Inspiration Teams!

Supplies used:

Eileen Hull Die Set - Library Pocket, ATC Card & Tabs  ( Sizzix, SB )
Eileen Hull Die - Tile Alphanumeric  ( Sizzix, SB )
Eileen Hull 3-D Embossing Folder - Tablecloth ( Sizzix, SB )
Eileen Hull Stamp Set - Buttons, Cards & More
Eileen Hull Stamp Set - Making Plans
Gel Press Printing Plate

Some links in this post are affiliate links which do not affect the price you pay but allow me to earn a small percentage of a sale. Thanks! (My husband also thanks you!)