Showing posts with label seahorse. Show all posts

Wednesday, June 11, 2025

To the Sea with Lavinia & Topflight Stamps

This week at Topflight Stamps our theme is "Ocean" and I'm back with a second card to share with you. The store has a wide assortment of products that match the theme so check them out! One of my favorite Lavinia Stamps is Sebastian Sea Horse. I stamped it over a Gel Press print I made. I've also been having lots of fun using the new Quirky Post AALL & Create Die Set so it makes another appearance here too.


Lisa Hoel for Topflight Stamps #creativejuicefreshsqueezed #topflightstamps

Thanks for stopping by and be sure to check out the Topflight Stamps store for a wide selection of different and hard to find stamps, stencils and other paper crafting supplies from all around the world! Also keep an eye on the Topflight Stamps blog. There is new inspiration posted daily!


Topflight Stamps Supplies Used:

Lavinia Stamp - Sebastian Sea Horse
Lavinia Stamp - Shoal of Fish
Lavinia Stamp Set - Sea Creatures
Lavinia Stencil - Coral
AALL & Create Stamp Set - Everyday Sentiments
AALL & Create Die Set - Quirky Post
Clair Ink Pad - Nocturne
Lavinia Elements Ink Pad - Blue Atoll


Wednesday, May 26, 2021

Part 2 of the "Unconventional Materials" Project – Submarine Tunnel Book!

This month Eileen Hull's May project theme is "Unconventional Materials". Her design Teams have been hard at work and stretching their creativity by using 'not so normal' supplies and her Sizzix dies to create some really cool makes! Check out her blog if you've missed any posts this month. Last week I shared Part 1 of my Submarine Tunnel Book. You only got to see the cover but now you can see the coral reef tunnel book I created inside!

Lisa Hoel for Eileen Hull - Submarine Tunnel Book made with Eileen's Sizzix Folio Album Die and lots of #TimHoltz goodies    #eileenhull #eileenhulldesigns #eileenhullsizzix #ehinspirationteam #eheducators #Sizzix #mymakingstory #diecutting
the 'porthole' cover

Open it up and what do you see?

Lisa Hoel for Eileen Hull - Submarine Tunnel Book made with Eileen's Sizzix Folio Album Die and lots of #TimHoltz goodies    #eileenhull #eileenhulldesigns #eileenhullsizzix #ehinspirationteam #eheducators #Sizzix #mymakingstory #diecutting
An explosion of tropical color!

Some of the unconventional materials used are Tyvek mailing envelopes, paint chips and candy wrappers!
Lisa Hoel for Eileen Hull - Submarine Tunnel Book made with Eileen's Sizzix Folio Album Die and lots of #TimHoltz goodies    #eileenhull #eileenhulldesigns #eileenhullsizzix #ehinspirationteam #eheducators #Sizzix #mymakingstory #diecutting

I think this just might be an octopus's garden!

Lisa Hoel for Eileen Hull - Submarine Tunnel Book made with Eileen's Sizzix Folio Album Die and lots of #TimHoltz goodies    #eileenhull #eileenhulldesigns #eileenhullsizzix #ehinspirationteam #eheducators #Sizzix #mymakingstory #diecutting

Back on the outside, here are a few details of the cover:

Lisa Hoel for Eileen Hull - Submarine Tunnel Book made with Eileen's Sizzix Folio Album Die and lots of #TimHoltz goodies    #eileenhull #eileenhulldesigns #eileenhullsizzix #ehinspirationteam #eheducators #Sizzix #mymakingstory #diecutting
Porthole is a Sizzix Shaker Dome!

Lisa Hoel for Eileen Hull - Submarine Tunnel Book made with Eileen's Sizzix Folio Album Die and lots of #TimHoltz goodies    #eileenhull #eileenhulldesigns #eileenhullsizzix #ehinspirationteam #eheducators #Sizzix #mymakingstory #diecutting
Detail of the closure (see Part 1 for the how-to)

The tunnel "frame" is created using Eileen's Bookbinding Die (tutorial below):

Lisa Hoel for Eileen Hull - Submarine Tunnel Book made with Eileen's Sizzix Folio Album Die and lots of #TimHoltz goodies    #eileenhull #eileenhulldesigns #eileenhullsizzix #ehinspirationteam #eheducators #Sizzix #mymakingstory #diecutting

Let's see how it came together! Visit my Part 1 blog post for the cover tutorial. This tutorial is about the inside construction.

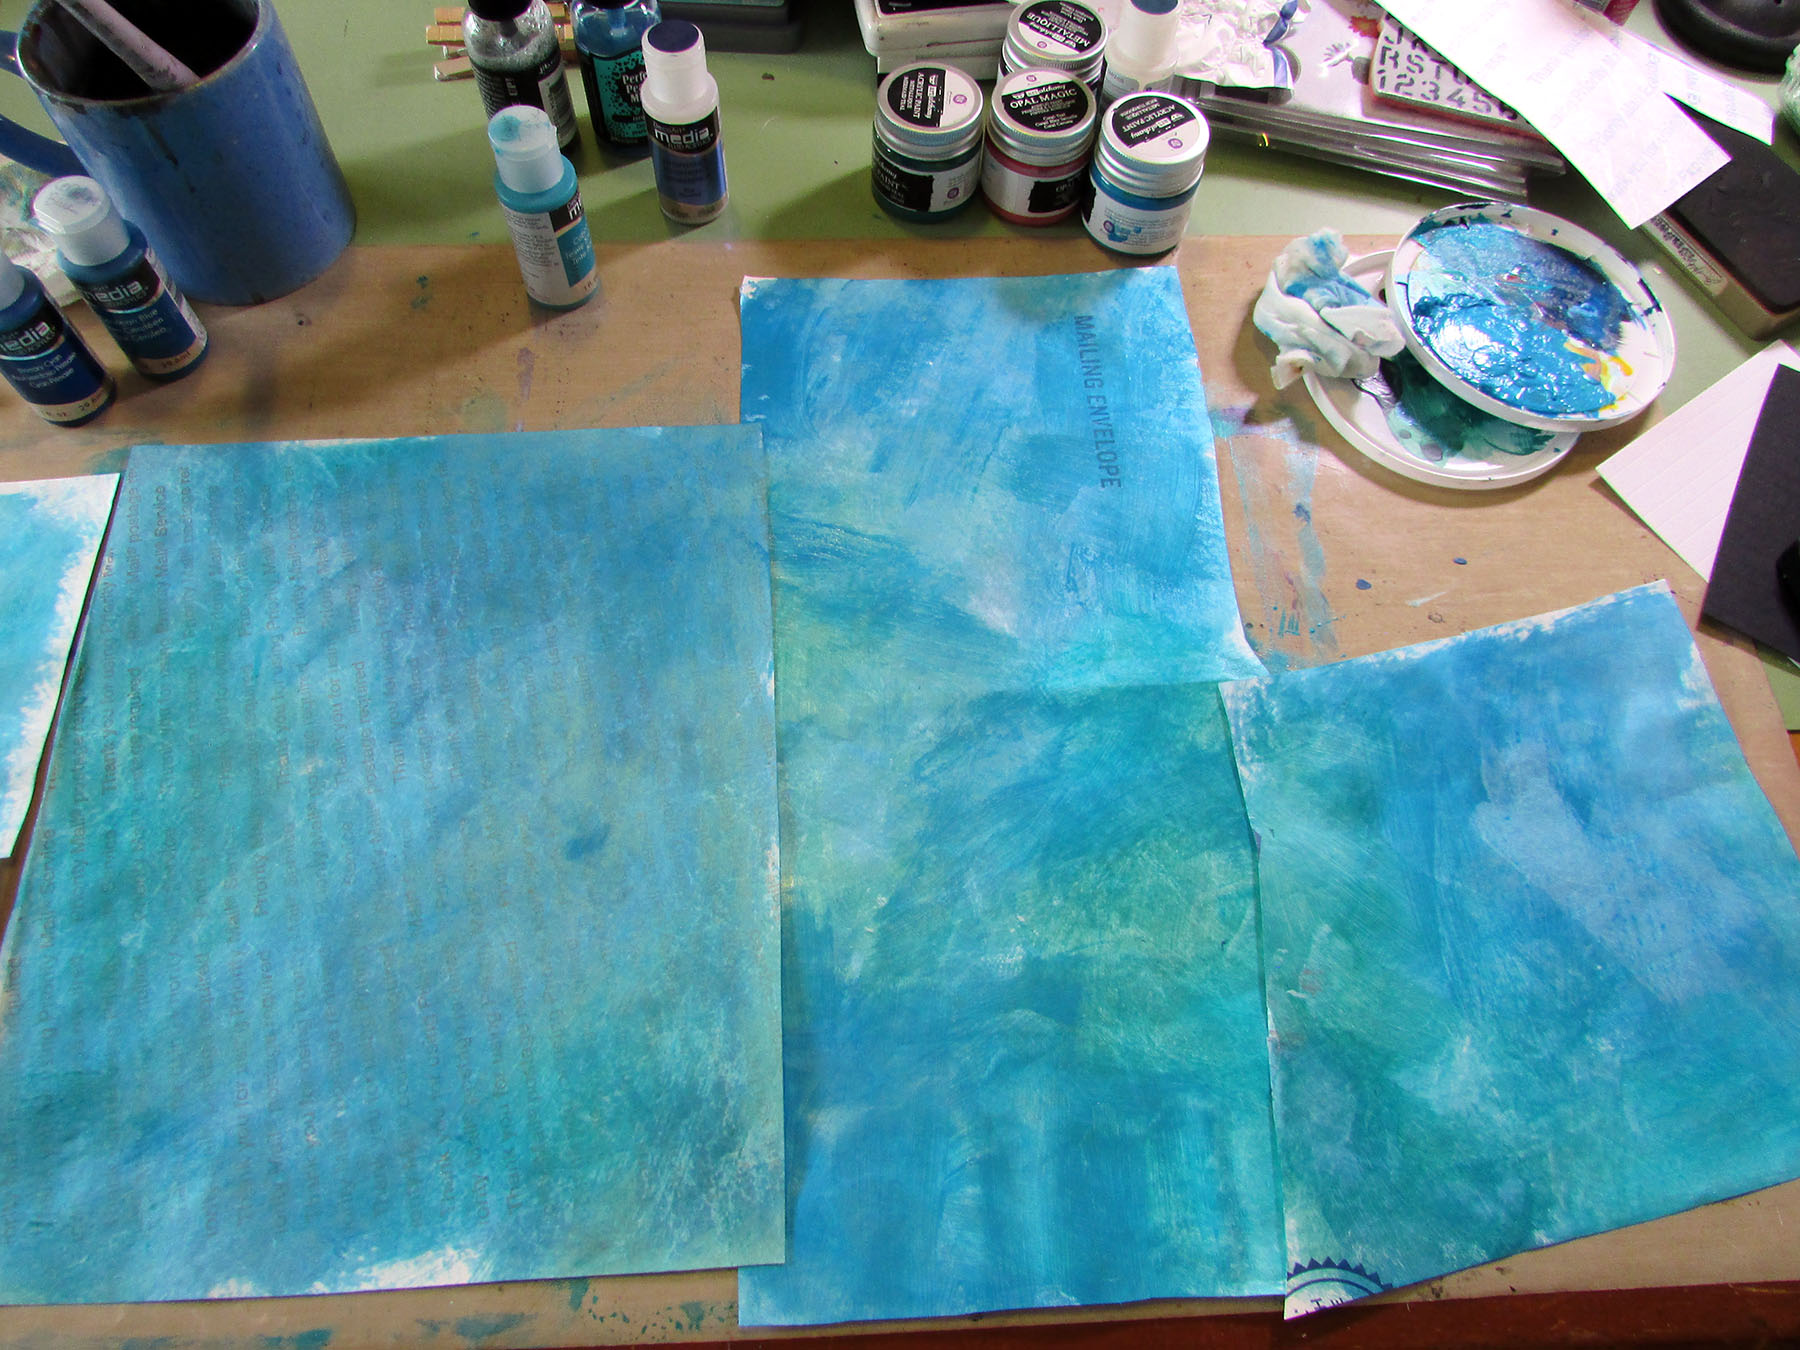
Step 1 – Playing with Tyvek. Tyvek is a synthetic nonwoven material that is durable and tear resistant. It's used in applications such as shipping supplies, housewrap, and worksuits. However, it is not heat stable which is a property we can exploit for art! I found this video from Sandra Duran Wilson very helpful in explaining what you can do with it. I used mailing envelopes as my Tyvek source.


I used various acrylic paints to color the cut up envelopes. If your paint is too thick it will inhibit the bubbling when heat is applied so I kept my layers thin.


You can use a heat gun or an iron to apply heat to the Tyvek to make it bubble. It tends to curl and move around more with the heat gun so I stuck with my iron because I wanted flatter pieces I could put inside my book.


Watch the video for more detailed directions, but basically you need to sandwich the painted Tyvek between two press sheets (baking parchment or silicon craft mats) and then hover the hot iron over the top. You don't place the iron directly onto the Tyvek or press sheet covering it. It bubbles unpredictably which is part of the fun!

I cut and glued sections onto the insides of the front
and back covers of the book.

Step 2 – Brackets for Tunnel Pages. I cut four of the bookbinding folding spine units, two for each side. I folded them up and glued them together (see below).


'How to fold' detail

To make them easier to handle, I mounted each of the two spine units to a piece of cardstock cut to 3" x 4.75".


Then I glued the units into my cover:


Step 3 – I made a bunch of "reef parts" to have at the ready as I began assembly. I used cardstock and some more unusual materials (as per our May theme!)

Paint chips!

I think the Funky Cactus Die Set is great for 'coral'!

Candy wrappers!

I started by decorating the inside cover with die cuts, more of the Tyvek "bubbles" and "pirate treasure" from my bits and bobs stash.


Step 4 – Making the Tunnel pages. First I cut four pages to create my tunnel. The page die from the Folio Page, Pocket & Flowers Die Set made it really easy! I cut the centers out with the smallest opening for the back page and then gradating out in size to the front.


I checked the fit and made sure I liked the spacing and size of my tunnel openings.

Looks good!

I had some tiny clothespins which were handy for temporarily clipping the pages into place.


Step 5 – Assembly! I worked from back to front, gluing and stamping as I went.


To glue the pages in, I used a quick grab wet glue and applied a thin line to the back of the side edges of the tunnel page. My little clothespins were useful in holding the page in place while the glue dried. (Didn't take long).


Next layer!


Last layer and the little side pieces to cover the front set of spine tabs.


Well, that was a long post again! Congrats, you made it through. ;-)

Thanks for stopping by and next week will be a new month with a new theme! Be sure to keep an eye on Eileen's blog for some more inspiration.

I am also entering this into the Funkie Junkie Challenge Blog "Anything Goes" challenge. They always have fun challenges to enter every two weeks so check them out!

Supplies used:

Dies:
Eileen Hull Sizzix 
Folio Journal  Sizzix / SB )
Bookbinding & Label ( Sizzix / SB )
Folio Page, Pocket & Flowers ( Sizzix / SB ) 
Grass, #660326 - retired

Tim Holtz Sizzix
Funky Cactus Sizzix / SB )
Holiday Greens, Mini Sizzix / SB )
3-D Embossing Folder - Foundry Sizzix / SB )
Wacky Transport #1 Sizzix / SB )
Funky Festive Sizzix / SB )
Funky Festive, Large Sizzix )

Other:
Topflight Stamps, Lavinia Brand stamps - School of FishSea Creatures, Seaweed 2, Mini Fish, Fish Set
Topflight Stamps, Pink Ink Designs - Shell Nymph
Sizzix mat board
Distress Ink, Distress Oxide Ink - various colors
Distress Paint - Salvaged Patina, Black Soot
Distress Glaze - Salvaged Patina
Tim Holtz Idea-ology Hardware Heads
Tim Holtz Idea-ology Hitch Fasteners
Crop-a-dile Tool
eyelets
elastic cord
Stickles glitter glue - various colors


Some links in this post are affiliate links which do not affect the price you pay but allow me to earn a small percentage of a sale. Thanks! (My husband also thanks you!) If you shop at Topflight Stamps, use my coupon code LISAHOEL for 12% off your order.

Tuesday, July 16, 2019

The Big Reveal – Steampunk Atlantis!

Well, I have finally finished a project that has been literally in the works for years! It kept getting put on the back burner but now you can check it out…my Finding Atlantis steampunk configurations book! (Prepare for lots of photos!!)


Hmmm… what's inside?


Lots and lots of stuff, that's what!

I had so much fun collecting all the little bits and pieces to fill the cubbies. The whole project was really inspired by the fabric I found and used on the inside cover. It is from Spoonflower and is called The Deep Deep Depths. Whales, mermaids and steampunk?? It was fabulous!


One of the first elements I created was the Captain's "journal", made using Eileen Hull's Passport Book Die. It's full of maps, notes, and other nautically themed goodies. You can check it out in this blog post – there are lots of photos in that one too! It has its own little niche:


I suppose I should be methodical in the photos here. ;-) I'll go back to the outside for a detail photo:


I created a front panel from matboard and covered it with Distress Oxide inks, stamping, and embossing. I also embellished it with die cut gears and a center section comprised of more die cut parts and a metal mermaid ornament. I painted it all with the same gold paint to unify the parts and then antiqued it with black paint. Now, moving back to the inside:


Here's a detail of the goodies inside the cover. The fabric panel has a piece of batting underneath the fabric to give it some 'poof' and dimension.

The compartments!


It was fun going through all the stuff I had collected and creating each little compartment vignette.


I found this Empty Pocket Watch Pendant at Hobby Lobby and filled it with an old sea horse pin and little gears and die cuts.


I like how the front opens out.


The edges of all the little compartment boxes are covered with strips of brown Rinea foil paper and then distressed with their Ghost Ink by swiping it on parts and then wiping it off with alcohol and a paper towel. (The ink removes the color on the foil.)

Book niche!


I am entering this project into the following challenges: 

• SanDee & amelie's Summer Steampunk Special Challenge 'cause, steampunk!  

• The Vintage Journey July Challenge - Precious Metal because my project contains so many metal findings, foil paper, metallic paint and gold embossing powder.

• The Funkie Junkie Boutique Blog Challenge - Water, Water, Everywhere because our bold Captain's great passion for finding Atlantis took him on a quest over the seven seas (that is a lot of water) and sometimes his wife and children would accompany him as a vacation adventure. ;-)

Thanks for stopping by and making it through this long post! Below is a partial supplies list. This project has been in the works for so long and I've used so many different things there is no way I can list it all! ;-) I'll just hit the highlights.

Dies:
Eileen Hull Sizzix
Passport Book ( Sizzix / SB )

Tim Holtz Sizzix
Cameo Frame Sizzix )
Pediments - retired
whole bunch of gear dies

Other:
Steampunk sea fabric from Spoonflower - The Deep Deep Depths
Tim Holtz Configurations Book
Stamperia Paper Pack - Around the World
Tim Holtz stamp set - Architecture
Tim Holtz stamp set - Marble & Doily
tons of Tim Holtz Idea-ology
Seahorse Key Charm
Empty Pocket Watch Pendant
Rinea Foil Paper - brown
Rinea Ghost Ink

Store links in this post may be affiliate links which do not affect the price you pay but allow me to earn a small percentage of a sale. Thanks! (My husband also thanks you!)

Monday, August 13, 2018

Ocean Themed Home Decor

Hello there! Fall is on the horizon but it is still very summery around here. I like to put up ocean themed decor around the house during the summer months and this is the newest addition!


I also made this for the August Frilly and Funkie challenge where you need to incorporate arches or columns into your project. I was originally going to make this as a wreath but I really like the way it turned out with an arched background as a base.

I used a piece of paper from Graphic 45's Voyage Beneath
the Sea Collection (older) for my mermaid image.

The 'fan coral' replica came from a local craft store.

I finally got to use my new Tim Holtz Seashells die
with embossing folder!

How I did it:

Step 1 – I cut the arched base, shelf and column pieces out of foam core board. Using a brayer, I added Fresco Finish chalk paint to the background. I didn't worry about even coverage, I wanted the added visual texture.


Step 2 –  I added another layer of texture and color using Distress Spray Stain and two different kinds of color crystals. (They are very concentrated!) I misted with water, let the colors drip and sprinkled with water to form splotches as it dried.

Note that I masked off the bottom section with post it notes. I didn't want
color there that would react with the Sand Texture Paste when it was
time to add that.

Step 3 – Using stencils, I added areas of embossing to the background. (Embossing powder used was Seth Apter's Baked Texture in Patina Oxide and Deep Sea.) After the embossing I went back and added a bit more stenciling with just archival ink. I also very lightly added some light colored chalk paint with a brayer in a few areas.


Step 4 –  I added some metal foil tape around the edge and used a metal ball stylus to impress "rivets" into it. I highlighted them with Black Soot Distress Paint. (Dab it on, let it dry for a few minutes, and then wipe most of it off with a paper towel.)


I glued on the foam core shelf parts and when dry, covered all the surfaces with Sand Texture Paste. After that dried I used liquid acrylic paint to add more "sandy" color.

Step 5 – Tim Holtz's new Lumber 3-D embossing folder is a treat to use! The substrate is Sizzix mat board. First I swiped on Old Paper Distress Paint to act as a resist in a few places. The coverage was uneven purposefully. I let it dry and then sprayed it with Pumice Stone stain and swiped on Brushed Corduroy stain in a few places. When it had mostly dried (but was still a little damp) I ran it through my Big Shot in the 3-D Lumber folder. (The texture!! love!) I highlighted the raised grain texture with Hickory Smoke Oxide Distress Ink and Watering Can Archival Ink.


Step 6 – I cut the "planks" apart and inked all the edges, then glued them onto a chipboard base. The mermaid image is from a Graphic 45 collection from a few years ago. I covered it with Crazing Distress Collage Medium. I think the Idea-ology clipboard clips might be retired. Good thing I had one in my stash! It attached to my base with brads and some glue for extra security.


Step 7 – Now came the fun part! I had all my elements ready to go and the plastic fan coral piece firmly glued in place on the shelf. I used Soft Matte Gel and a glue gun to adhere all the different parts.

Thank goodness for hot glue guns!

Thanks for sticking with me on this long blog post! Hopefully you learned a new trick or two. ;-) Have a great week!

Dies:
Sand & Sea (Sizzix / SB)
Seashells (Sizzix / SB)
Garden Greens (Sizzix / SB)
Branch w/ Leaves & Flower - retired
3-D Texture Fades Embossing Folder - Lumber (Sizzix / SB)

Other:
Tim Holtz Stamp Set - Slight Alterations
Tim Holtz Layering Stencil - Splash
Prima Stencil - Netting
Ranger Diana Wakely Stencil - Mighty Wave
Color Burst - Turquoise
Paper Artsy Infusions - A Bit Jaded
Ranger Archival Ink - Cornflower Blue, Potting Soil, Forget Me Not, Watering Can, Pale Ochre
Distress Inks - Ground Espresso
Distress Oxide Inks - Carved Pumpkin, Aged Mahogany, Wilted Violet, Picked Raspberries, Hickory Smoke
Distress Spray Stain - Mowed Lawn, Cracked Pistachio, Pumice Stone, Old Paper, Brushed Corduroy, Antique Bronze
Graphic 45 - Voyage Beneath the Sea
Sizzix Paper Leather - pink
Paper Artsy Fresco Paint - Metallic Glaze, Antarctic, Snowflake, Slate, Captain Peacock, Caribbean Sea
Baked Texture Embossing Powder - Patina Oxide, Deep Sea
Prima Glass Glitter - Copper, Gold Rush
Idea-ology Clipboard Clip
Spray workable fixative
Ranger Distress Collage Medium - Crazing
Ranger Glossy Accents
Prima Soft Matte Gel
DecoArt Media Crackle Glaze and Texture Sand Paste
DecoArt Media Liquid Acrylics - Vermillion, Yellow Ochre, Transparent Yellow Iron Oxide

Sizzix and Scrapbook.com links in this post are affiliate links which do not affect the price you pay but allow me to earn a small percentage of a sale. Thanks! (My husband also thanks you!)