Showing posts with label Card Caddy Die. Show all posts

Tuesday, August 8, 2023

Eileen Hull Floral Silhouettes Notebook Journal Tutorial

Lisa Hoel for Eileen Hull - Special die release, found only on Scrapbook.com!   #EileenHull  #eileenhulldesigns  #sizzix #mymakingstory #TeamEileen #mysizzixstory

Did you hear
the news and catch the big releaseEileen Hull introduced a new die collection designed just for Scrapbook.com! You will find lots of ways to use these dies whether you like making cards, journals or home decor. Each die coordinates with the set but also stands alone, giving you good value! 


One of the projects I made is a mixed media notebook journal using the Card Caddy Die for the base and the Floral Silhouettes and Everyday Tags & Labels Die Sets for the embellishing.

Lisa Hoel for Eileen Hull - Special die release, found only on Scrapbook.com!   #EileenHull  #eileenhulldesigns  #sizzix #mymakingstory #TeamEileen #mysizzixstory

Lisa Hoel for Eileen Hull - Special die release, found only on Scrapbook.com!   #EileenHull  #eileenhulldesigns  #sizzix #mymakingstory #TeamEileen #mysizzixstory
I used the gorgeous 49 and Market Rouge Collection
of papers and rub-ons.

Lisa Hoel for Eileen Hull - Special die release, found only on Scrapbook.com!   #EileenHull  #eileenhulldesigns  #sizzix #mymakingstory #TeamEileen #mysizzixstory
Sticky note pad in the back

Now for the cover tutorial!

Step 1 - I die cut floral strips out of cardstock and adhered them in rows to another piece of cardstock. I used the panel die from the Starlit Village & Card Panel Die Set to trim out the journal front panel. (With a bit of an inset, it fits just perfectly onto the base cut with the Card Caddy Die.)


Step 2 - I glued the floral panel onto the journal cover and sealed all the surfaces with a coat of Collage Medium Matte. (In preparation for the next step!)


Step 3 - The fun part! Distress Crayons don't blend well on raw, non-coated paper which is why I sealed all the surfaces with the Distress Medium Matte. I could blend away! Once the crayons dry, they become permanent.

Fingers make the best tools for blending!

Step 4 - I punched holes in the spine to allow for stringing in elastic to hold the signatures.


Thanks for stopping by and be sure to keep an eye on Eileen's blog for more inspiration from the Educator and Inspiration Teams.

Supplies used:

Eileen Hull Die - Card Caddy  ( SizzixSB )
Eileen Hull Thinlits Die Set - Floral Silhouettes (available only at Scrapbook.com!)
Eileen Hull Thinlits Die Set - Everyday Tags & Labels (available only at Scrapbook.com!)
Eileen Hull Thinlits Die Set - Starlit Village & Card Panel (available only at Scrapbook.com!)
Eileen Hull Stamp Set - Making Plans


Some links in this post are affiliate links which do not affect the price you pay but allow me to earn a small percentage of a sale. Thanks! (My husband also thanks you!)


Friday, July 28, 2023

New Eileen Hull Dies Available Only at Scrapbook.com!


Big news! Eileen Hull is i
ntroducing a new die collection designed just for Scrapbook.com! You will find lots of ways to use these dies whether you like making cards, journals or home decor. Each die coordinates with the set but also stands alone, giving you good value! 


The Card Caddy is a ScoreBoards die, specially designed to cut and score thick material like matboard, chipboard, leather, felt and fabric, creating a sturdy base for other coordinating dies in the collection. The Caddy assembles in minutes. Use the die to create a card box, container for food gifts, holiday packaging or stationery, art journal, planners and cards – all this from one die!

Each of the three coordinating Thinlits sets fit perfectly on the box – cover with paper or fabric and create a special box of cards for yourself, friends or family!

Everyday Tags & Labels includes 13 dies: labels, tags, snowflake, flowers, and stars- everything you need throughout the year to add to gifts, cards, tags and journals!

The Floral Silhouettes die set has 12 elements: floral borders and swag, individual layering flowers and centers and delicate foliage. Make the flowers in layers, or cut from watercolor paper and paint each flower by hand! Flowers work on everything and these are the cutest shapes!

The Starlit Village & Card Panel die set comes with ten dies: two rows of small houses, individual houses, moon, star cluster and Warm Wishes sentiment. These dies make a gorgeous Christmas village- or paint a pastel row to make beach cottages- it’s all up to you!

These dies are only available at Scrapbook.com so buy soon before they sell out!

Let's take a look at some inspiration made using these new dies:

Lisa Hoel for Eileen Hull - Special die release, found only on Scrapbook.com!   #EileenHull  #eileenhulldesigns  #sizzix #mymakingstory #TeamEileen #mysizzixstory

Here is a Card Caddy treat container decorated with the Starlit Village & Card Panel die set. The card panel part of the set is so handy! It cuts a panel that insets slightly and fits perfectly on the front of the card caddy. And those little houses are so sweet!

Lisa Hoel for Eileen Hull - Special die release, found only on Scrapbook.com!   #EileenHull  #eileenhulldesigns  #sizzix #mymakingstory #TeamEileen #mysizzixstory

Here I used the Card Caddy Die to create a journal cover. The cover is embellished with die cuts made using the Floral Silhouettes die set as well as a label cut with the Everyday Tags & Labels die set.

Lisa Hoel for Eileen Hull - Special die release, found only on Scrapbook.com!   #EileenHull  #eileenhulldesigns  #sizzix #mymakingstory #TeamEileen #mysizzixstory

You can use all these dies to make 2-D projects like cards too. The panel cut from the Starlit Village & Card Panel die set fits so perfectly onto the card base made using the Card Caddy Die. A flower strip from the Floral Silhouettes set complements it perfectly.

Head on over to Eileen Hull's blog to see more project inspiration and die details! Also, Eileen's Live today is sure to be fun as she shares more about this exciting release that can only be found at Scrapbook.com. I'll be sharing some tutorials for these projects throughout August so stay tuned for that as well.


Wednesday, July 5, 2023

Funkie Junkie Focus – Bird Notes Card Caddy

Hello there Funkie Junkie fans! Our new focus theme is "use your favorite Tim Holtz product". (Like I could choose just one thing – impossible!) Therefore I have used various Distress medias, stamps, dies and stencils to create a Card Caddy full of notecards.

Lisa Hoel for The Funkie Junkie Boutique    #creativejuicefreshsqueezed  #eileenhull #mymakingstory #tim_holtz #thefunkiejunkieboutique #sizzix

Mixed media is the best! All the goodies play so nicely together…

Lisa Hoel for The Funkie Junkie Boutique    #creativejuicefreshsqueezed  #eileenhull #mymakingstory #tim_holtz #thefunkiejunkieboutique #sizzix

I made a set of ten cards to fit into the Card Caddy holder.

Lisa Hoel for The Funkie Junkie Boutique    #creativejuicefreshsqueezed  #eileenhull #mymakingstory #tim_holtz #thefunkiejunkieboutique #sizzix

Lisa Hoel for The Funkie Junkie Boutique    #creativejuicefreshsqueezed  #eileenhull #mymakingstory #tim_holtz #thefunkiejunkieboutique #sizzix

Let's take a look at how I made them:

Step 1 – I created backgrounds to cut up into card fronts. First I used Distress Sprays to lay down some color onto cardstock.


I added a secondary layer of visual texture with stencils.


Step 2 – I chopped the pages up into card fronts before adding more stamping and texture. Meanwhile, I had also cut the card bases and mats (from Kraft Stock Sparkle Classic – it added some nice bling to the cards).

Step 3 – I set the card bases off to the side and continued on with adding more to the fronts. Stamped texture went on first. Using the set of Everyday Art Element Stencils and Distress Embossing Dabber, I then added Distress Glazed accents. 

I adhered the die cut Silhouette Birds and Small Talk sentiments, then did some additional stamped texture over everything.

Step 4 – The Card Caddy Die (currently 50% off!) is a cinch to put together. I cut the pieces out of Sizzix mat board and then inked them. The tabs fold on the score lines and I glued it all together with a strong, quick grab liquid glue. (Clothespins are great for holding the tabs in place while the glue is drying.)


Thanks for stopping by. Keep an eye on the Funkie Junkie Boutique Blog, Inspiration Ave. because you are now getting regular doses of expanded (and inspiring) content each week. Don't miss it…

Supplies used:

Eileen Hull Scoreboards Die - Card Caddy (currently 50% off!)
Tim Holtz Thinlits Die Set - Silhouette Birds
Tim Holtz Stamp Set - Grunged
Tim Holtz Stamp Set - Tiny Toadstools
Tim Holtz Stamp Set - Stitches
Tim Holtz Layering Stencils - Markings, Brush, Ringer, Brush Hex
Tim Holtz Element Stencils - Everyday Art

Tim Holtz Idea-ology: 
Small Talk
Kraft Stock - Sparkle Classic

Sizzix Mat Board

Distress Archival Ink - Dandelion, Pink Peony, Plum
Distress Spray Stains - Saltwater Taffy, Kitsch Flamingo, Antique Linen
Distress Oxide Spray Stain - Squeezed Lemonade, Antique Linen
Distress Oxide Ink - Seedless Preserves, Squeezed Lemonade, Dried Marigold
Distress Glaze - Picked Raspberries, Wild Honey
Distress Embossing Dabber


Wednesday, March 29, 2023

Funkie Junkie Focus – Let's Be Neutral

Hello there. Our current Funkie Junkie theme is "Let's Be Neutral" with a focus on the new Tim Holtz Distress color Lost Shadow. It's another great addition to the Distress color palette!  I had fun playing with a neutral color scheme and created a desk set using Eileen Hull's Card Caddy Die for the structure.

Lisa Hoel for The Funkie Junkie Boutique - Card Caddy Desk Set  #creativejuicefreshsqueezed #eileenhull #mymakingstory #tim_holtz #thefunkiejunkieboutique #sizzix

The box holds envelopes and a couple of little notebooks:

Lisa Hoel for The Funkie Junkie Boutique - Card Caddy Desk Set  #creativejuicefreshsqueezed #eileenhull #mymakingstory #tim_holtz #thefunkiejunkieboutique #sizzix

Let's take a look at some of the how-to details…

First, these are all the neutral Distress colors I used:


Step 1 – I used Lost Shadow, Hickory Smoke and Black Soot Distress paints to color the mat board I used to cut the card caddy base from.


Step 2 – I went to town making all sorts of backgrounds! Using Distress Glaze on paste is always a fun technique. This one was Opaque Crackle Paste with Lost Shadow Glaze on top. Add the powder while the paste is wet, let it dry (and crackle!), then heat emboss. Fun! I added various Distress Sprays after that.


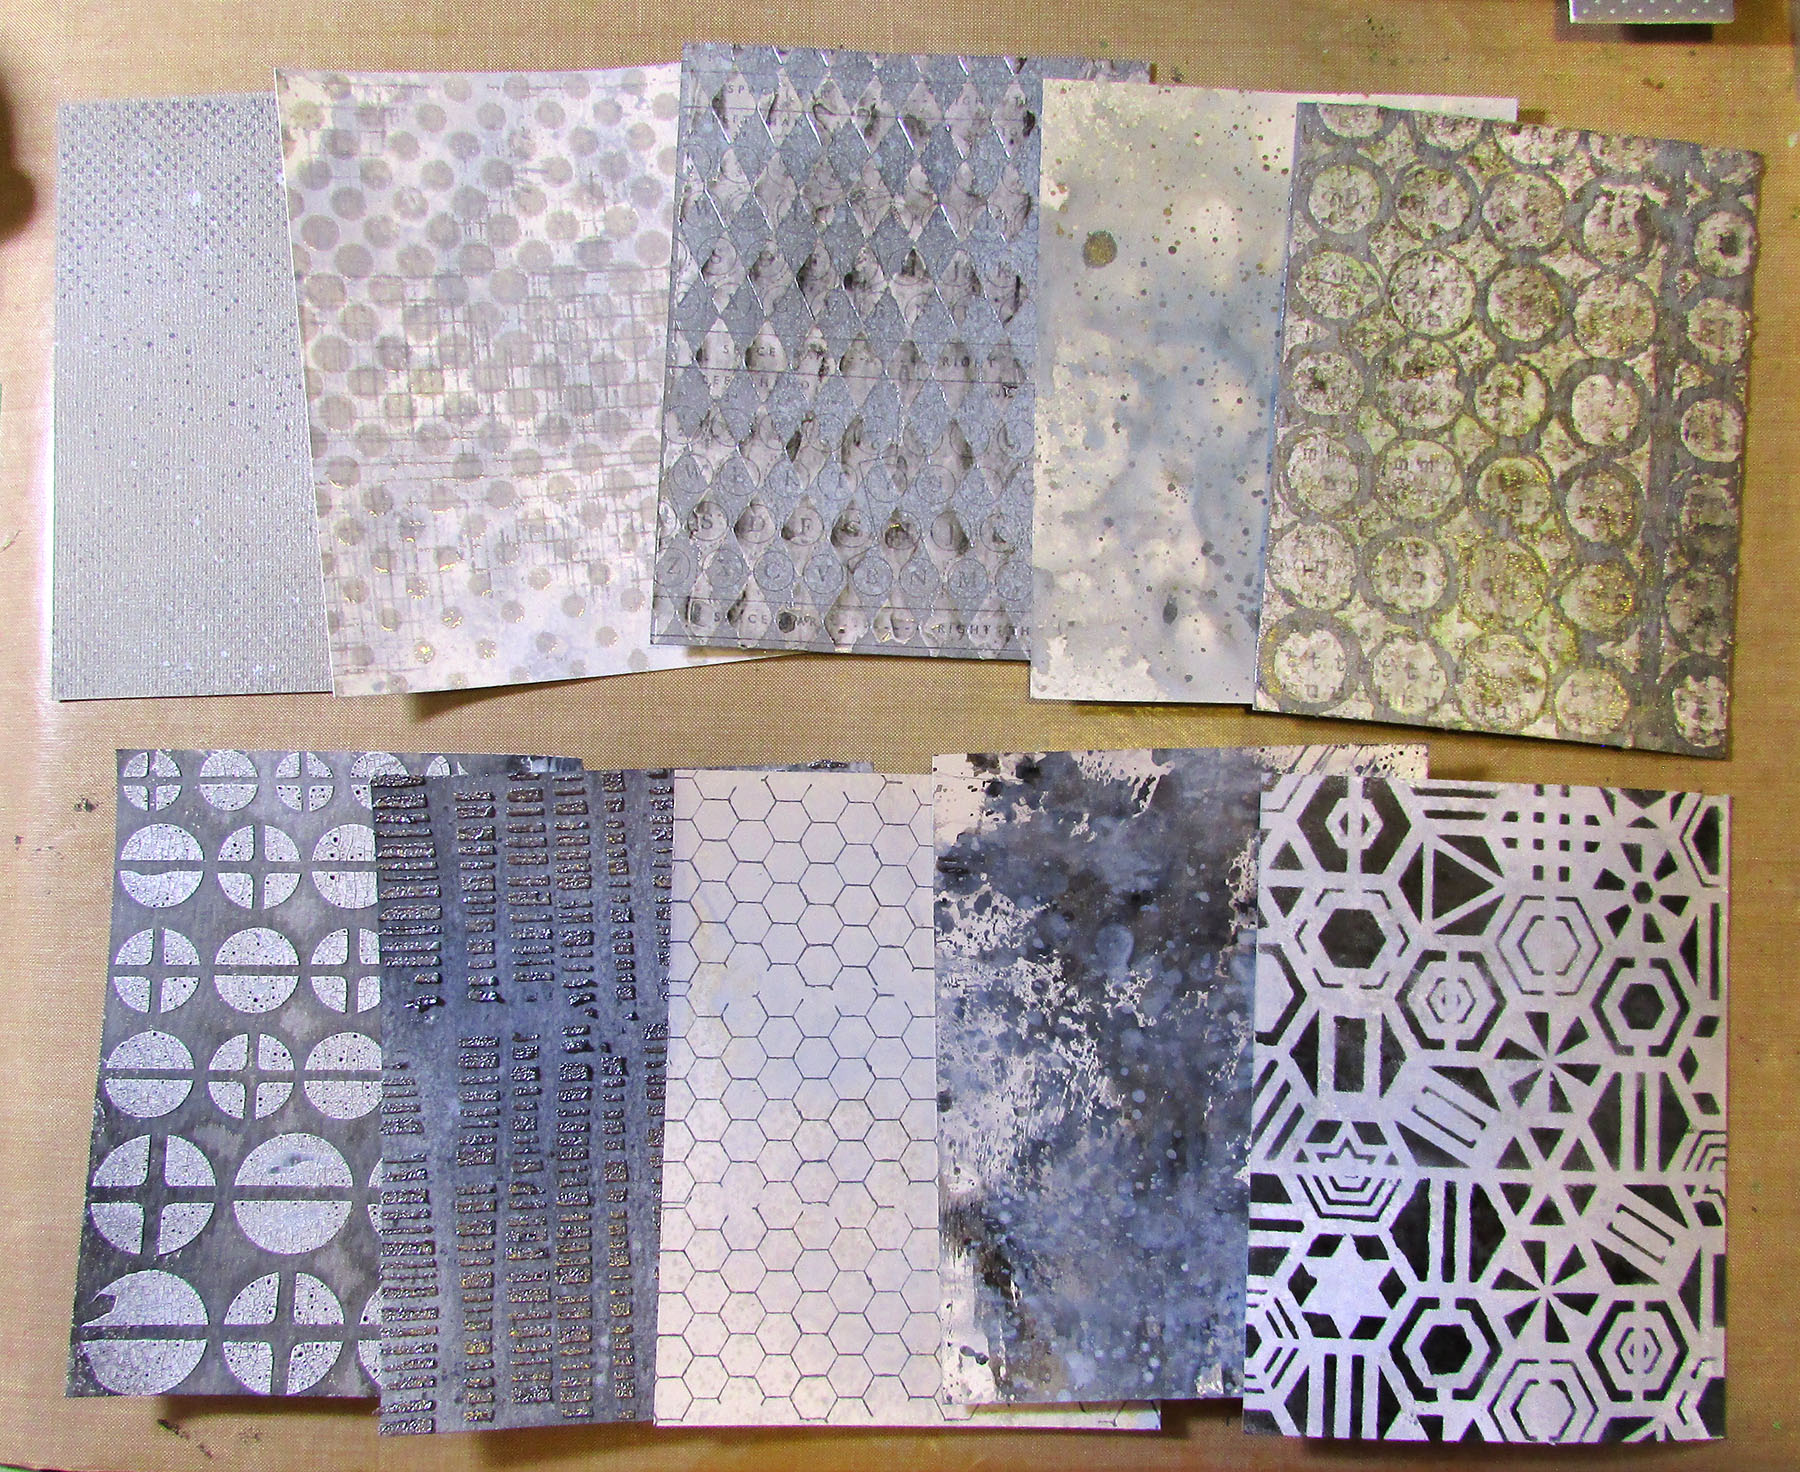
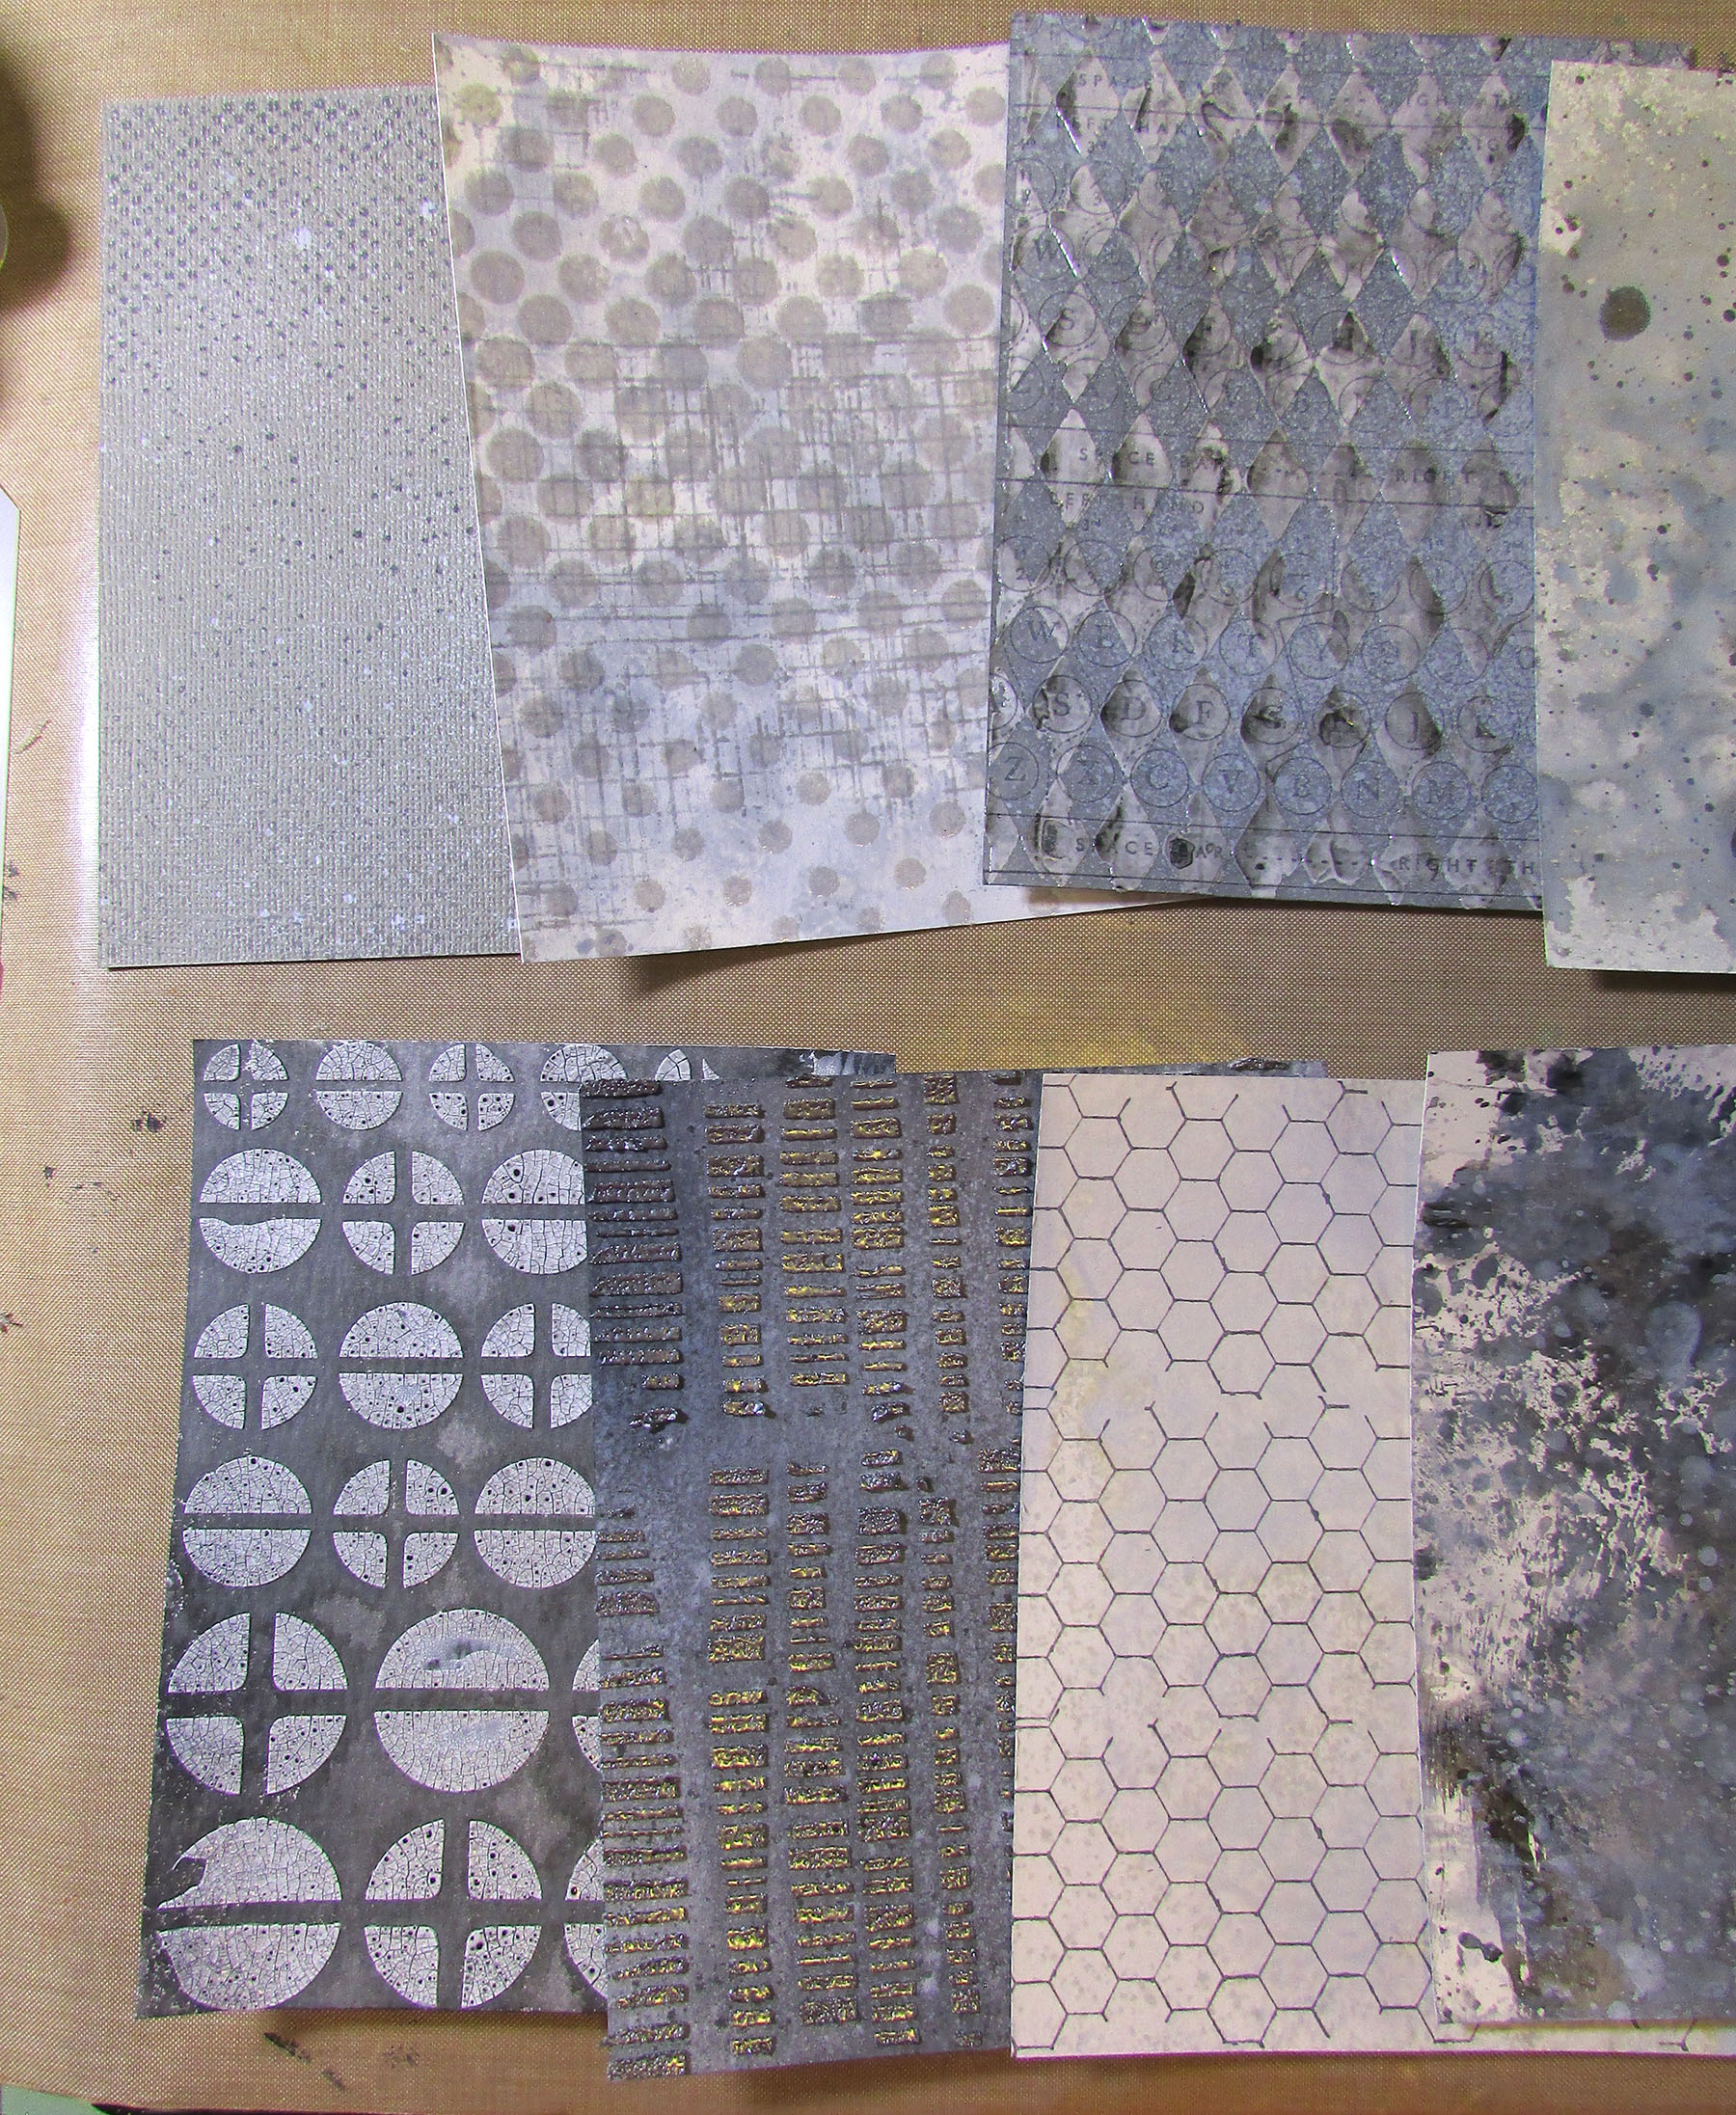
Here are all the different backgrounds I created! 


Step 3 – Making the patchwork front

I cut up the backgrounds into wonky strips.

Then arranged them.


I flipped the pieces over and taped together with washi tape.


Turned it 90 degrees and then cut strips going the other way.


Shuffled the strips and arranged in a pleasing way.


Flipped it over again to tape the new seams.


Once it was all taped up and secure I cut a piece out of it to fit onto the front of the card caddy and also a panel to put on the front of one of the little notebooks.


After that I just had to assemble the card caddy and fill it!

Thanks for stopping by. Keep an eye on the Funkie Junkie Boutique Blog, Inspiration Ave. because you are now getting regular doses of expanded (and inspiring) content each week. Don't miss it…

Supplies used:

Tim Holtz Thinlits Die Set - Bunny Stitch
Eileen Hull Die - Scoreboards Card Caddy
Tim Holtz Stamp Sets - Halftone & Rings, Documented, Mixed Media
Tim Holtz Layering Stencils - Code, Gradient Dot, Harlequin, Ringer, Screwed, Patchwork Hex

Distress Paint - Lost Shadow, Black Soot, Hickory Smoke, Pumice Stone
Distress Oxide Spray Stain - Lost Shadow
Distress Spray Stain - Lost Shadow, Pumice Stone, Black Soot, Antique Linen, Old Paper
Distress Archival Ink - Black Soot, Hickory Smoke
Distress Halloween Mica Spray - Iron Gate
Distress Glaze - Lost Shadow, Hickory Smoke
Distress Crackle Paste - Opaque
Distress Texture Paste - Opaque
Distress Texture Paste - Translucent
Distress Watercolor Cardstock
Distress Mixed Media Heavystock

Tuesday, August 2, 2022

Eileen Hull's Chapter 3 Sizzix Release Party!

Woo hoo!! It's new release time and you will love Eileen Hull's latest dies from Sizzix! Hopefully you are seeing this in the morning in time to join us for Eileen's live Release Party, if not catch the replay! For now, catch this Blog Hop!


Eileen's Teams have been hard at work creating with Eileen's new products and have quite a lineup of inspiration for you. Here is what Eileen has to say,

"I am so excited to share my Chapter 3 Sizzix die collection! Each piece in the set stands alone but also coordinates with the others to make a truly versatile and valuable addition to your collection.

The ScoreBoards Skinny Mini Book Box is a really great size – it measures 6 3/4" x 4" with an adjustable built in spine from 3/8" to 2 1/4". This die may be used to create a book by die cutting two covers OR a box if you add the side pieces to the covers. If you add the box supports, it will hold mini-slimline size cards.

The Skinny Mini Elements Thinlits will cut a cool star pattern that perfectly covers the front of the Skinny Mini book or the front of a slimline card. And you can also expand the size of the design to create a whole page pattern.

I have been wanting to make a Card Caddy Die for a while... so many people are making cards these days that I figured that they would love to have the ability to make a really pretty container to hold them. I love the shape of this box and it goes together so quickly – also fun to decorate! It will hold cards up to 5 1/4" wide.

The 3D folder is called Woven Leather and it looks so realistic! Makes a great background for cards, journal pages or covers."

Check out her YouTube preview of the new Chapter 3 dies!

New Chapter 3!

The team has been busy creating lots of samples so please make sure to read the blog and be watching social media to see their makes! There will also be prizes! Make sure to post your answer in the comments on the live. Ready? Here's the question: "Which is your favorite Ch. 3 die and what would you make with it?" Be specific – inquiring minds want to know!

LIST OF HOP STOPS:

Eileen Hull Designs
Pam Bray
Jennie Atkinson
Sarah Lizzie
Lisa Hoel <<< you're here
Sharon Curtis
Tonya Trantham
Elizabeth Robinson
Madeline Arendt
Karen Bearse
Susie Bentz
Sue Eldred

Now for the projects I have created using Eileen's fab new dies:

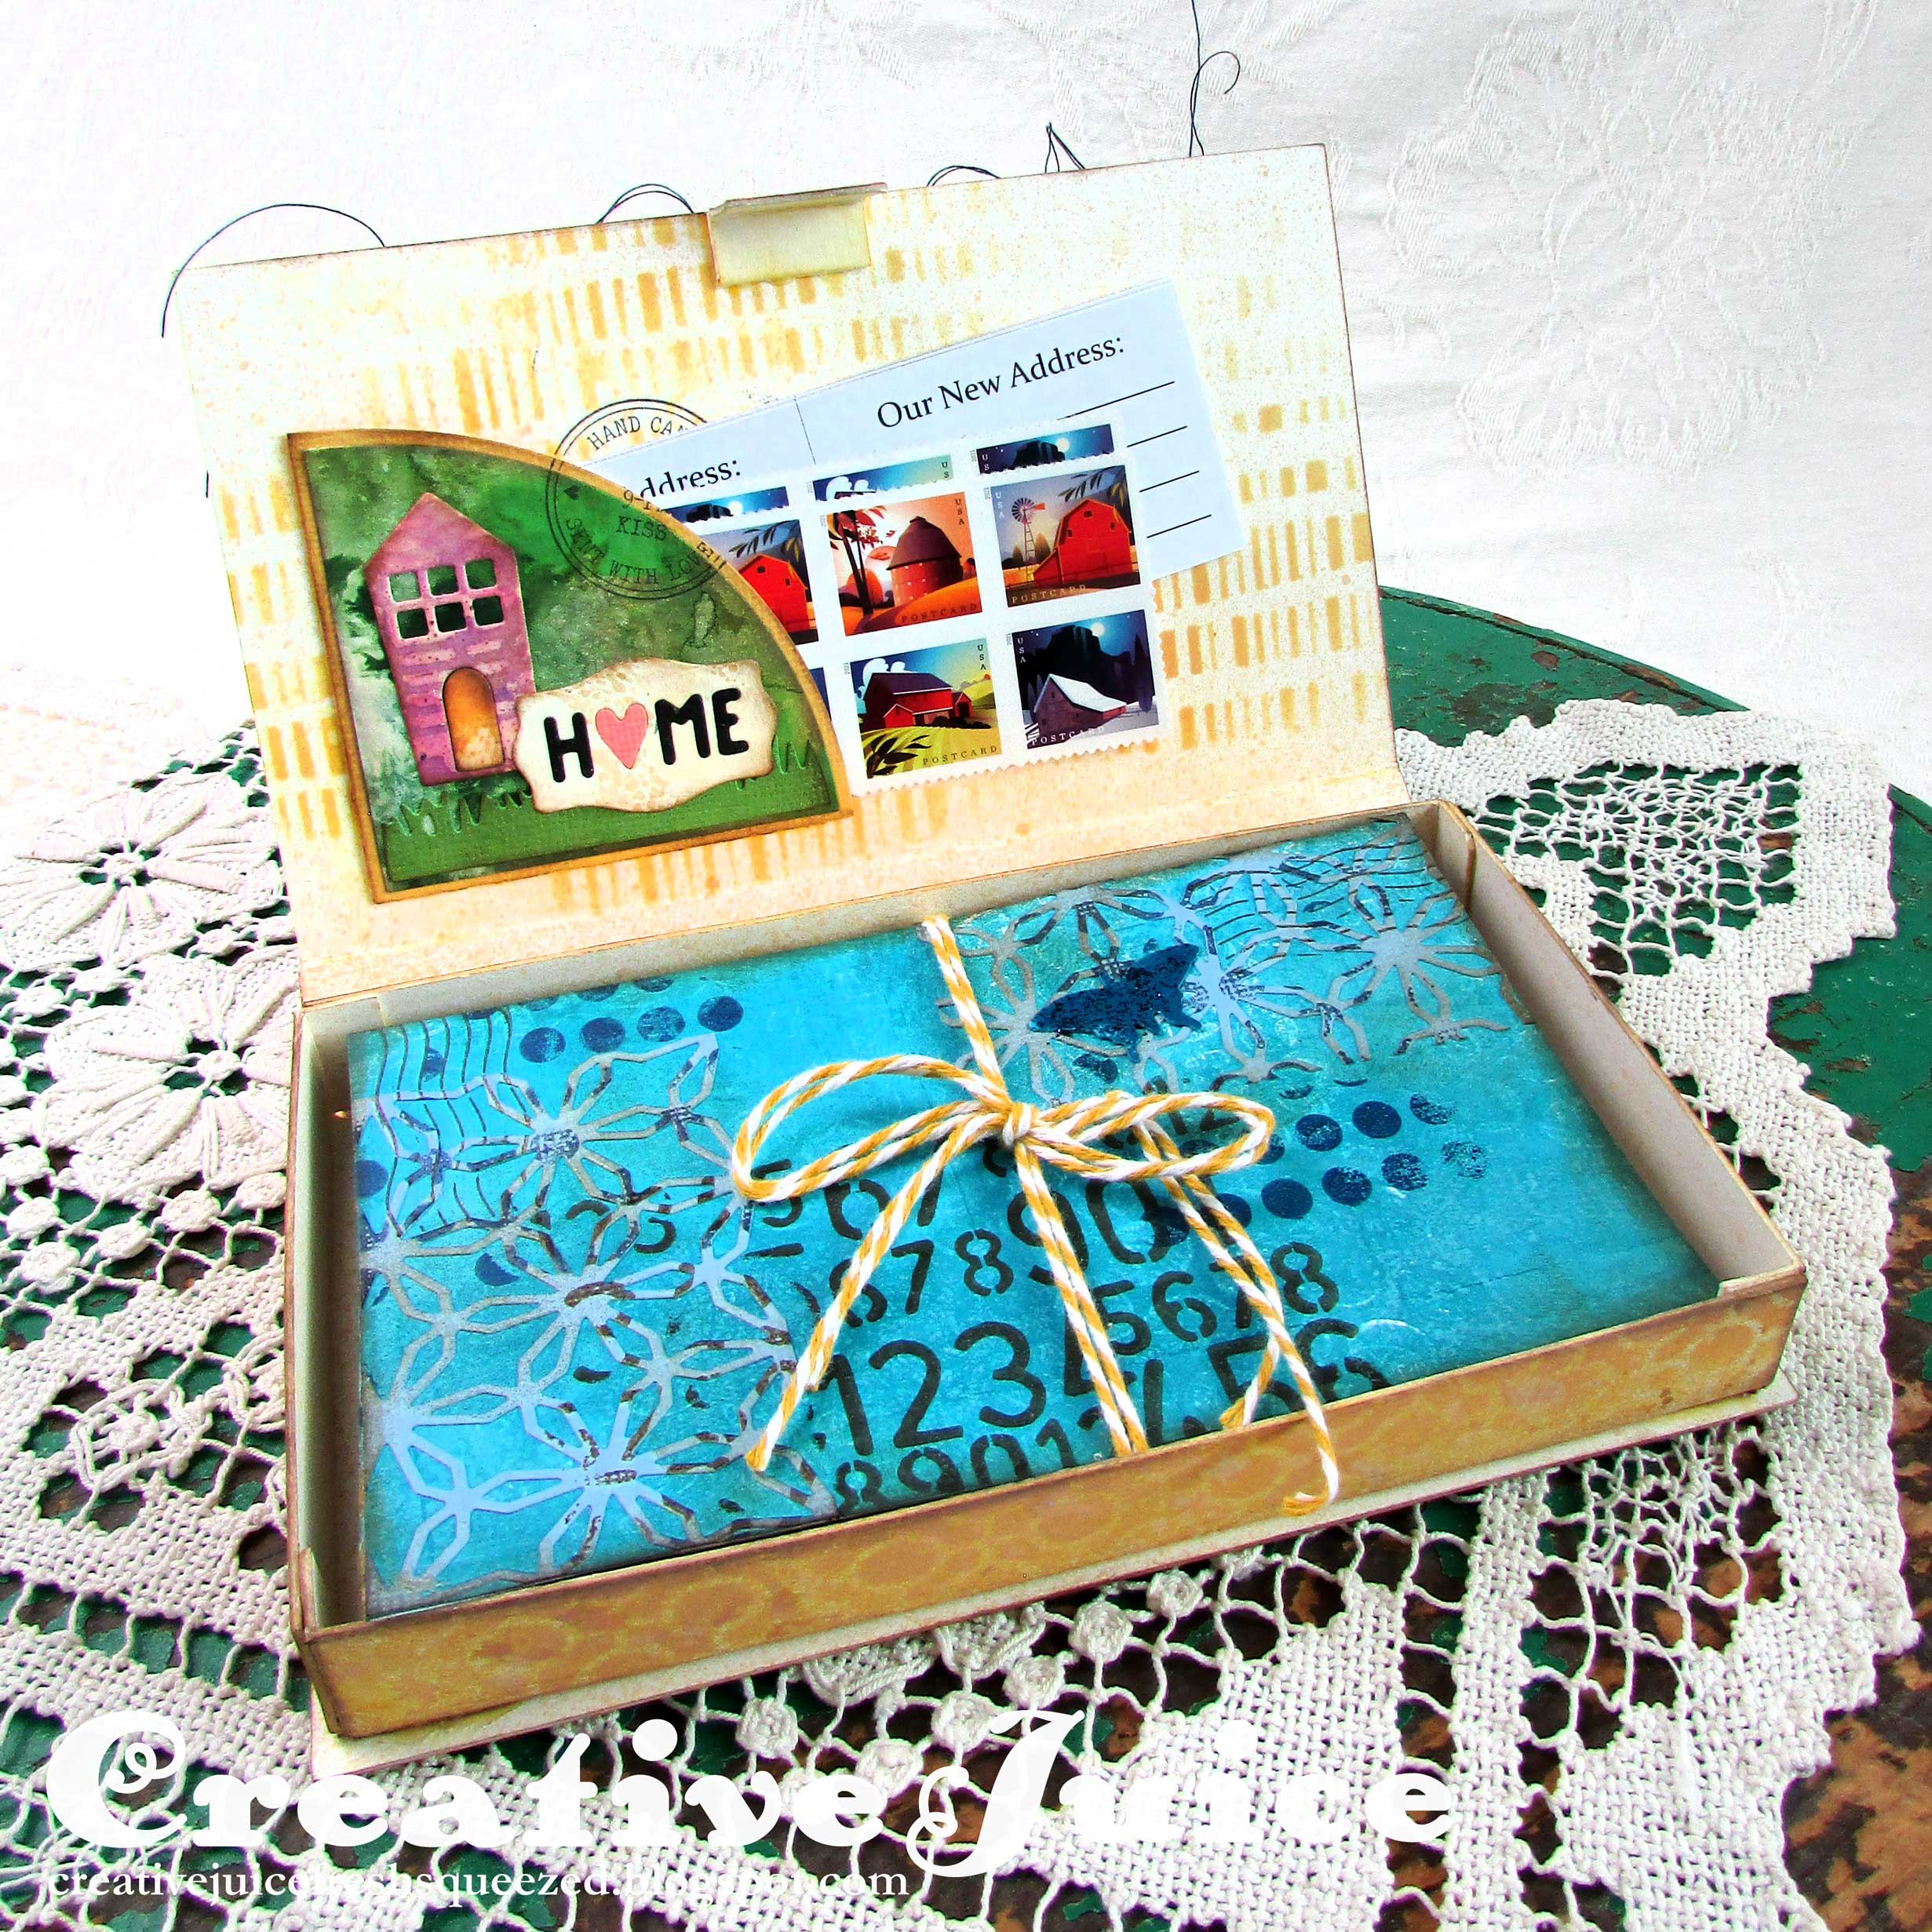
1. I used the Skinny Mini Book Box Die to create a gift box full of postcards. (Tutorial to come!) The sky was made using cut up pieces of gel prints I had embossed using the Woven Leather 3-D folder.


2. I turned the Card Caddy into a journal! The cover inset was embossed with the Woven Leather 3-D Folder.


3. Cards featuring the Skinny Mini Elements Thinlits die…


4. I had an extra "front" from making the Skinny Mini postcard box so I turned it into a card!


Don't miss the Sizzix Chapter 3 Release Party on Tuesday, August 2nd at 12pm EST!

Find the live Sizzix Chapter 3 Release Party on Eileen's YouTube channel or her FaceBook page! It will be streaming concurrently on both platforms. Eileen will be joined by several of the designers from her Teams so it will be a fun time!