Showing posts with label Skinny Mini Book Box Die. Show all posts

Tuesday, April 23, 2024

Colors of Spring Bookmark Box with Eileen Hull Dies

For the month of April, Eileen Hull's Inspiration Team's theme is the "Colors of Spring" and we've been busy creating all sorts of seasonal projects! I used her Skinny Mini Book Box Die to create a little gift box full of bookmarks for a friend of mine who is an avid reader. Of course my color scheme shouts "spring!"

Lisa Hoel for Eileen Hull - "Colors of Spring" Skinny Mini Book Box with bookmarks  #creativejuicefreshsqueezed #EileenHull  #eileenhulldesigns  #sizzix #mymakingstory #TeamEileen #mysizzixstory


Open it up…

Lisa Hoel for Eileen Hull - "Colors of Spring" Skinny Mini Book Box with bookmarks  #creativejuicefreshsqueezed #EileenHull  #eileenhulldesigns  #sizzix #mymakingstory #TeamEileen #mysizzixstory
the bookmarks fit neatly inside for storage!

I laminated the bookmarks to protect them…

Lisa Hoel for Eileen Hull - "Colors of Spring" Skinny Mini Book Box with bookmarks  #creativejuicefreshsqueezed #EileenHull  #eileenhulldesigns  #sizzix #mymakingstory #TeamEileen #mysizzixstory
My friend really liked her gift!

A tip for making it a box:


Here are all the parts I cut for the box. The cover parts can be used for journal covers or making a box. When using as a box, it is important to cut off a spine section. Otherwise there will be a big gap because the box sides are not as tall as the full spine width!

Making the bookmarks was fun. I used various paper and die cut scraps from my stash. 


Thanks for stopping by and be sure to keep an eye on Eileen's blog for more inspiration from the Educator and Inspiration Teams.

Supplies used:

Eileen Hull Die - Skinny Mini Book Box  ( SizzixFJSB )
Eileen Hull Die - Mini Book  ( SizzixFJSB )
Eileen Hull Die Set - Envelope, Folder & Flowers SizzixFJSB )
Eileen Hull 3-D Embossing Folder - Crochet Mandala ( SizzixSB )

Tim Holtz Stamp Set - Crochet Trims, Spring Sprung
Tim Holtz Layering Stencil - various

Some links in this post are affiliate links which do not affect the price you pay but allow me to earn a small percentage of a sale. Thanks! (My husband also thanks you!)


Wednesday, August 16, 2023

Funkie Junkie Focus – By the Numbers

Hello Funkie Junkie fans! Our latest theme is "By the Numbers" so the task is to include numbers (and more than one) into our projects. It was fun to pull out my various numerical stencils, die sets and stamps to play around.

I used Eileen Hull's Scoreboards Skinny Mini Book Box Die along with the new Tim Holtz Layered Dots Die Set to create a mini "Goals" journal with numbered tabs inside for recording your various goals. Numbers everywhere lol! For the last challenge I also used the Skinny Mini Book Box Die and made it up in its box form. For this project I just used it to make a journal cover. As you can see, it's a versatile die you can use several different ways! (instructions below)

Lisa Hoel for The Funkie Junkie Boutique    #creativejuicefreshsqueezed  #eileenhull #mymakingstory #tim_holtz #thefunkiejunkieboutique #sizzix

I added Layered Dots panels to the back too:

Lisa Hoel for The Funkie Junkie Boutique    #creativejuicefreshsqueezed  #eileenhull #mymakingstory #tim_holtz #thefunkiejunkieboutique #sizzix

On the cover and inside I included embossed panels created with the 'Numbered' 3-D Texture Fade Folder.

Lisa Hoel for The Funkie Junkie Boutique    #creativejuicefreshsqueezed  #eileenhull #mymakingstory #tim_holtz #thefunkiejunkieboutique #sizzix

I cut up an old appointment book to make the pages and added tabs cut with the Library Pocket, ATC Card & Tabs Die Set.

Lisa Hoel for The Funkie Junkie Boutique    #creativejuicefreshsqueezed  #eileenhull #mymakingstory #tim_holtz #thefunkiejunkieboutique #sizzix

Lisa Hoel for The Funkie Junkie Boutique    #creativejuicefreshsqueezed  #eileenhull #mymakingstory #tim_holtz #thefunkiejunkieboutique #sizzix

Here is how it came together…

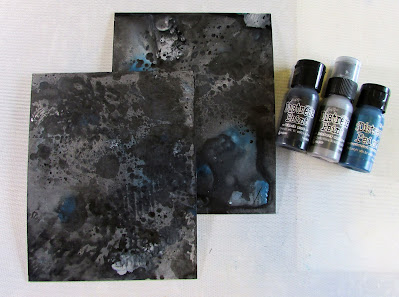
Step 1 - I had so much fun playing with Distress Paint for the last challenge that I used it again for my backgrounds to die cut. Such great colors!
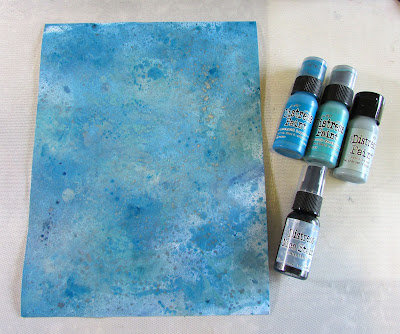
I added a mist of Winter Frost Mica Stain to this page to give it some glam!


Mat board base that I cut the covers from.

Step 2 - For the embossed parts, I also started off with a "painty" background.


One of my favorite techniques to use with the 3-D folders is to ink the front side with Archival Ink so the ink is transferred into the nooks and crannies when you emboss the paper. It really helps make the texture pop!

I used a brayer to add white and Mustard Seed paint to the high points of the embossed paper. After the paint was dry, I lightly rubbed the high spots with an embossing ink pad and then embossed it with Fossilized Amber Distress Glaze.


Step 3 - Assembling the journal cover: The Layered Dots Die cut panels that were the perfect width for the Skinny Mini Book Box Die cover. (Love it when stuff like that happens.) I cut the cover's height down to match the height of the Layered Dots panel. I also cut one section of the cover spine off to make a thinner journal.


TIP: If you want to reduce the bulk in your journal spine, peel off the top layer of the matboard that is getting glued behind the front cover spine section.


You can use strong dry adhesive (like red line tape) or wet adhesive to glue your journal covers together. I usually use wet adhesive. Distress Collage Medium works well.


Thanks for stopping by. Keep an eye on the Funkie Junkie Boutique Blog, Inspiration Ave. because you are now getting regular doses of expanded (and inspiring) content each week. Don't miss it…

Supplies used:

Eileen Hull Scoreboards Skinny Mini Book Box Die
Eileen Hull Die Set - Library Pocket, ATC Card & Tabs
Tim Holtz Thinlits Die Set - Layered Dots
Tim Holtz Thinlits Die Set - Alphanumeric Label
Tim Holtz 3-D Texture Fades - Numbered
Tim Holtz Stamp Set - Glitch 1
Tim Holtz Layering Stencil - Digits

Distress Archival Ink - Black Soot, Forget-Me-Not
Distress Paint - Wild Honey, Spiced Marmalade, Mustard Seed, Black Soot, Hickory Smoke, Unchared Mariner, Peacock Feathers, Speckled Egg, Mermaid Lagoon, Prize Ribbon, Chipped Sapphire
Distress Mica Stain - Winter Frost
Distress Glaze - Fossilized Amber
Ranger Embossing Pad
Ranger Distress Heavystock - White
Sizzix Mat Board

Wednesday, August 2, 2023

Funkie Junkie Focus – Distressed About Paints?

Hello Funkie Junkie fans! Our new theme is "Distressed About Paints?" so we are focusing on any sort of paints you can use in your projects. Paint is such a versatile material to have in your stash and as you'll see, can be used in so many different ways!

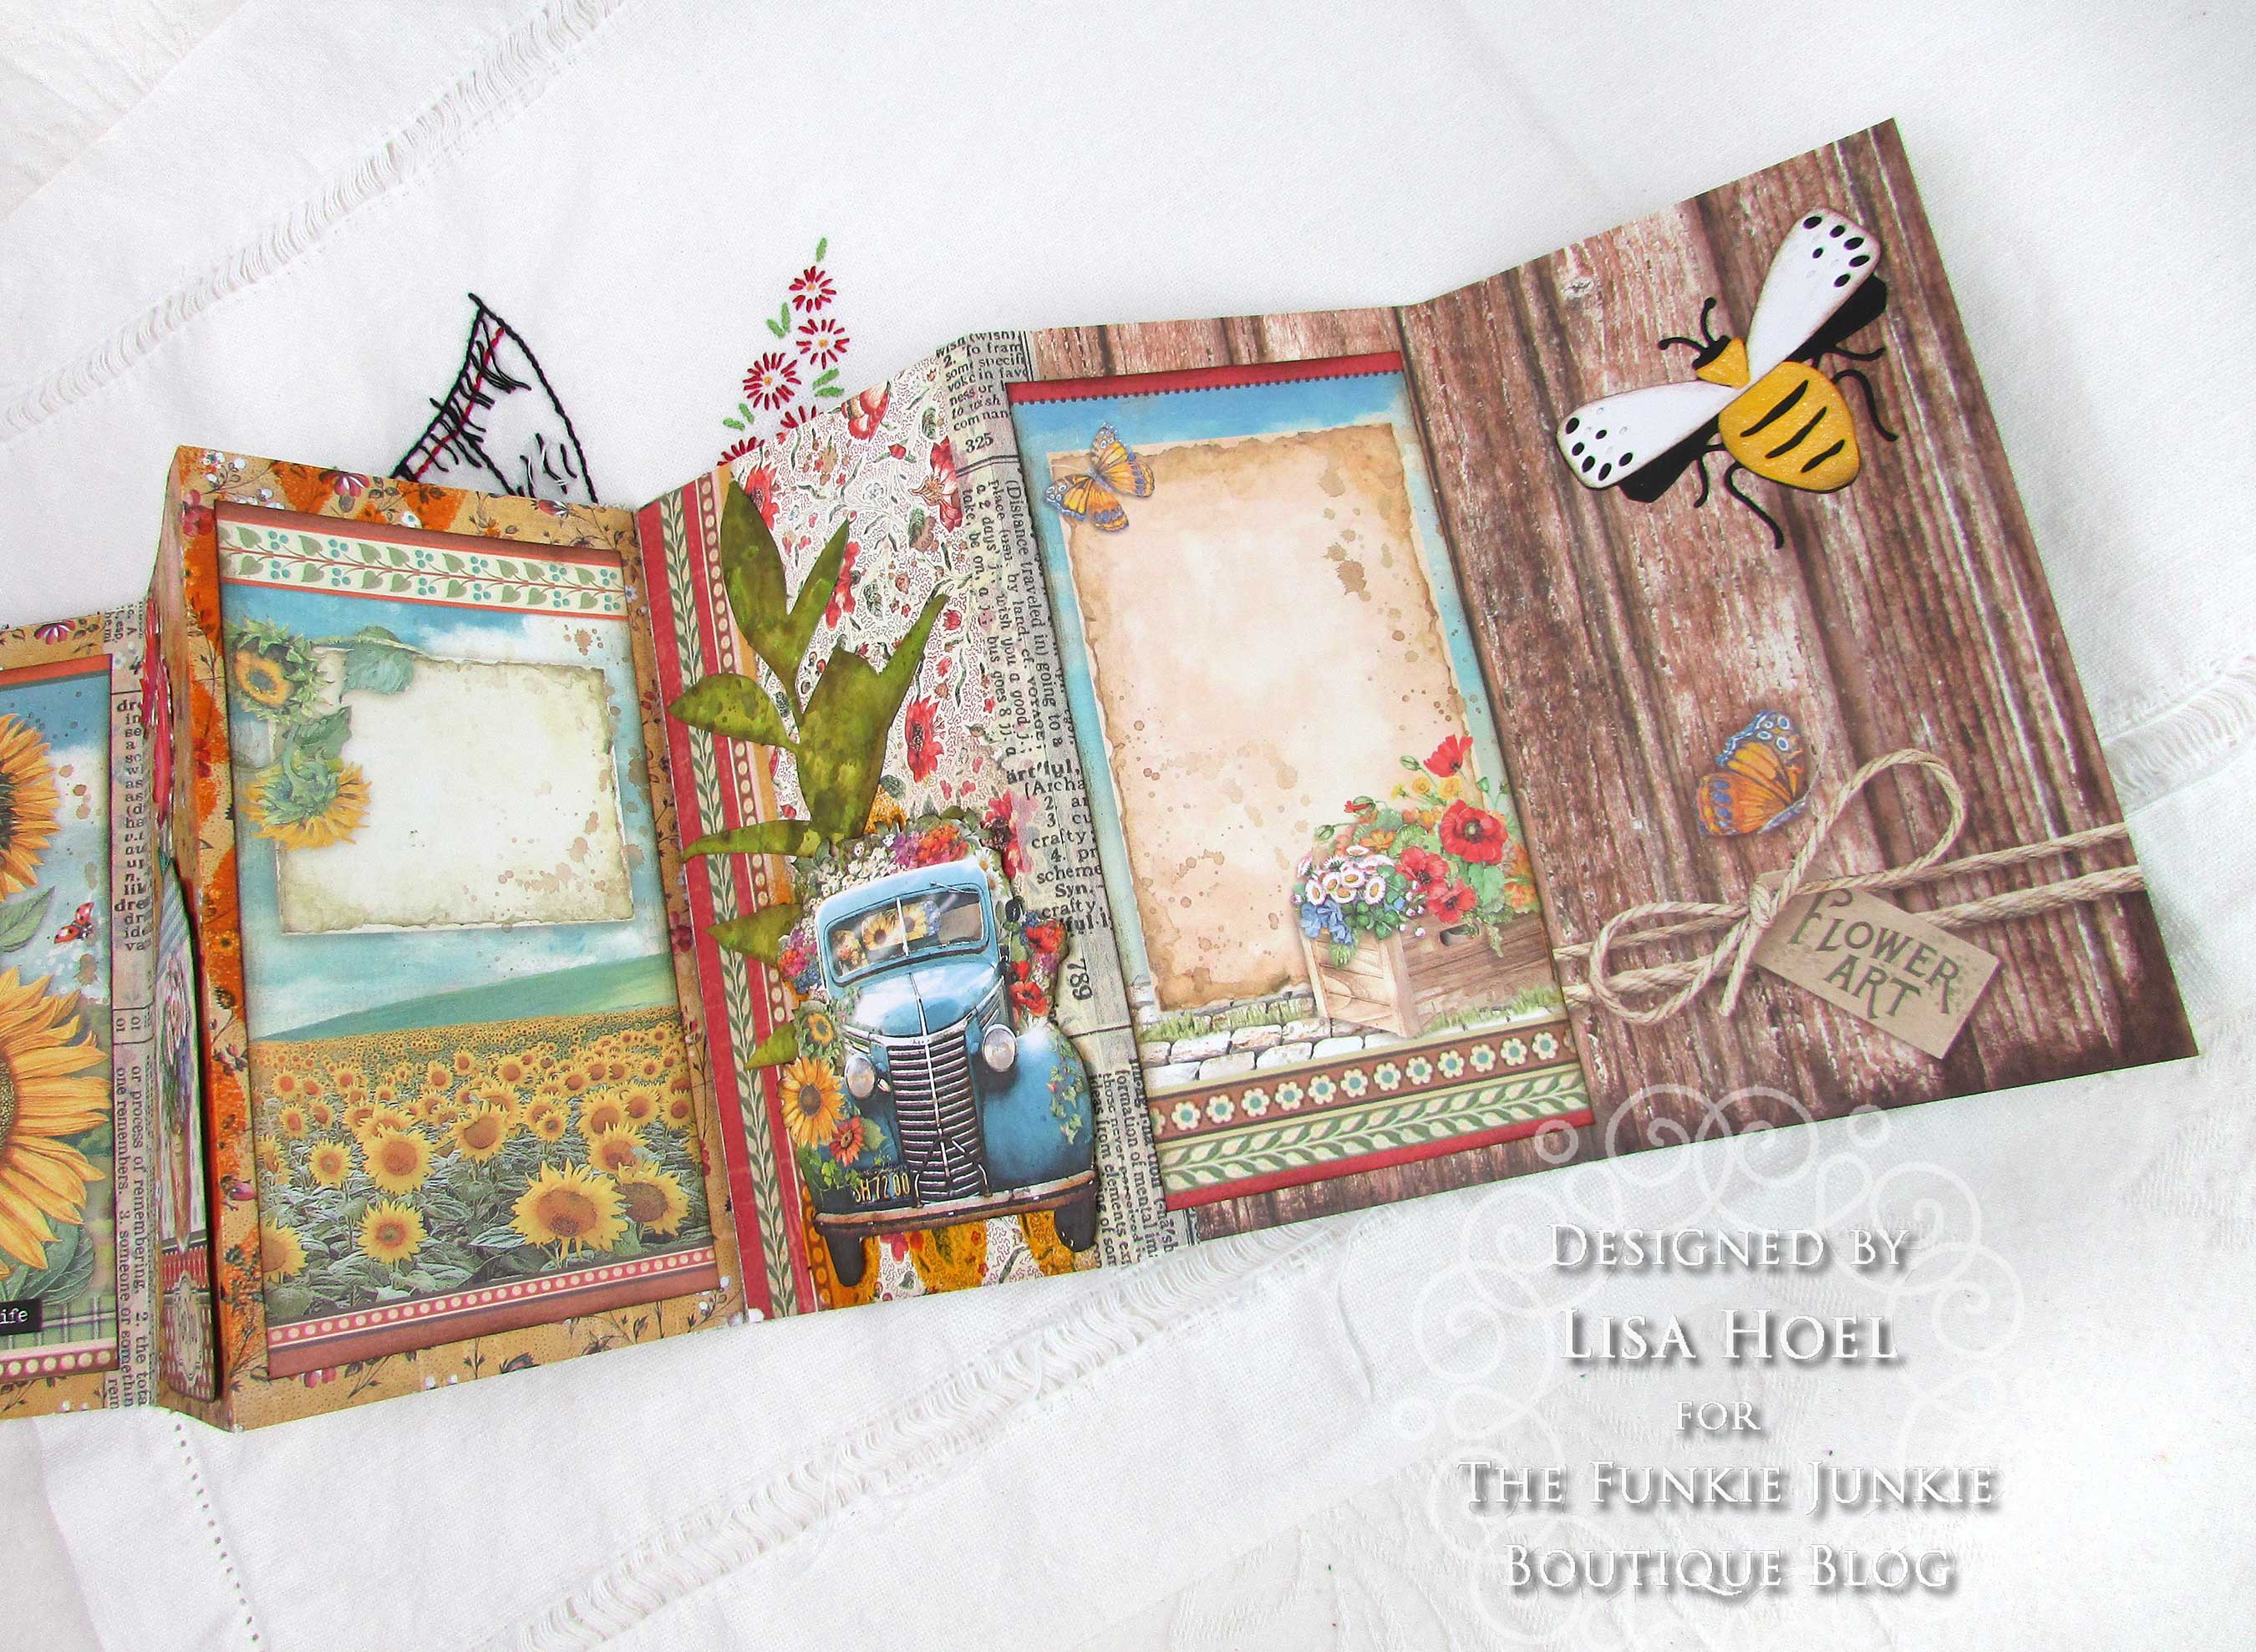
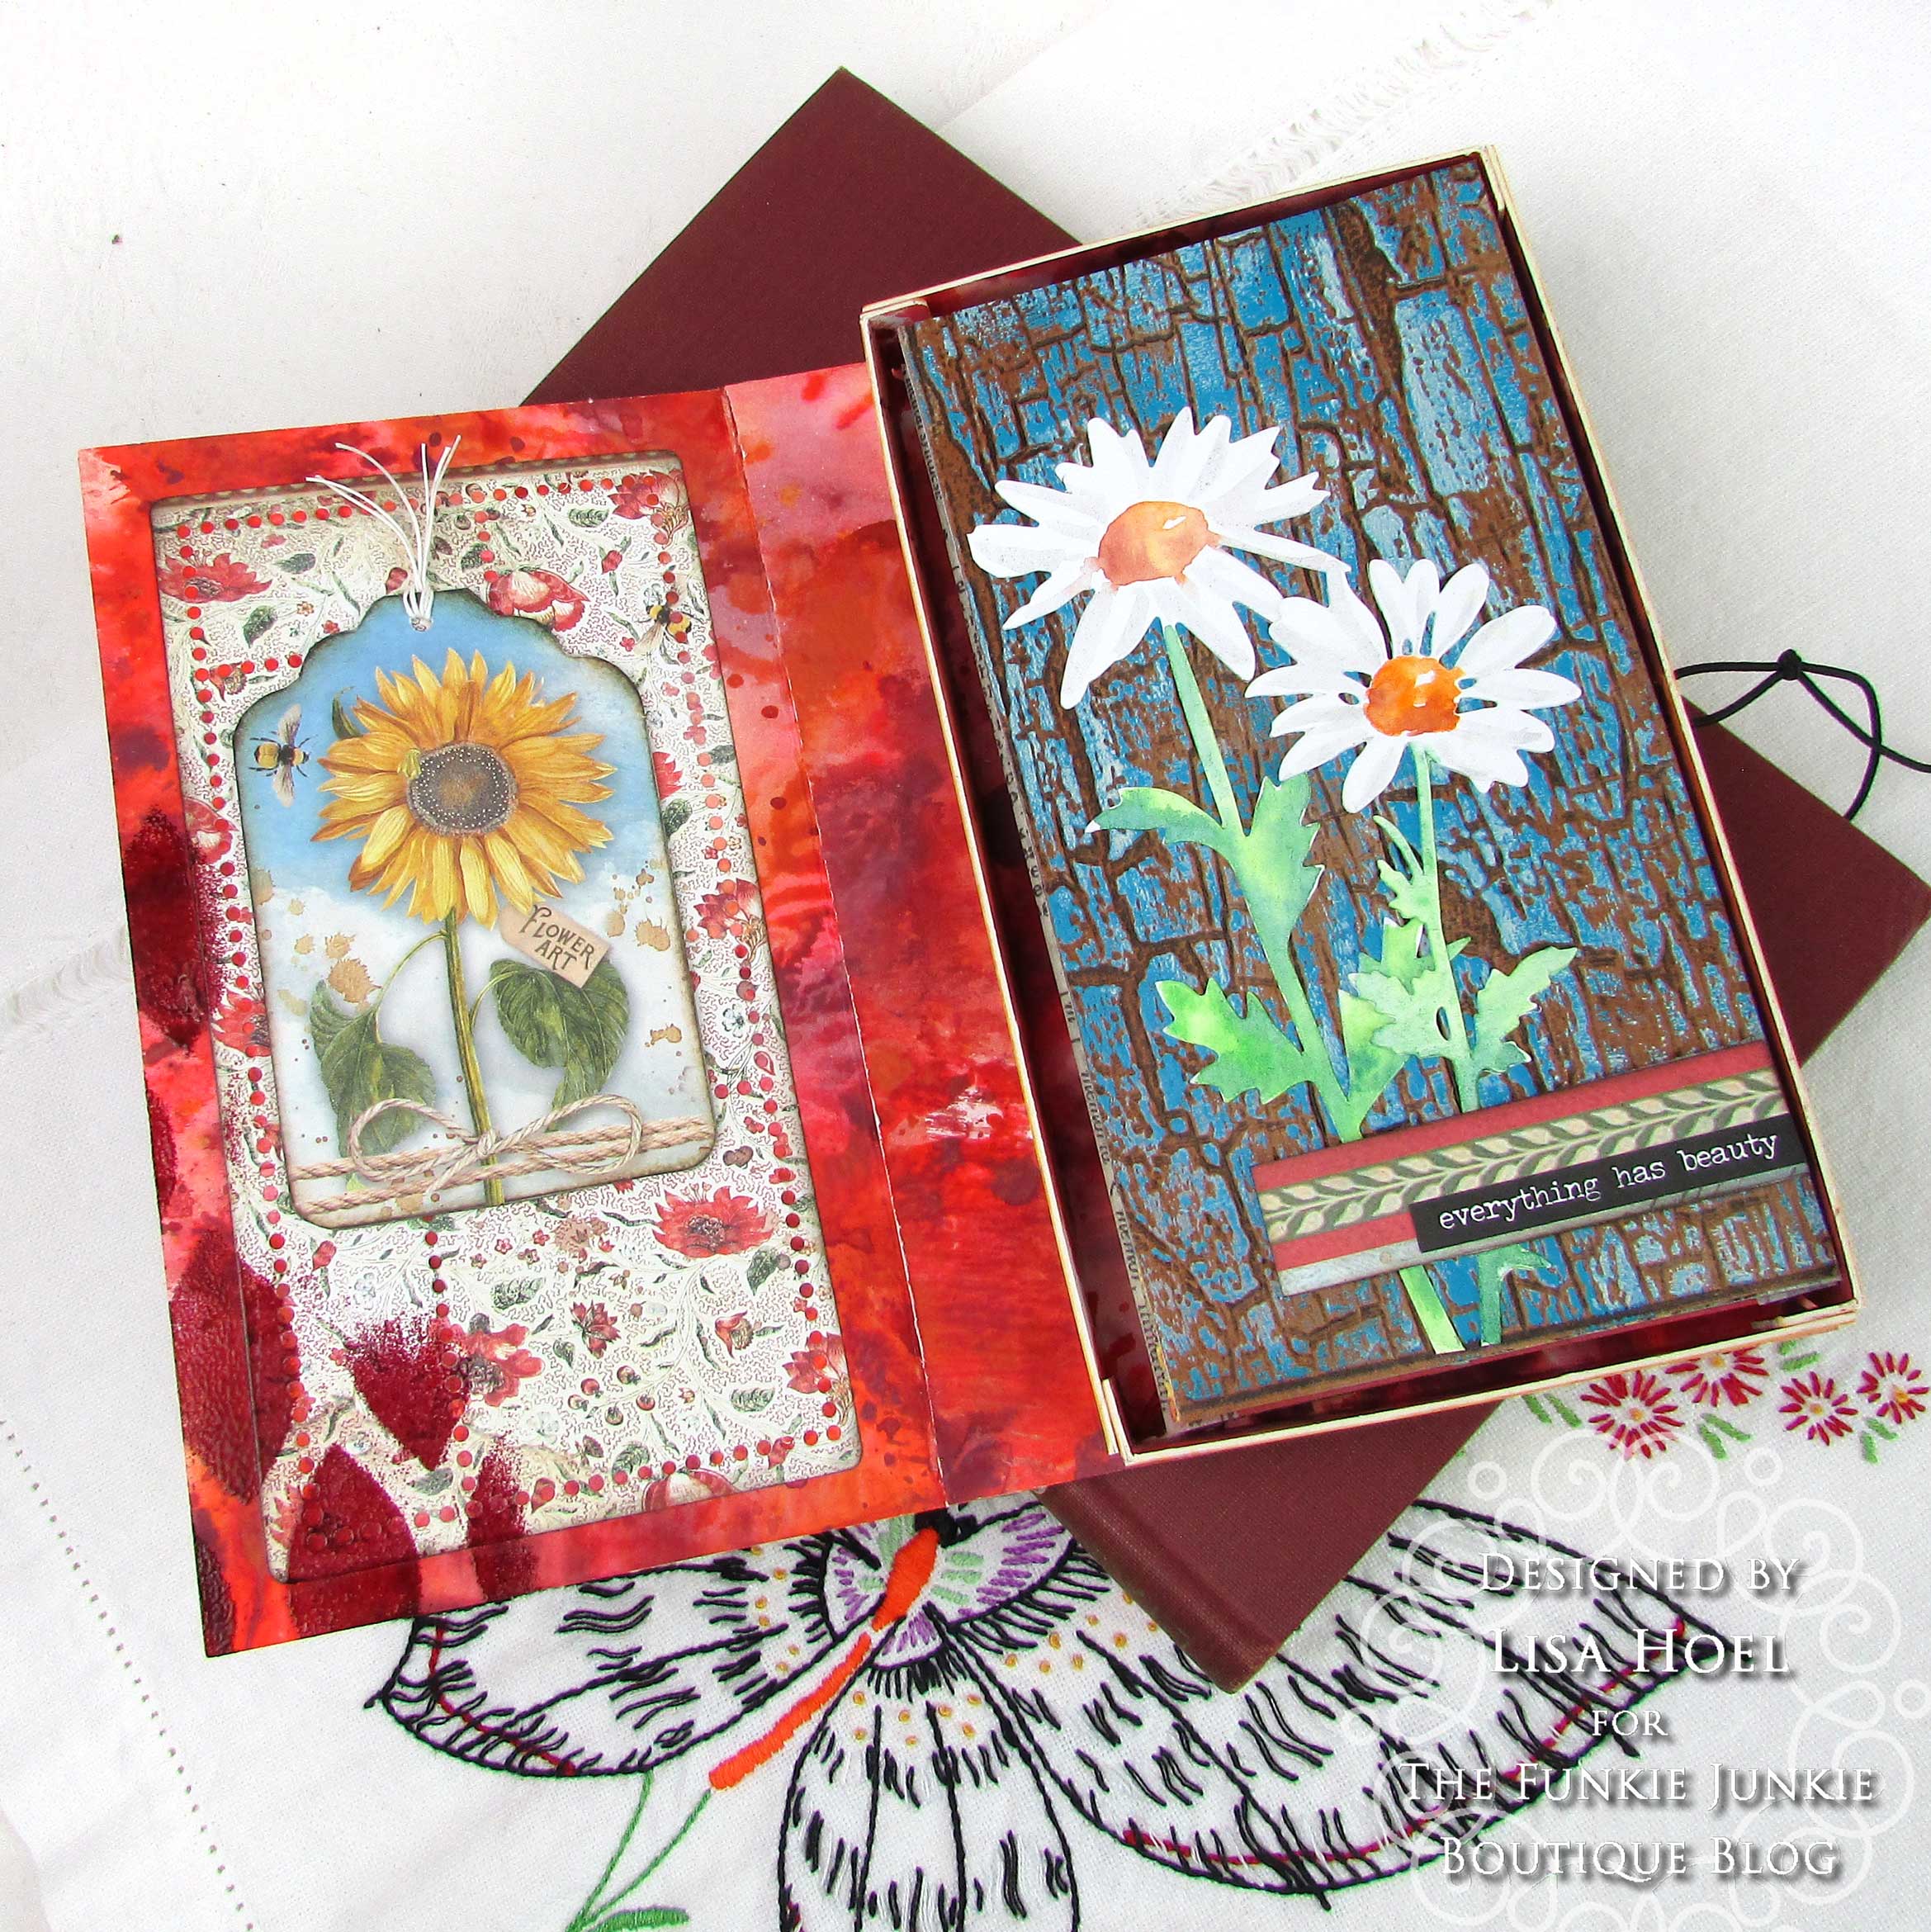
I used Eileen Hull's Scoreboards Skinny Mini Book Box Die along with Stamperia's Sunflower Art paper collection to create a summery little accordion journal with its own coordinating box holder.

Lisa Hoel for The Funkie Junkie Boutique    #creativejuicefreshsqueezed  #eileenhull #mymakingstory #tim_holtz #thefunkiejunkieboutique #sizzix

Open the box and you find the mini journal:

Lisa Hoel for The Funkie Junkie Boutique    #creativejuicefreshsqueezed  #eileenhull #mymakingstory #tim_holtz #thefunkiejunkieboutique #sizzix

Lisa Hoel for The Funkie Junkie Boutique    #creativejuicefreshsqueezed  #eileenhull #mymakingstory #tim_holtz #thefunkiejunkieboutique #sizzix

The journal has accordion fold pages decorated on both sides.

Lisa Hoel for The Funkie Junkie Boutique    #creativejuicefreshsqueezed  #eileenhull #mymakingstory #tim_holtz #thefunkiejunkieboutique #sizzix

Lisa Hoel for The Funkie Junkie Boutique    #creativejuicefreshsqueezed  #eileenhull #mymakingstory #tim_holtz #thefunkiejunkieboutique #sizzix

Lisa Hoel for The Funkie Junkie Boutique    #creativejuicefreshsqueezed  #eileenhull #mymakingstory #tim_holtz #thefunkiejunkieboutique #sizzix

Let's take a look at some of the techniques used to create this project…

Step 1 - I used Distress Paint to color both sides of the mat board I made the box from as well as some Heavystock papers to use inside the journal. Distress Paint is reactive with water and can give an interesting 'marbled' effect when using different colors together.


You achieve this by putting various small blobs of paint onto your craft mat, spritzing with a little water and then dragging your substrate through the paint. I also spritz a little water afterwards onto the paper to get the paint to move around as well. I kept repeating the process, drying in between, to build up interesting layers.


Step 2 - I cut the box parts out of the mat board and the decorative panels on the front and back using the Mini Slimline & Tickets Thinlits Die Set.


I used one of the new Distress Glazes, Aged Mahogany, to add
interest to the panel that went underneath the patterned paper "stamps". 


Step 3 - Another fun use for paint is embellishing embossed designs. The new Tim Holtz 3-D folder Cracked is especially great for this technique!

First I inked one side of the embossing folder with Archival Ink
and then embossed Kraft Heavystock. The ink transfers into the
recesses of the embossing and brings out the texture.

Using a brayer, I added layers of Distress Paint to make it look
like an old chippy paint surface. Cool!


Step 4 - I used some watercolor paint to embellish flowers die cut out of Distress Watercolor Cardstock.


Step 5 - Here's another oldie but goodie stamping technique using a stamping platform and paint.

Stamp initially on your paper with Archival Ink. Don't move the
stamp or paper! 

Paint in the details as desired.

When the paint is dry, stamp over the top to bring back all
the details. Easy Peasy!

Step 5 - One last detail! I used the 'Sunflower' title from the Sunflower Art Decorative Chips and embossed it with Squeezed Lemonade Distress Glaze. Glazes add a nice touch!

Thanks for stopping by. Keep an eye on the Funkie Junkie Boutique Blog, Inspiration Ave. because you are now getting regular doses of expanded (and inspiring) content each week. Don't miss it…

Supplies used:

Stamperia 12"x 12" Paper Pad - Sunflower Art
Stamperia Decorative Chips - Sunflower Art
Eileen Hull Scoreboards Skinny Mini Book Box Die
Eileen Hull Mini Slimline & Tickets Thinlits Die Set
Tim Holtz Thinlits Die Set - Wildflower Stems #1
Tim Holtz Thinlits Die Set - Funky Insects
Tim Holtz Bigz Die - Large Stems
Tim Holtz 3-D Texture Fades - Cracked
Eileen Hull 3-D Textured Impressions Embossing Folder - Tablecloth
Tim Holtz Stamp Sets - Entomology, Specimen, Tiny Toadstools
Dina Wakley MEdia Stencil - Pointed

Distress Archival Ink - Black Soot, Ground Espresso
Distress Ink - Ground Espresso
Distress Paint - Aged Mahogany, Barn Door, Crackling Campfire, Mustard Seed, Wild Honey, Scattered Straw, Broken China, Iced Spruce, Mermaid Lagoon, Old Paper, Picket Fence
Distress Glaze - Aged Mahogany, Candied Apple, Squeezed Lemonade, Spiced Marmalade
Ranger Embossing Dabber
watercolor paints
Ranger Distress Heavystock - Kraft & White
Distress Watercolor Cardstock
Sizzix Mat Board

Wednesday, June 7, 2023

Funkie Junkie Focus – Get Ready to Travel!

Hello and welcome to summer vacation season! Our Funkie Junkie Focus theme this time is "Get Ready to Travel!" I created a small road trip notebook that you can take with you in the car and keep track of travel details in.

Lisa Hoel for The Funkie Junkie Boutique - "Get Ready to Travel" road trip notebook   #creativejuicefreshsqueezed  #mymakingstory #tim_holtz #thefunkiejunkieboutique #sizzix

 I used the Eileen Hull Skinny Mini Book Box Die to create the notebook cover.

Lisa Hoel for The Funkie Junkie Boutique - "Get Ready to Travel" road trip notebook   #creativejuicefreshsqueezed  #mymakingstory #tim_holtz #thefunkiejunkieboutique #sizzix

I decorated the front and back using Tim Holtz stamps and dies that are sure to stoke your wanderlust! Inside is a lined notebook insert I cut down to fit the cover.

Lisa Hoel for The Funkie Junkie Boutique - "Get Ready to Travel" road trip notebook   #creativejuicefreshsqueezed  #mymakingstory #tim_holtz #thefunkiejunkieboutique #sizzix

Here's a quick look at how it came together:

Step 1 – I covered Sizzix matboard with pieces cut from an old road map. I then die cut the two cover halves out of the matboard. I wanted the notebook to be thin and fit just one signature, so I trimmed off part of the spine pieces.


Tip: to decrease bulk when you glue the overlapping spine parts together, on one side peel off the outer layer of the matboard first.


Step 2 – After gluing the two cover halves together and letting them dry, I used my Crop-a-dile tool to punch holes in the top and bottom of the spine for the elastic.


Step 4 – String elastic cord through the holes and tie off inside. Make sure it has some tension on it so it will hold the signature in place. All you have to do is open up the signature to the middle and slip it under the elastic. Easy peasy!

Thanks for stopping by. Keep an eye on the Funkie Junkie Boutique Blog, Inspiration Ave. because you are now getting regular doses of expanded (and inspiring) content each week. Don't miss it…

Supplies used:

Eileen Hull Scoreboards Die - Skinny Mini Book Box
Tim Holtz die set - Alphanumeric Bulletin
Tim Holtz die set -  Wacky Transport #1 (retired)
Tim Holtz stamp sets - Road Trip, Tree Line, Ornate Trims
Tim Holtz layering stencil - Brush Mark

Tim Holtz Idea-ology: 
Black Two-tone Woodgrain Cardstock

Distress Collage Medium Matte

Distress Archival Ink - Black Soot

Distress Spray Stains - Speckled Egg
Distress Ink Ink Pads - Rustic Wilderness, Vintage Photo, Antique Linen
Distress Oxide Ink Pads - Stormy Sky, Hickory Smoke
Distress Glaze - Rustic Wilderness
Distress Embossing Ink Pad

Sizzix Mat Board
elastic
old road map

Wednesday, May 31, 2023

Die Cut Mania with Eileen Hull!

Hello there Eileen Hull fans. During the month of May, Eileen's designers have been been sharing techniques and tricks for all things die cutting. Practical tips, unusual materials and out of the box thinking have all been shared for your inspiration. If you've been out of the loop, check out the May posts on Eileen's blog to catch up!

I decided to show some ways to incorporate fabric for my project. I had a piece of colorful flannel that I thought would make a great journal cover. (For some past journal projects made incorporating fabric and felt check out the posts here, here and here.)

Lisa Hoel for Eileen Hull - Die Cut Mania, tips and techniques #EileenHull  #eileenhulldesigns  #sizzix #mymakingstory #TeamEileen #mysizzixstory

The journal is made using the Skinny Mini Book Box Die. This is a versatile die that can made up as a container or a journal.

Lisa Hoel for Eileen Hull - Die Cut Mania, tips and techniques #EileenHull  #eileenhulldesigns  #sizzix #mymakingstory #TeamEileen #mysizzixstory

I also used a different material for the blue die cut flowers. It's called crinoline, a stiffened open weave fabric used for facings or millinery. It comes in white but you can dye it any color you want. It's perfect for die cutting and adds a great texture.

Lisa Hoel for Eileen Hull - Die Cut Mania, tips and techniques #EileenHull  #eileenhulldesigns  #sizzix #mymakingstory #TeamEileen #mysizzixstory

I also used the pocket from the Frame Pocket Journal Die to add inside. Mixing and matching parts from different dies is fair game!

Lisa Hoel for Eileen Hull - Die Cut Mania, tips and techniques #EileenHull  #eileenhulldesigns  #sizzix #mymakingstory #TeamEileen #mysizzixstory

Now on to the how-to:

Step 1 – Adhesive sheets are the best thing to use to adhere fabric to board. Wet adhesive can soak through the fabric although I have had success using Distress Collage Medium (a 'non-gloopy' wet adhesive) with a thicker fabric.


I first applied sheets of adhesive to the pieces of mat board and then carefully smoothed the fabric over it. (Watch out for wrinkles!) I die cut the covers after applying the fabric.


Step 2 – The steel rule Scoreboards dies easily cut through both the fabric and mat board. I made sure to leave the fabric off of the spine part on the back cover so there would be less bulk and a better gluing surface on the spine.


Step 3 – Here's a closer look at the flowers cut from the dyed crinoline:


Step 4 –  parts for the embellishment on the front


Step 5 – Mix and match parts from all your different dies! Here I used the pocket from the Frame Pocket Journal Die in the back of this journal.


Step 6 – I punched holes into the spine so I could string elastic in to bind in the two signatures.


All you have to do is slip each signature under one of the elastic straps. Easy!


Thanks for stopping by and be sure to keep an eye on Eileen's blog for more inspiration from the Educator and Inspiration Teams.

Supplies used:

Eileen Hull Die - Skinny Mini Book Box ( SizzixSB , FJ )
Eileen Hull Die - Frame Pocket Journal ( SizzixSB )
Eileen Hull Die - Flower, Heart & Soul (retired)
Eileen Hull Thinlits Die Set - Snail Mail ( SizzixSB , FJ )
Tim Holtz Stamp Set - Ledger Script
Tim Holtz Layering Stencil - Doodle Art 2 ( SB, FJ )
Eileen Hull Stamp Sets - Making Plans, Snail Mail Postage

Distress Archival Ink - Black Soot, Garden Patina, Vintage Photo
Distress Oxide Ink - Salvaged Patina, Speckled Egg
Distress Stains - Saltwater Taffy, Salvaged Patina
Distress Oxide Stains - Speckled Egg
Distress Crayons
Sizzix Mat board

Tim Holtz Idea-ology:
Paper Dolls
Transparent Wings

Some links in this post are affiliate links which do not affect the price you pay but allow me to earn a small percentage of a sale. Thanks! (My husband also thanks you!)