This week at Topflight Stamps we're cooling it down with "Christmas in July"! If you are like most of us, when December rolls around we run short on time for holiday card making. Why not get a start now?
Wednesday, July 8, 2026
Christmas in July with Topflight Stamps
Thursday, December 18, 2025
More Christmas Cards with Topflight Stamps
This week at Topflight Stamps our brand focus is on AALL & Create. They have such a wide range of awesome products! I focused on using their dies and some gorgeous patterned paper from Stamperia.
Topflight Stamps Supplies Used:
AALL & Create die set - Taggletastic #30
Thursday, December 11, 2025
Christmas Cards with Creative Expressions & Topflight Stamps
This week at Topflight Stamps our brand focus is on Creative Expressions. They have so many great stamp designs! I'm taking the opportunity to make some more Christmas cards to send.
Topflight Stamps Supplies Used:
Wednesday, November 26, 2025
More Christmas Cards with Topflight Stamps
This week at Topflight Stamps our theme is "Anything Goes". I'm taking the opportunity to make some more Christmas cards to send out!
Topflight Stamps Supplies Used:
Wednesday, October 22, 2025
Christmas is Coming with Topflight Stamps
This week at Topflight Stamps our theme is "Christmas". If you like to have handmade cards to send out in December, it's not too early to start making them! (Check out the Christmas/Winter category in the store.)
Topflight Stamps Supplies Used:
Thursday, December 12, 2024
PaperArtsy Christmas Card with Topflight Stamps
Hello, I'm back with another Topflight Stamps card for you! This week's theme is "Anything Goes". I need some more Christmas cards so I took this opportunity to make one! The stamp is from PaperArtsy – the detail is amazing!! I was having such fun making banners on yesterday's card that I kept on going and added a bunch to this card. The die set I used again is Regency Bunting from AALL & Create.
Topflight Stamps Supplies Used:
AALL & Create Die Set - Regency Bunting
Wednesday, December 4, 2024
Crafty Individuals Christmas Card with Topflight Stamps
Hello, happy December! I'm back with another Topflight Stamps Christmas card for you. This week's brand focus is on Crafty Individuals and there is a wide variety of their wonderful designs available in the store. Crafty Individuals stamps are red rubber and sold unmounted so don't forget to get some mounting foam too.
Topflight Stamps Supplies Used:
Versafine Pigment Ink Pad - Onyx Black
Lavinia Mysticals Mist Spray - Pinkella
Wednesday, November 6, 2024
More Christmas Cards with Topflight Stamps
Hello Topflight Stamps fans! This week we're again focusing on a Christmas & Winter theme for our cards. AALL & Create has some great new die sets available now and I found inspiration in the Snowland set. I love all the little pieces included.
Thanks for stopping by and be sure to check out the Topflight Stamps store for a wide selection of different and hard to find stamps, stencils and other paper crafting supplies from all around the world! Also keep an eye on the Topflight Stamps blog. There is new inspiration posted daily!
Topflight Stamps Supplies Used:
AALL & Create Die Set - Taggletastic
PaperArtsy Stencil - PS070
Creative Expressions - 8x8 Paper Pad Christmas Plaid
Wednesday, October 23, 2024
Getting a Start on Christmas Cards with Topflight Stamps
I know it's only October but if you want to make a bunch of cards to send out in December, it pays to get an early start! This week on the Topflight Stamps blog we are focusing on "Christmas and Winter" for our projects.
There are SO MANY cute Christmas stamps in the store. This one really caught my eye. It's called Raccoons and Gingerbread from Katzelkraft. It makes me smile.
Topflight Stamps Supplies Used:
Tuesday, December 20, 2022
Funkie Junkie Focus – Tim Holtz Christmas Cards
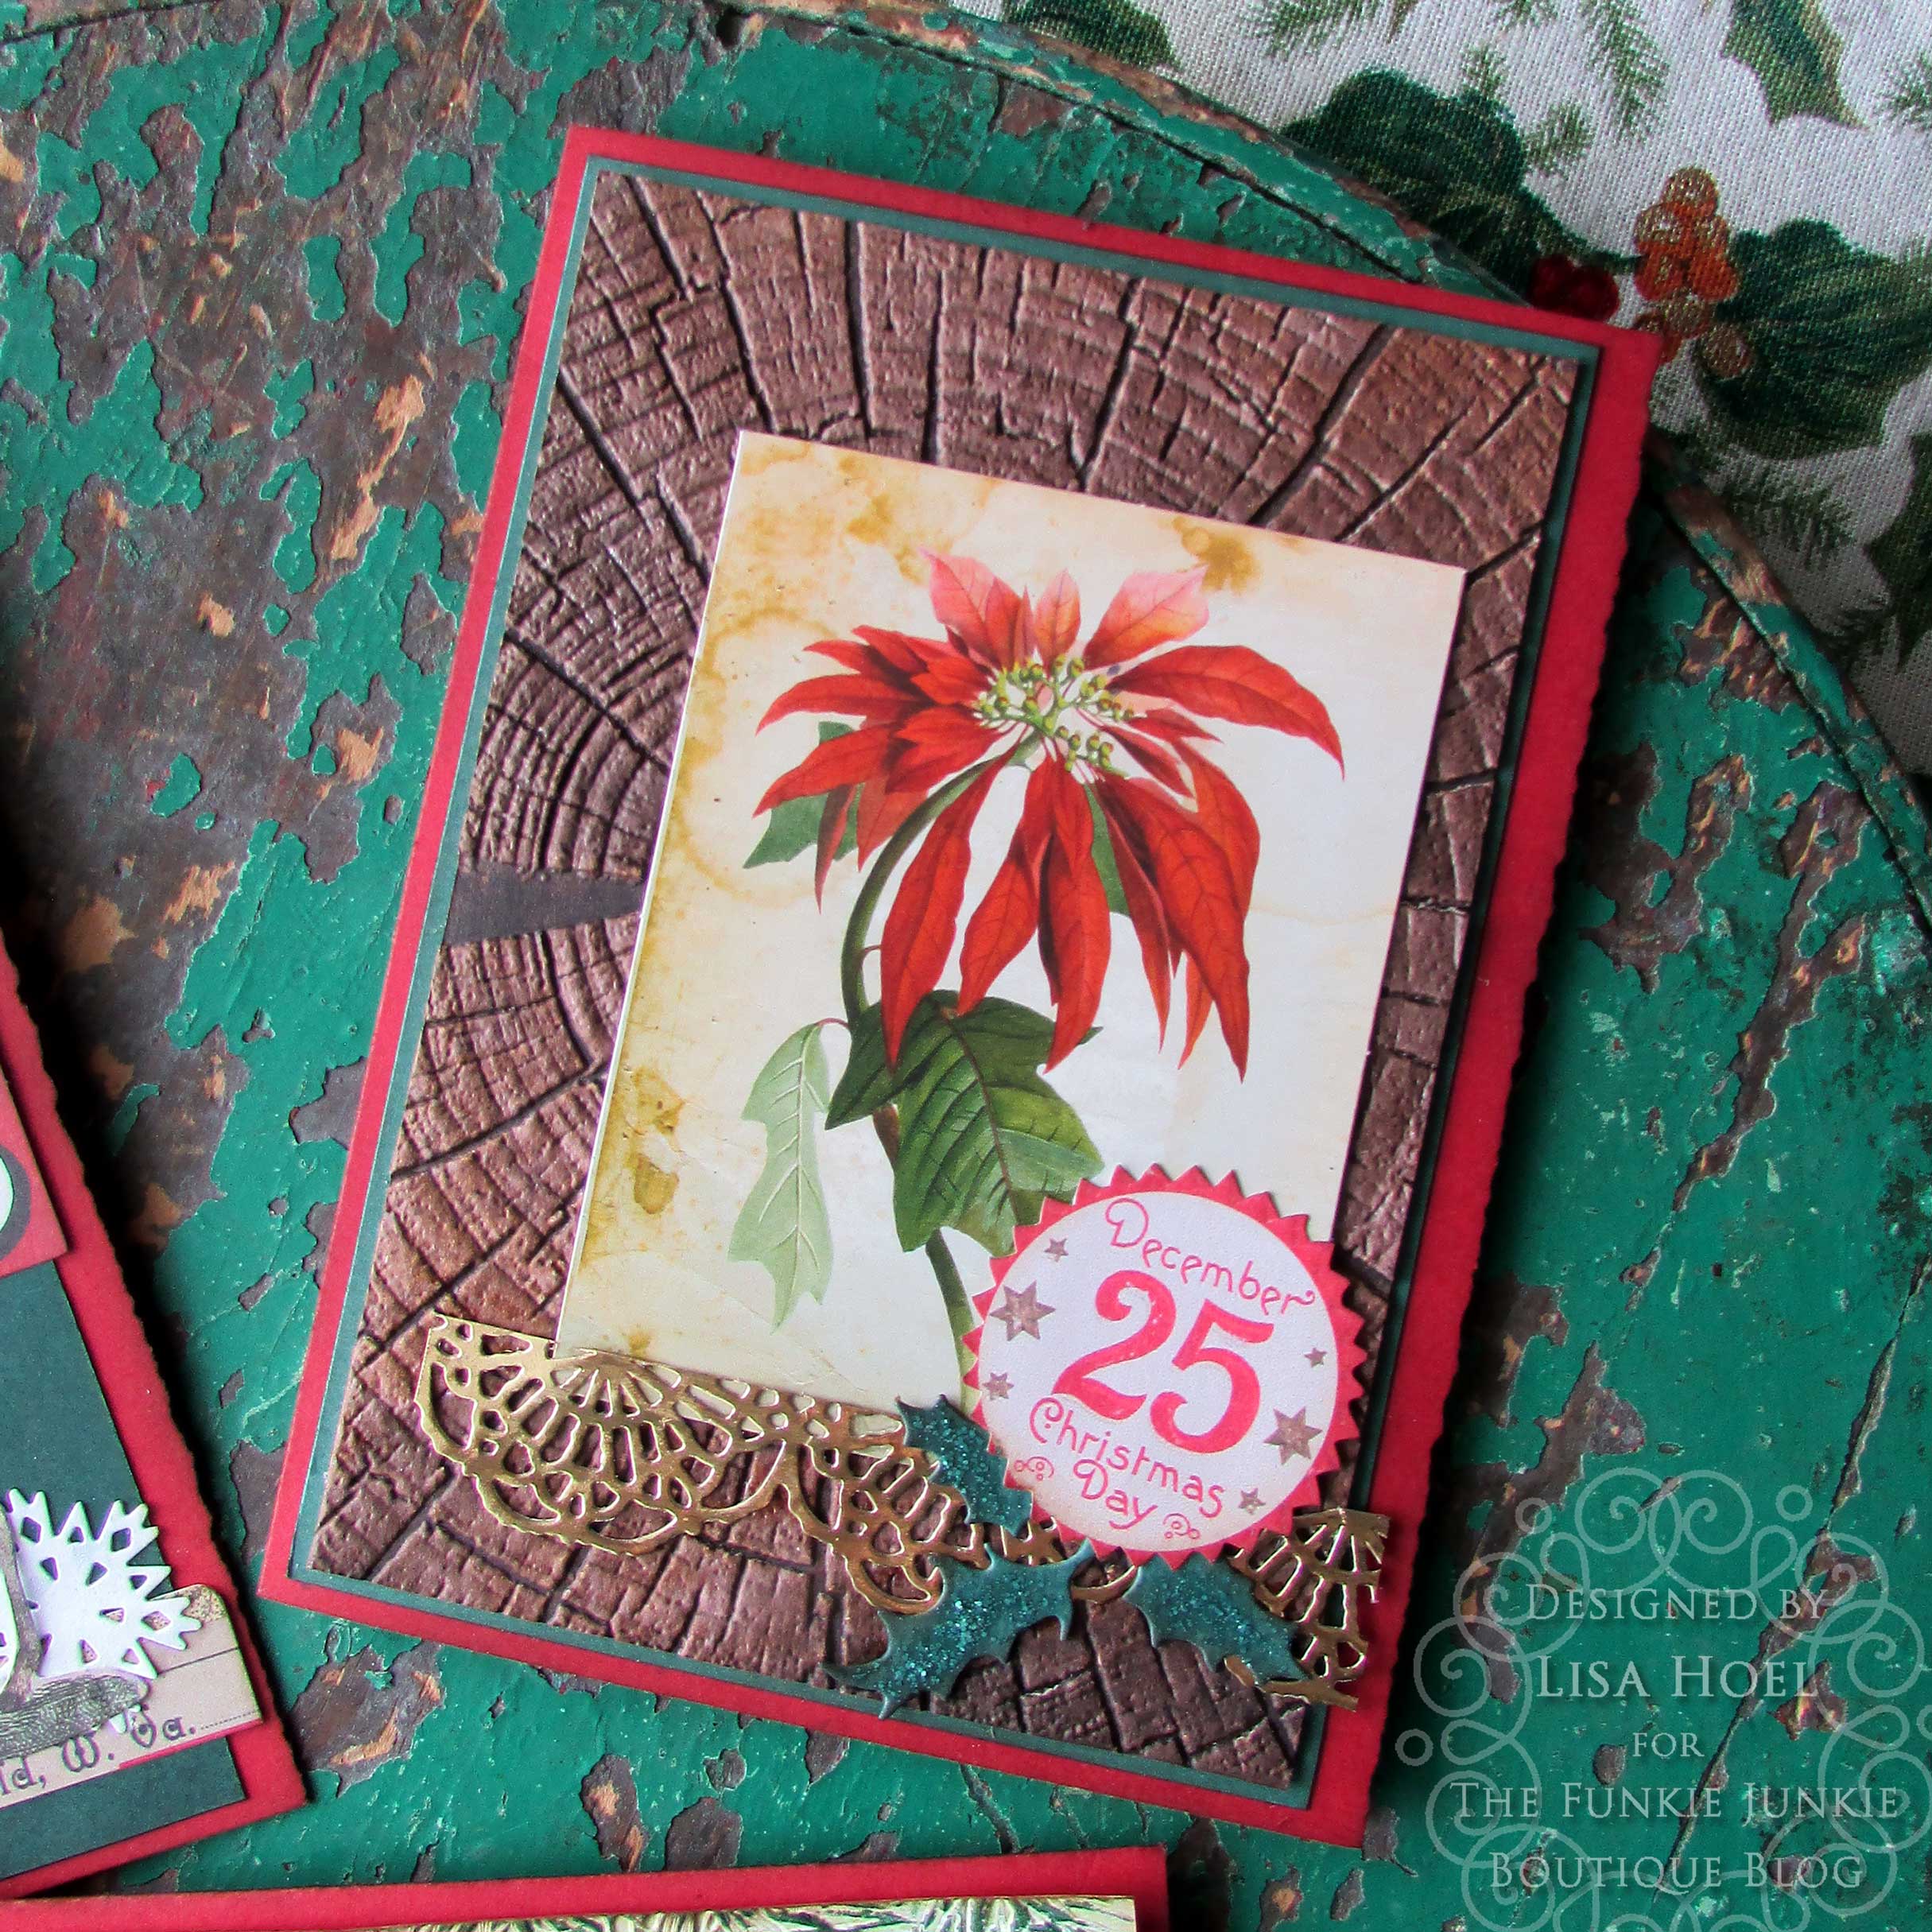
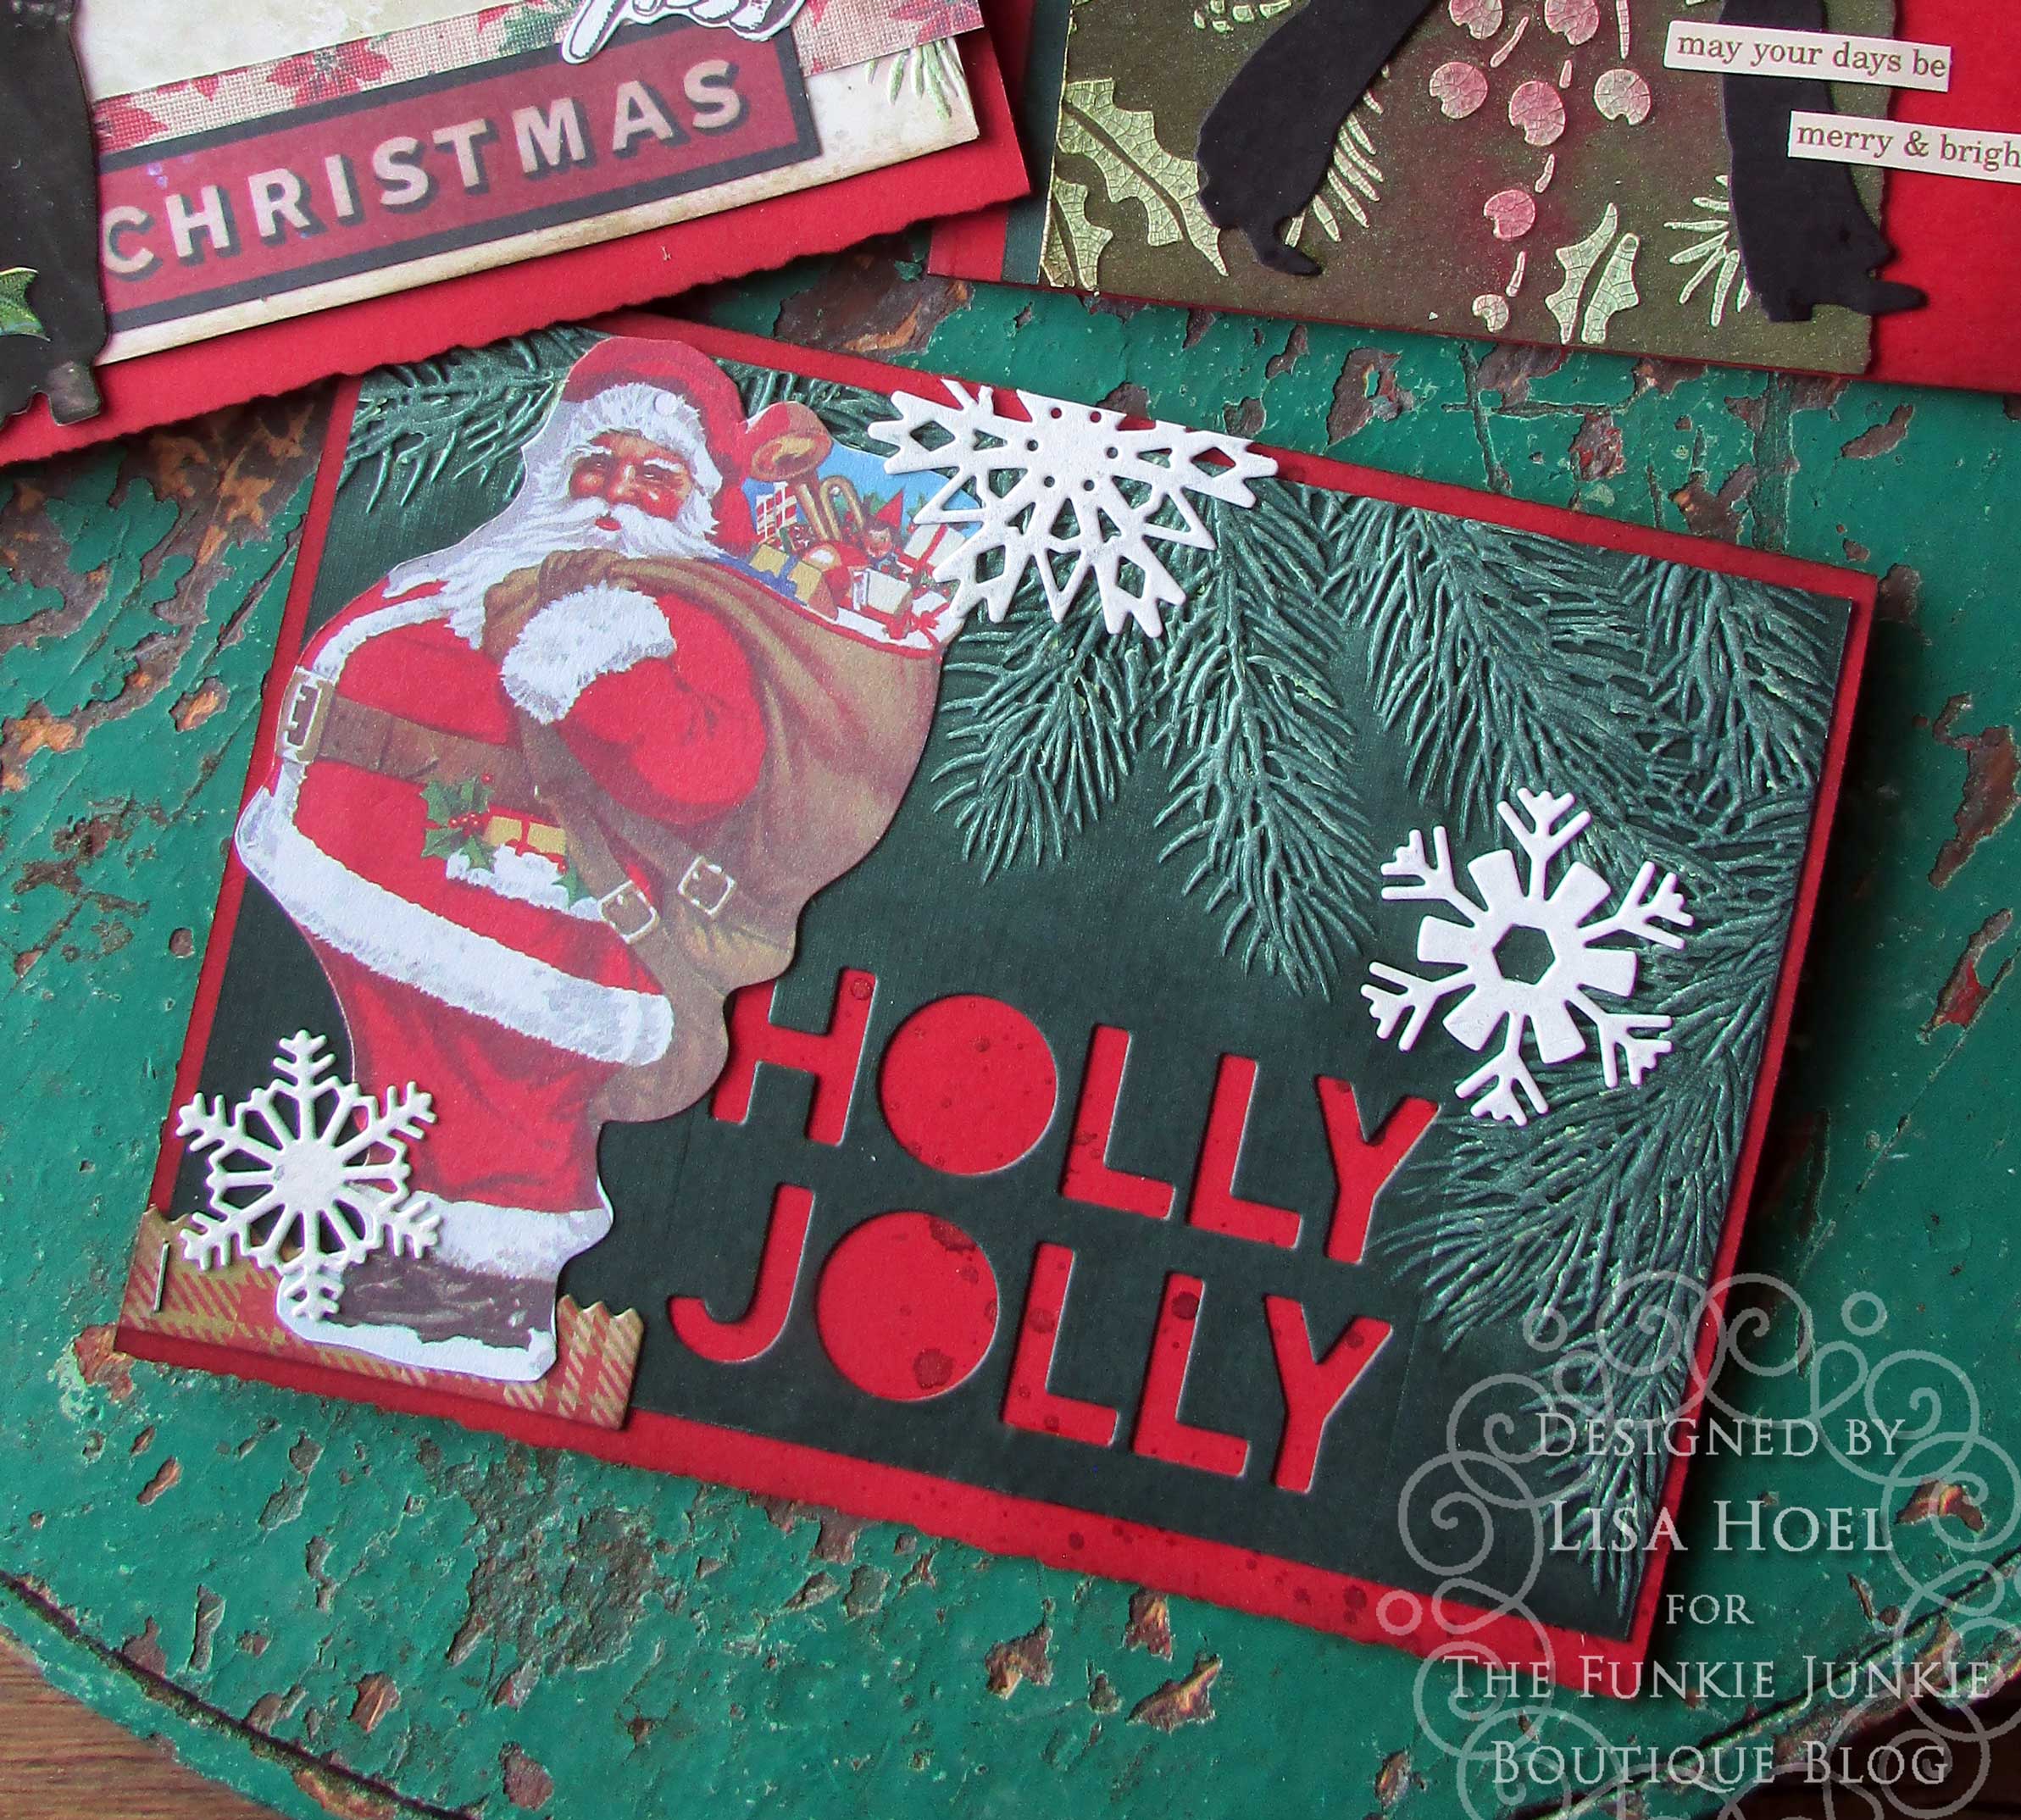
Hello there, Christmas is almost here! Crafting is continuing around here at a breakneck speed ha ha. Our focus for Funkie Junkie's Inspiration Ave. is 'Tim Holtz Christmas, Anything Goes'. I found myself in need of some extra Christmas cards so I got going…
Time is valuable right now so I utilized a "use what I have ready" method. The 3-D embossed backgrounds were extras from a previous project. Couldn't let those go to waste! They were the perfect backgrounds for layering lots of Tim Holtz Christmas ephemera and die cuts. (I also have a box of extra die cuts so those were all ready to go too.) Efficient creating is a must five days before Christmas. ;-)
The Christmas Paper Dolls are so cute to use on cards as well. If time wasn't so short, I would have colored them using the new Distress Watercolor Pencils. Compromises must be made in times of need!
Here are a few peeks at the behind the scenes. Mostly it's a matter of pulling everything out, digging through piles and playing around with elements until I'm happy.
I did prepare all the card bases first:
I cut the leading edges of the cards using the Deckle Torn Edge Trimmer. I think it gives it a nice finished look.
Merry Christmas! I hope you are inspired to get some holiday crafting in! Keep an eye on the Funkie Junkie Boutique Blog, Inspiration Ave. because you are now getting regular doses of expanded (and inspiring) content each week. Don't miss it…
The Funkie Junkie Boutique is having a December BOGO & Overstock SALE right now. Shop now for some great deals!
Wednesday, December 7, 2022
Funkie Junkie Focus – Tim Holtz Christmas Stampers Anonymous
Hello and welcome to the current Product Focus at the Funkie Junkie's Inspiration Ave! We are taking a look at Tim Holtz's 2022 Stampers Anonymous Christmas stamps. There are some great new sets released this season and I used one of my favorites (Festive Collage) to create a Christmas card.
I created lots of layers for this card! Let's take a look:
Step 1 - I used the new Pinecones stencil to create the background layer. I used Heavystock as my substrate and did one piece with Opaque Crackle Paste and one piece with Translucent Crackle Paste. I wanted to compare the two and wasn't sure which I wanted to use in my card.
Step 2 - I spritzed each piece with Antique Linen, Old Paper and Tea Dye Distress Stains as well as Fresh Balsam Mica Stain. The Opaque paste resists the stains more than the Translucent. I decided to go with the Translucent piece for my card.
Step 3 - The next layer was a piece embossed using the 3D Tree Rings Folder. The next was a Heavystock Tag to do my stamping on. I prepped it by smooshing Oxide Iced Spruce and Antique Linen onto the tag.
Step 4 - Stamping! Using a stamping platform, I first stamped my image with Archival Black Soot ink. Then I used some of the Seasonal Pearlescent Distress Crayons like watercolors to color the image in. (Scribble on a craft sheet and use a water brush to pick up the color and paint.) When the crayon was dry, I stamped again over the top with Black Soot to make the details of the stamped image crisp again.
Step 5 - I used the Vintage Labels Die Set to make a little label to stamp the sentiment on (from the Darling Christmas stamp set).
Thanks for stopping by! I hope you are inspired to get some holiday crafting in! Keep an eye on the Funkie Junkie Boutique Blog, Inspiration Ave. because you are now getting regular doses of expanded (and inspiring) content each week. Don't miss it…
Supplies used:
Tuesday, December 15, 2020
Darkroom Door Christmas Card with Topflight Stamps!
Merry Christmas everyone! It's almost here! I'm still crafting away on Christmas projects, even cards to mail (although I don't think they will arrive at their destinations until after Christmas, oops. Better late than never!) Here is a card I made using the Darkroom Door Pine Cones Stamp Set.
I really love the Pine Cones set. It has a great selection of realistic pine cones and needles. Perfect for woodsy projects and of course Christmas cards! I used Distress Inks because I wanted to utilize their reactivity to water. Using a stamping platform, I first stamped the pinecone in the lighter brown (Brushed Corduroy) and spritzed it lightly with water so it would wick out. After drying it, I stamped over the top with the darker brown for detail. I like the watercolor effect of the wicking. Next I masked off the pine cones and stamped the pine needles. It's a quick and easy card! This design wouldn't be too hard to mass produce if you wanted to make many of them for mailing out.
Thanks for stopping by! I hope you are finding some holiday joy and have a chance to get some creative time in the midst of the hustle and bustle.
Supplies used:
Topflight Stamps Products:
Darkroom Door - Pine Cones Stamp Set
Some links in this post are affiliate links which do not affect the price you pay but allow me to earn a small percentage of a sale. Thanks! (My husband also thanks you!) If you shop at Topflight Stamps, use my coupon code LISAHOEL for 12% off your order.
Thursday, December 3, 2020
Funkie Junkie Challenge 'A Time to be Grateful!' Guest Post
Hello, I am honored to be a guest designer today on the Funkie Junkie Boutique blog! The current challenge is 'A Time to Be Grateful' which is a very worthy one! To help me focus on gratefulness, I created a little keeper using Eileen Hull's Post Box Die. Each day for the month of December I will write something I am grateful for on a slip of paper and pop it into the box. I think it will help me to be mindful of things and not just let the month blur by in a whirl.
![]() |
| I cut the slips of paper using Eileen Hull's retired Credit Card Sleeve die but you can cut them by hand with a trimmer etc. |
![]() |
| Back side of box |
![]() |
| I added a magnetic closure to the flap. |
After I finished my box, I realized that I didn't have any step by step photos! oops! I used the same techniques to make a card (below) so I could take pictures. So, imagine doing these steps on the Post Box Die cut out. ;-)
Step 1 - I spritzed my craft mat with Speckled Egg Distress Stain in both regular and Oxide stains. I dipped my background into it a few times, drying it with my heat tool each time. The far background trees I stamped in Distress Oxide Ink, Iced Spruce using the watercoloring stamping technique. (super easy!) Ink up your stamp, lightly mist with water and then stamp as usual. It gives a great watercolor effect.
I filled in the area under the stamped image with more Iced Spruce, using a blending tool.
Step 2 - A few weeks ago, one of Tim Holtz's Saturday Facebook Lives focused on making a stash of backgrounds that you could cut up into greens for your holiday projects. I used one of them (made with new the Rustic Wilderness color) to cut my foreground trees out of. It's handy to have a stash!
Step 3 - Assembling the background: For my original Post Box project, I glued the die cut trees around my stamped, then assembled box. Then I added the strip of Christmas Fabric tape around the bottom and topped it with a strip of the washi Trim Tape. For the card below, I mounted all the layers on a dark red mat layer.
Step 4 - I die cut the deer out of brown card stock and then embossed them with Vintage Photo Distress Glaze. I gives them a nice shine. On the card, I left the little fawn plain so it would contrast with the doe.
Final card:
Thanks for stopping by and checking out my post! I hope you join in the 'A Time to Be Grateful' challenge over on the Funkie Junkie blog. It is really important to remember all the things we do have to be thankful for, especially when times are tough. I am grateful that I can use my art to show what I'm thankful for! =)