Showing posts with label Graphics Fairy. Show all posts

Wednesday, August 5, 2015

Mixed Media Madness – ATC binder cover

Hello everyone! I finally got to a project I've had in mind for a few months now. I've been trading a lot of ATCs over the past six months and they are just filling up a box. I've been wanting to get them organized into a binder but I knew it couldn't just be an ordinary binder. What fun is that? I found a three-ring binder at the thrift store that had a paper instead of plastic covered cover and knew that would be the perfect surface to practice some mixed media madness on. I probably should have taken some in-progress photos but I was having too much fun to stop in the middle. ;-)


It was a black binder so I first coated the raw cover with black gesso as a primary layer. Once dry, I adhered a linen doily misted blue to it and used a stencil with black modeling paste to add texture over it all. I also added some misting with the DecoArt Media Acrylic Misters (which are permanent) and a wash of Phthalo Green Blue in places. Then the fun of adding the graphics and embellishments began! The lily and frog images are from The Graphics Fairy. I printed them out with my Epson ink jet printer and gave them a coat of Ultra Matte Varnish to seal them before I glued them onto the cover. I glued on lace, diecuts, and metal embellishments and gave them a coat of white gesso before blending on various colors of Fluid Acrylics and Silks Acrylic Glazes. I also added clear glass micro beads for more shimmery texture.

Detail 1

Detail 2

Thanks for stopping by to see my new project! I hope you find it inspirational. =) The supplies I used for this project can be found at Inspiration Emporium or Amazon. Follow the links below and use my code JUICE at Inspiration Emporium to save 10% if you go shopping there. I will also point out that US shipping is always $5 and international shipping is just $10 at IE. ;-)


Friday, January 30, 2015

Guest Post on AJVD

Hello! Today I have a guest post over on the AJVD blog and I'm showing you how to stretch your die collection by using them to make stamps! I hope you will hop on over there and check it out. =)


Thursday, November 13, 2014

Guest Designer at AJVD Blog - Advent Calendar

Hello everyone! I'm happy to once again be a guest designer over at the AJVD blog today. I've worked up an advent calendar tutorial complete with a download of all the parts you need to make your own! Be sure to go check it out. Here's a sneak peek for you:


Thanks for stopping by!

Thursday, July 3, 2014

Artist Trading Block & Celebrating Independence Day!

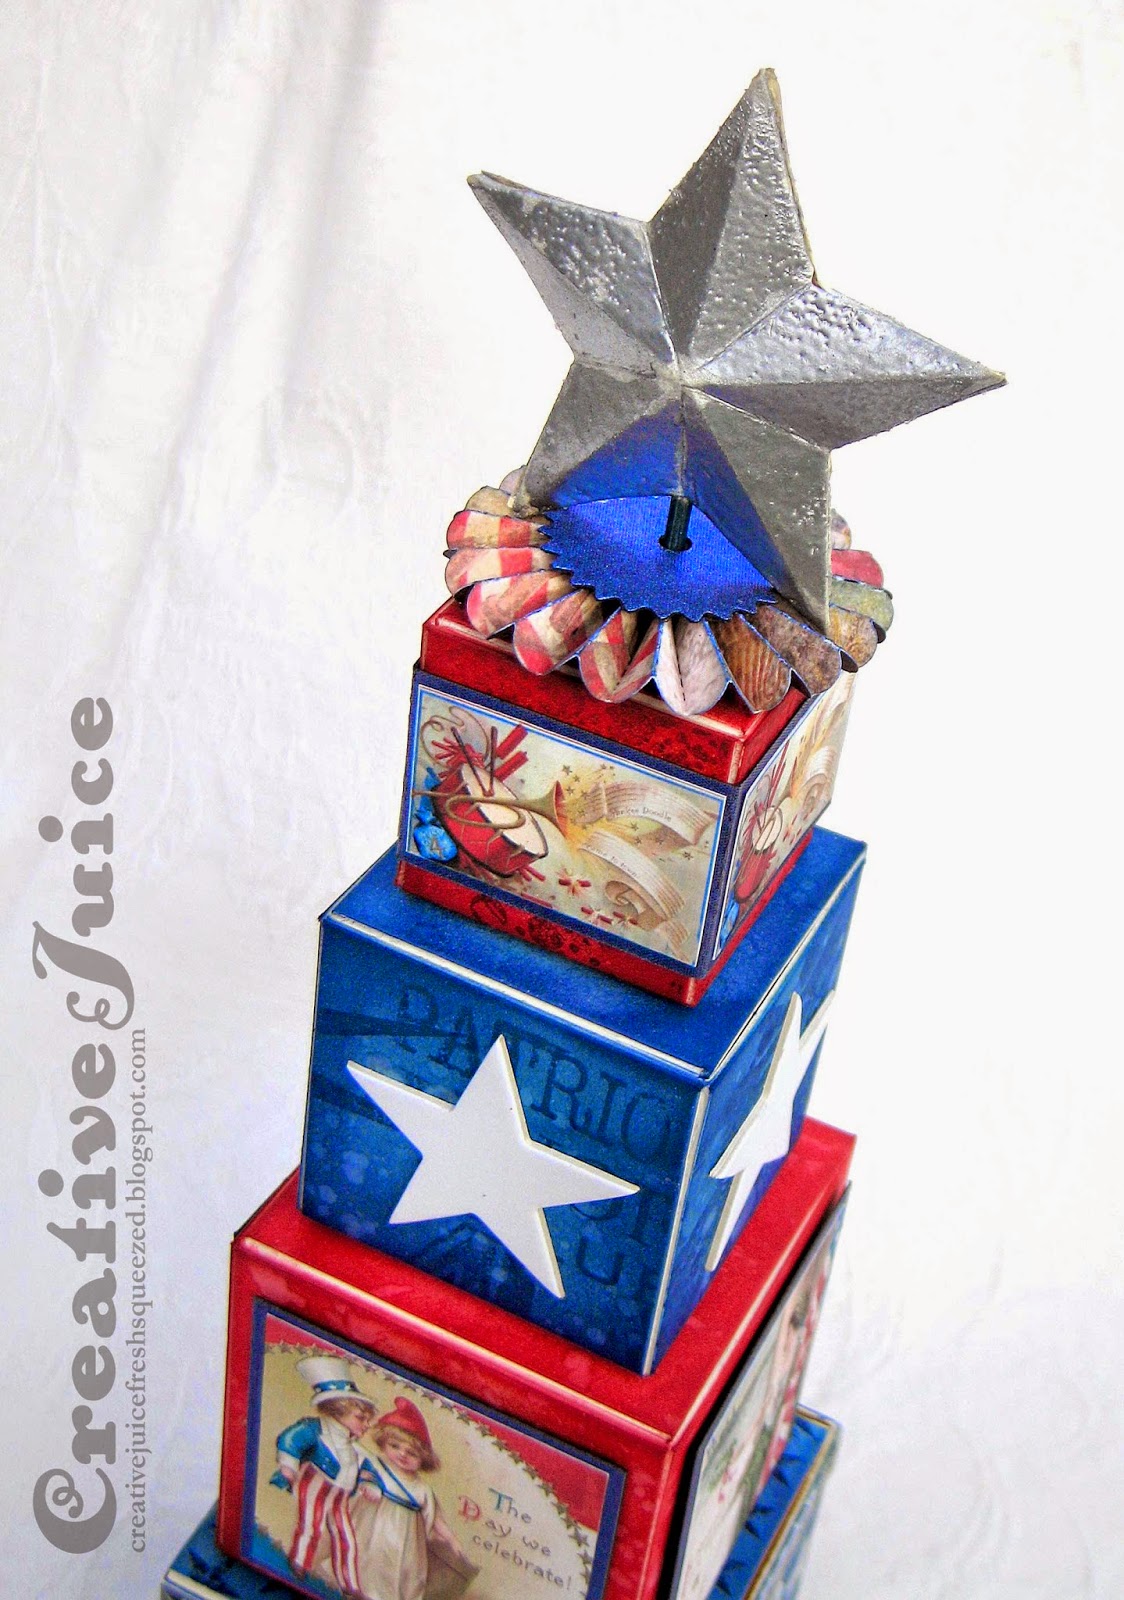
Hello friends! I got a crafty idea in my head and I was able to make it a reality before the holiday it is meant to celebrate. Yes, I finished a 4th of July decoration before the 4th of July! Behold the ATB tower of Americana goodness (in multiple angles lol):


turning…

more turning…


keep turning…

Whew, there is a lot to see here. Now for two detail photos and then I can give you some info on how I put this all together.


First of all, I got all the fabulous vintage graphics from The Graphics Fairy. This is a wonderful resource for quality free graphics. You can download them and then use them in projects. It's fun to see all the different things people do with them.

Of course the structure is made with blocks cut with Eileen Hull's scoreboards dies Block and Blocks (set of 3) dies from Sizzix. I used the smallest Oval Movers & Shapers die to cut the windows in the bottom block. Distress inks let me build up some beautiful color on the surfaces, I flicked them with water to create a cool mottled effect too. The very bottom block uses clear embossing powder as a resist. Before inking the block panels, I stamped them with the Americana word stamp and embossed with clear powder. Then I went over it with blending foam and the blue inks; it makes it look enameled. I like how the blue gets in the nooks and crannies of the melted embossing powder.

The top is made with a rosette and the smallest star from the Star Bright die. I painted it silver first and then did a layer of silver embossing powder over the top of that. If you flick the back of your cardstock after you sprinkle the powder on but before you melt it, you will knock some off which ends up giving you a cool orange peel texture when you heat it. I like the rough flaky look of it.

This month Eileen's Art with Heart Challenge is Red, White & Beautiful. Link up your own project there to have a chance at winning a great prize pack. Also check out The Artists On the Block for some fabulous ATB eye candy. There is inspiration galore to be found!

Most of the supplies I used for this project can be found at Inspiration Emporium. Follow the links below and use my code JUICE to save 10% if you go shopping. I will also point out that US shipping is always $5 and international shipping is just $10! ;-)