Showing posts with label wool embroidery. Show all posts

Wednesday, August 23, 2023

Needle Book Tutorial with Eileen Hull Sizzix Chapter 3 Dies

July was an exciting time in Eileen Hull land! She released several new die sets, including the complete Sizzix Chapter 3 collection. The Inspiration Team has still been busy sharing tutorials for the Chapter 3 projects all during August. (There is just so much to share!) This week I'm showing a closer look at this stitched needle book I created using the new Field Notes & Specimen Card Die as the base.

Lisa Hoel for Eileen Hull - Sizzix Chapter 3 collection 2023, tutorial time!   #creativejuicefreshsqueezed #EileenHull  #eileenhulldesigns  #sizzix #mymakingstory #TeamEileen #mysizzixstory

The Chapter 3 collection:


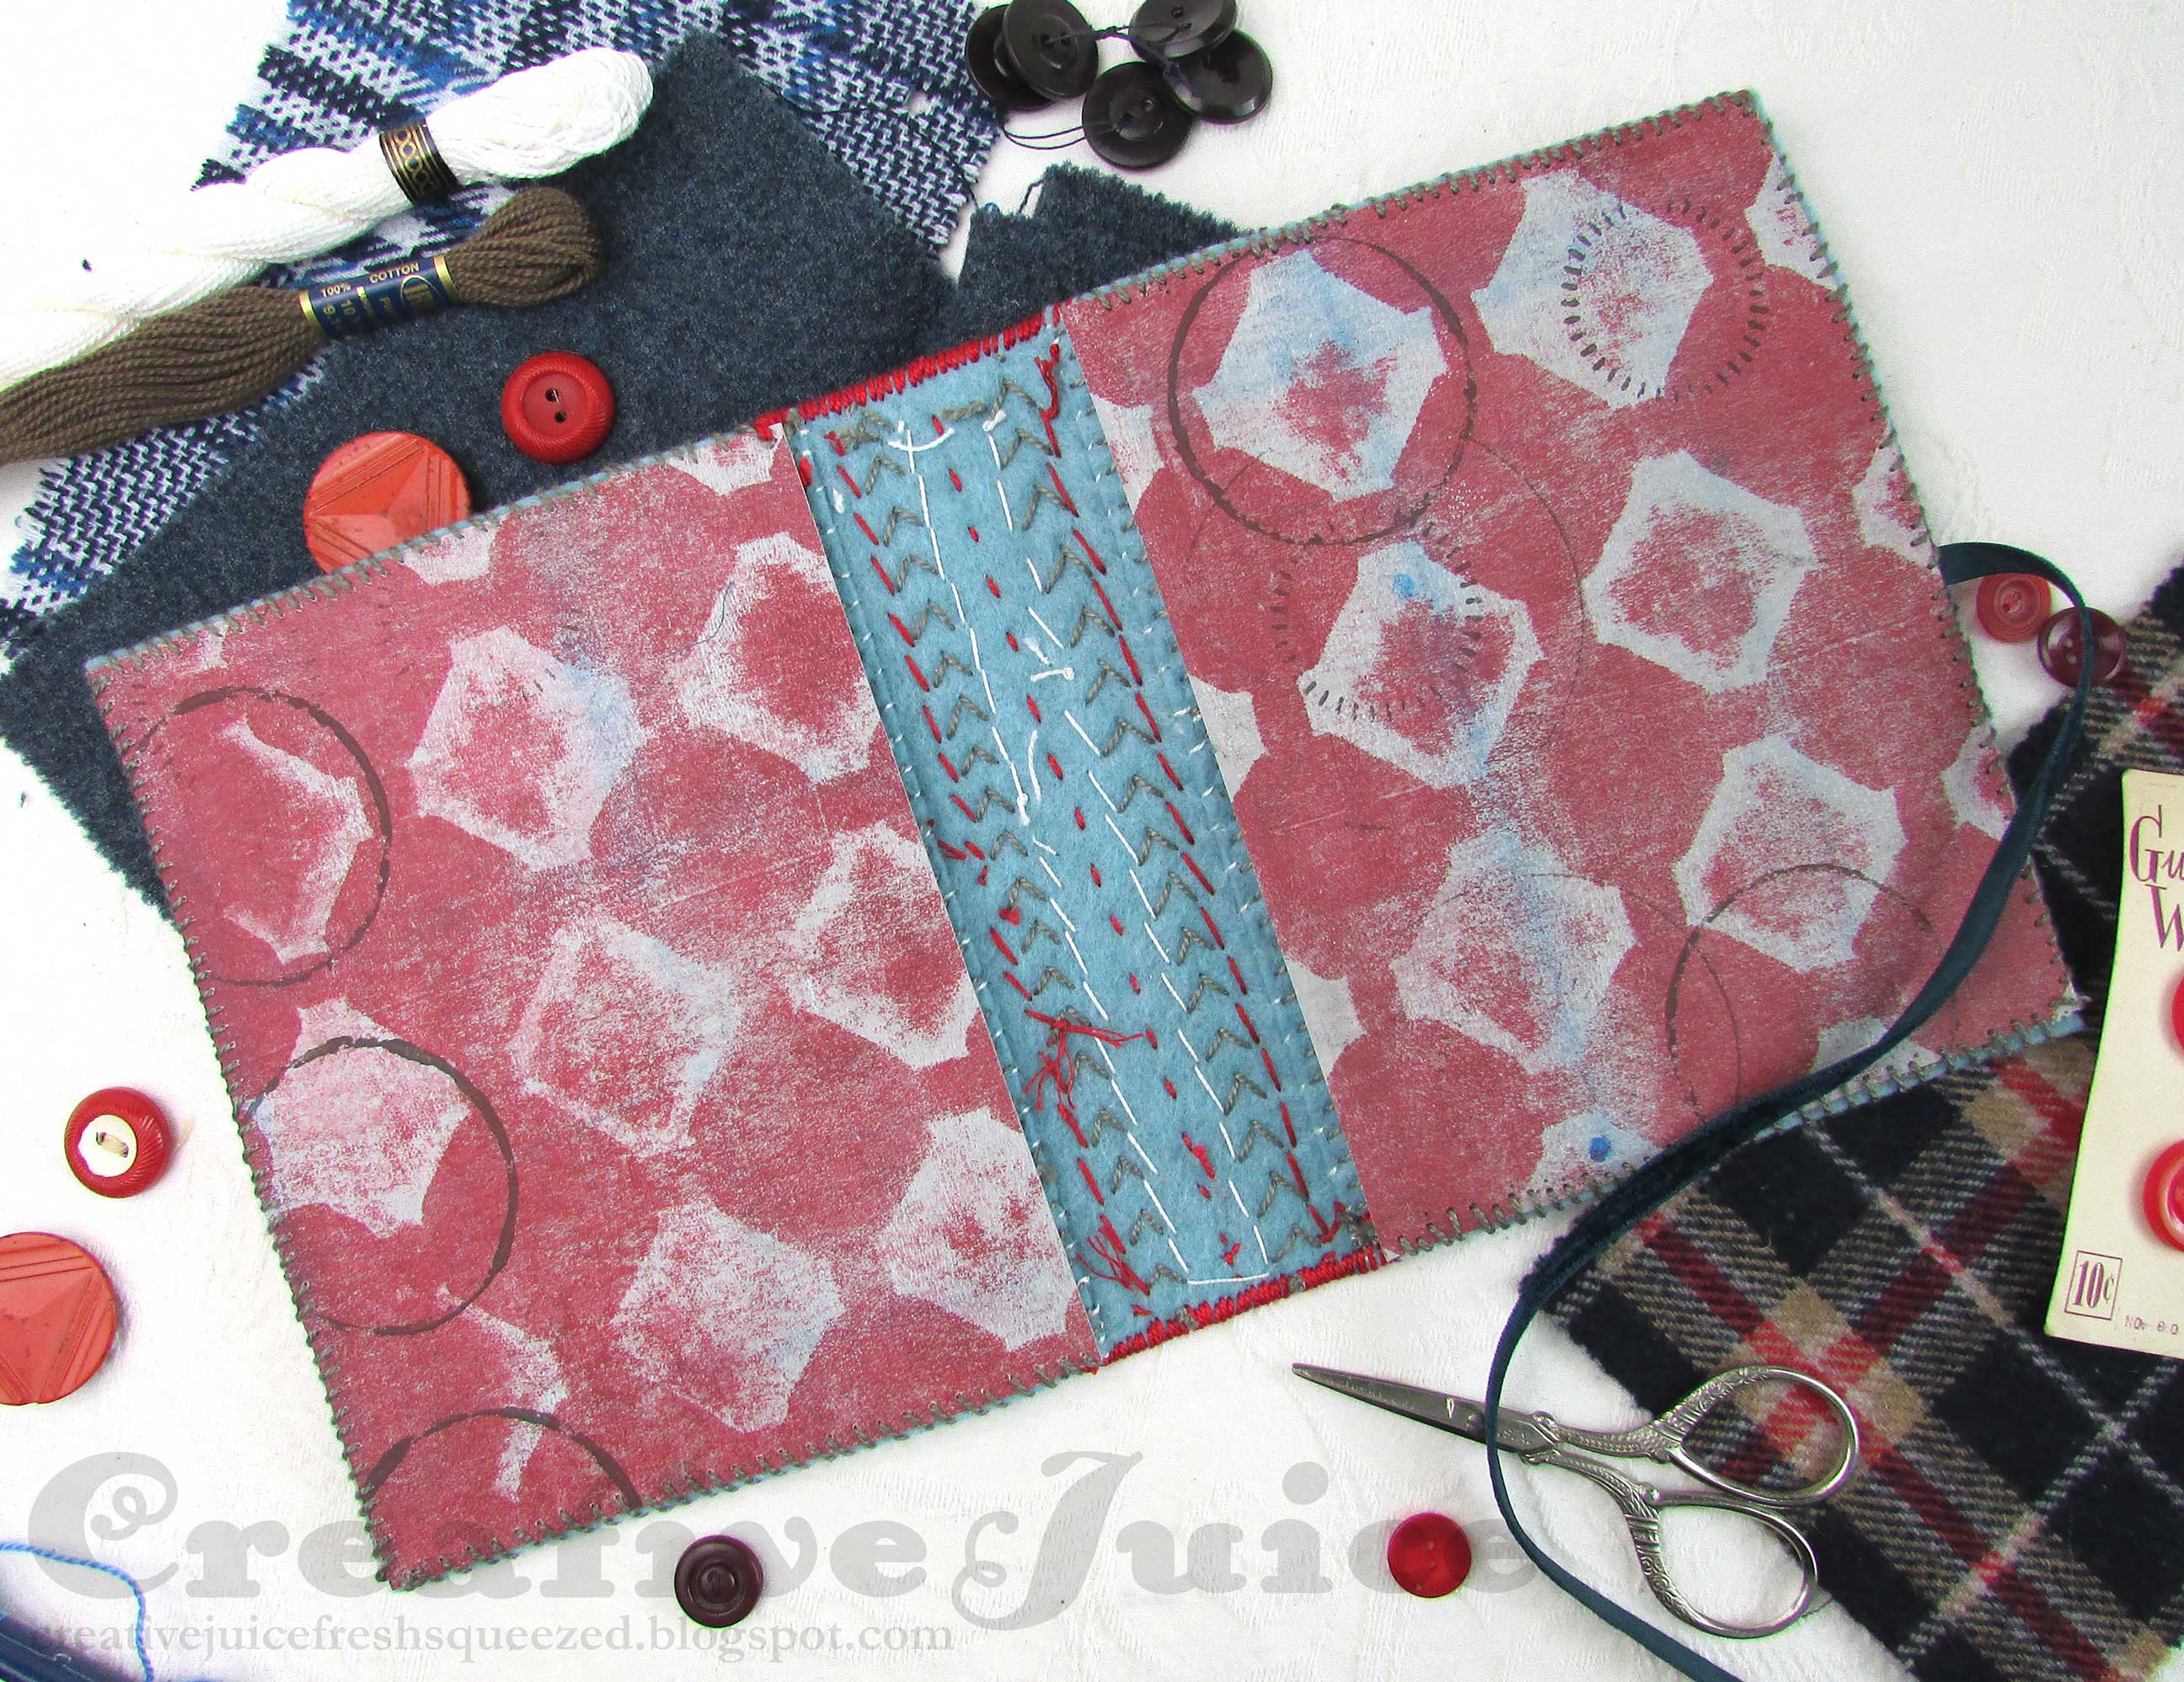
Here is a view of the interior of the needle book:

Lisa Hoel for Eileen Hull - Sizzix Chapter 3 collection 2023, tutorial time!   #creativejuicefreshsqueezed #EileenHull  #eileenhulldesigns  #sizzix #mymakingstory #TeamEileen #mysizzixstory
The fabric covers are lined with gel printed Grey 6" Texture Roll.

Lisa Hoel for Eileen Hull - Sizzix Chapter 3 collection 2023, tutorial time!   #creativejuicefreshsqueezed #EileenHull  #eileenhulldesigns  #sizzix #mymakingstory #TeamEileen #mysizzixstory
Pages are felt for needle storage.

Lisa Hoel for Eileen Hull - Sizzix Chapter 3 collection 2023, tutorial time!   #creativejuicefreshsqueezed #EileenHull  #eileenhulldesigns  #sizzix #mymakingstory #TeamEileen #mysizzixstory
I made a little storage pouch using the
Journaling Card, Envelope & Window Die Set.

Lisa Hoel for Eileen Hull - Sizzix Chapter 3 collection 2023, tutorial time!   #creativejuicefreshsqueezed #EileenHull  #eileenhulldesigns  #sizzix #mymakingstory #TeamEileen #mysizzixstory

Lisa Hoel for Eileen Hull - Sizzix Chapter 3 collection 2023, tutorial time!   #creativejuicefreshsqueezed #EileenHull  #eileenhulldesigns  #sizzix #mymakingstory #TeamEileen #mysizzixstory

Now for some how-to!
1) The outer covers are cut from scraps of fabric and thin quilt batting. The inners covers are Grey 6" Texture Roll that I gel printed. The texture roll material is very machine stitchable.


2) I machine top stitched the layers together for both the front and back covers. (I stuck them together first with fusible interfacing so they wouldn't shift around.) I then stitched those parts together at the spine. The spine ended up looking pretty messy but I was planning to cover that all up with a ribbon so it didn't bother me much.


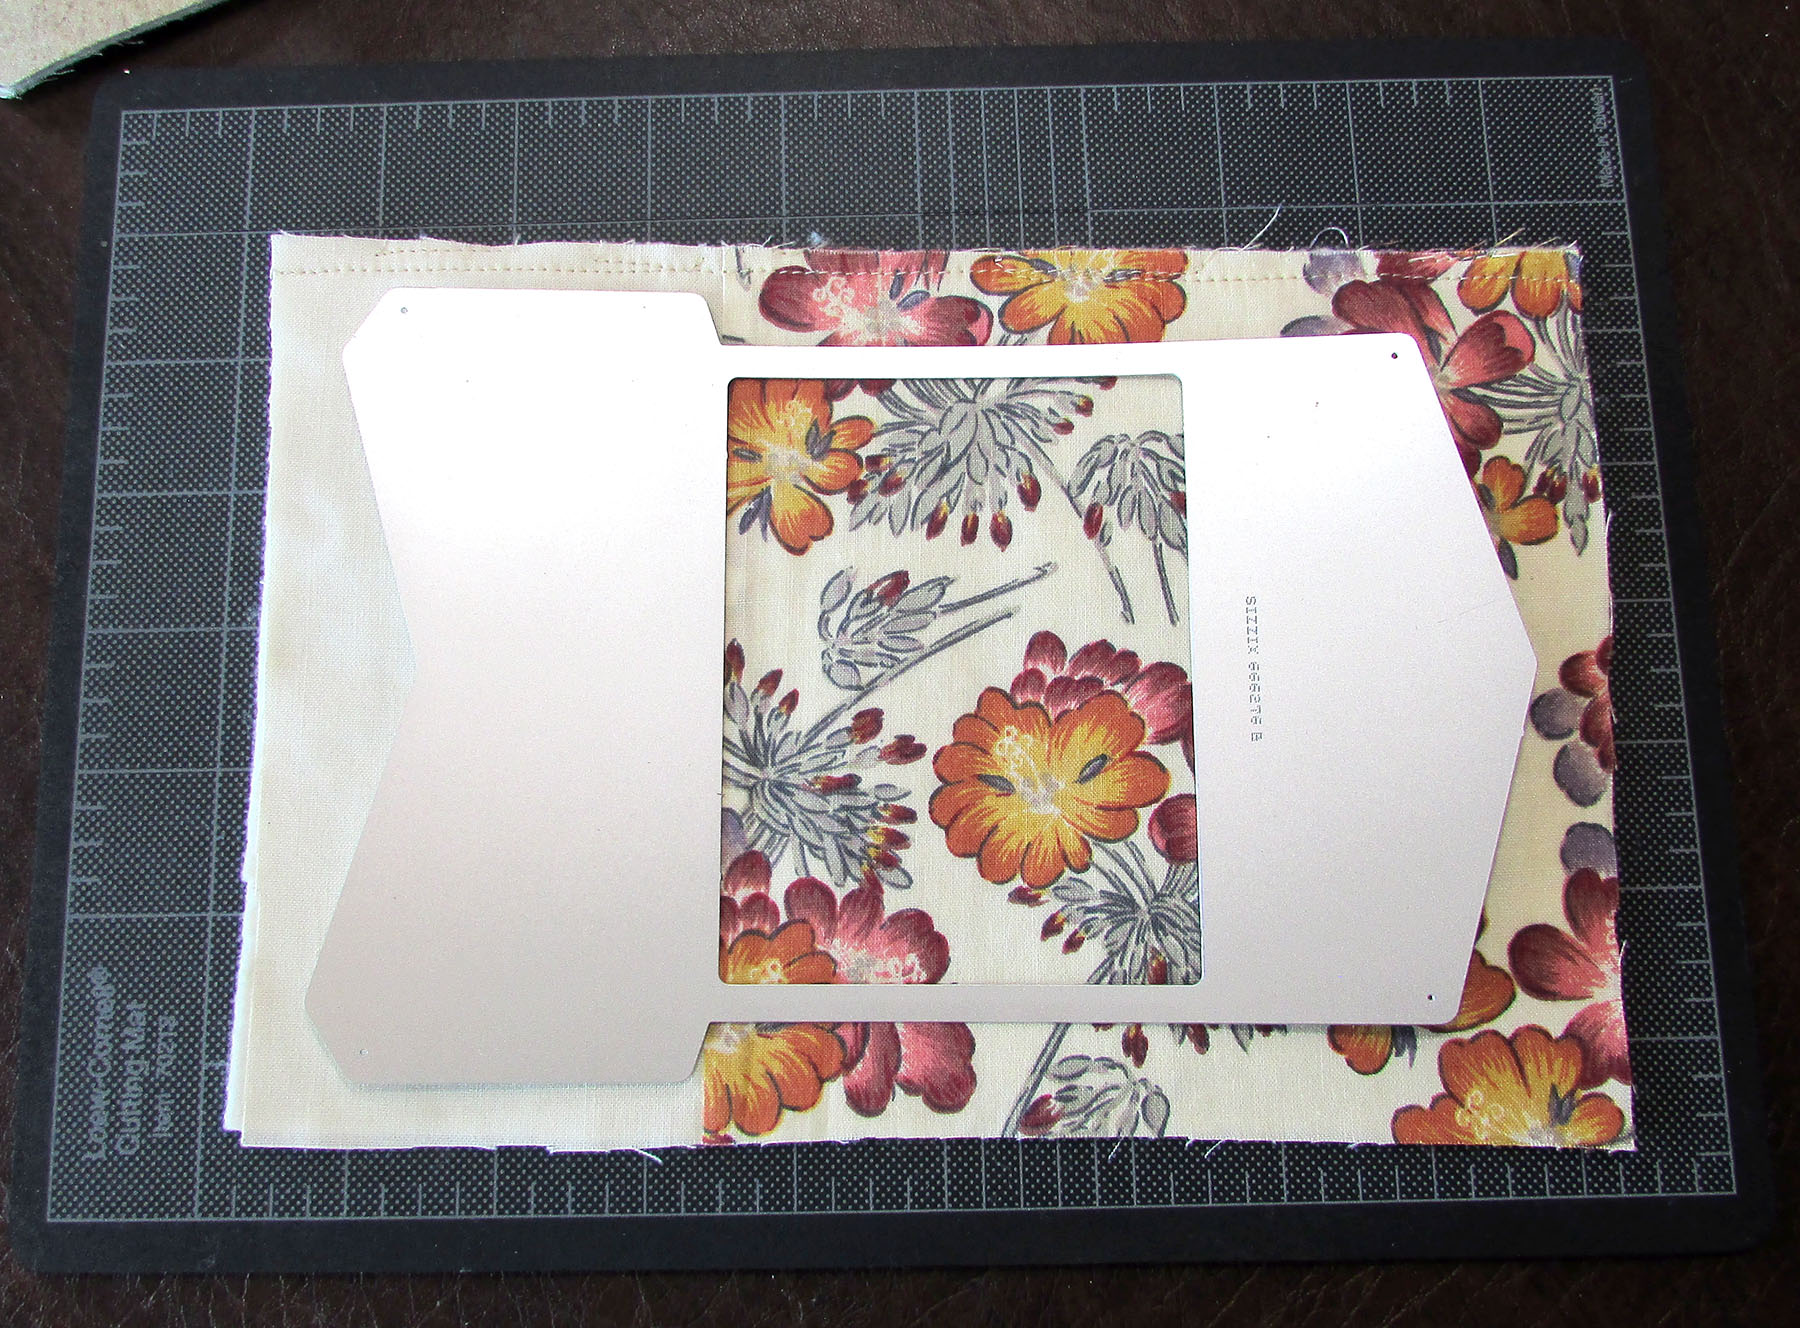
3) The center pocket was cut out of more fabric and batting using the Journaling Card, Envelope & Window Die Set. I sewed it closed, edged it with a blanket stitch and then sewed it to a flap in the center of the book.


4) The really fun part was cutting out all the decorative elements and flowers for embellishing the front! (I created two books, one for Eileen and one for me!)


Letters cut using the Tile Alphanumeric Die.

Thanks for stopping by and be sure to keep an eye on Eileen's blog for more inspiration from the Educator and Inspiration Teams.

Supplies used:

Eileen Hull Die - Field Notes & Specimen Card XL Die  ( SizzixSB, FJ )
Eileen Hull Thinlits Die - Envelope, Folder & Flowers ( SizzixSBFJ )
Eileen Hull Thinlits Die Set - Snail Mail ( SizzixSB )
Eileen Hull Thinlits Die Set - Tile Alphanumeric  ( SizzixSBFJ )
Eileen Hull Thinlits Die Set - Journaling Card, Envelope & Window  ( SizzixSBFJ )

Sizzix Surfacez - Grey 6" Texture Roll
felt
embroidery floss
crinoline
fabric
thin quilt batting
fusible interfacing
Gel Press plate

Some links in this post are affiliate links which do not affect the price you pay but allow me to earn a small percentage of a sale. Thanks! (My husband also thanks you!)


Thursday, March 31, 2022

Felt, Fibers and Fabric Journal Cover

All during the month of March Eileen Hull's design teams have been playing with using felt, fibers and fabric with her dies to create projects to inspire you! Here I am finally at the very end of March with my contribution. I used the Book Box Die to make a journal cover. The die cut easily through thick felt to form the base and I appliqued wool shapes to it.

Lisa Hoel for Eileen Hull - Felt, Fibers and Fabric during March! An appliqued & embroidered felt journal cover #creativejuicefreshsqueezed #EileenHull  #eileenhulldesigns  #sizzix #mymakingstory #TeamEileen

I embellished the cover with LOTS of embroidery! I had fun exploring a stitchery book from Sue Spargo that I had received for Christmas. I tried many new stitches.

Lisa Hoel for Eileen Hull - Felt, Fibers and Fabric during March! An appliqued & embroidered felt journal cover #creativejuicefreshsqueezed #EileenHull  #eileenhulldesigns  #sizzix #mymakingstory #TeamEileen

So far this is only the cover so it's officially a work in progress. Hopefully the WIP doesn't become a UFO and I get it finished sooner rather than later!

Lisa Hoel for Eileen Hull - Felt, Fibers and Fabric during March! An appliqued & embroidered felt journal cover #creativejuicefreshsqueezed #EileenHull  #eileenhulldesigns  #sizzix #mymakingstory #TeamEileen

Lisa Hoel for Eileen Hull - Felt, Fibers and Fabric during March! An appliqued & embroidered felt journal cover #creativejuicefreshsqueezed #EileenHull  #eileenhulldesigns  #sizzix #mymakingstory #TeamEileen

I lined the inside covers with grey Sizzix Texture Roll that I had printed on with my Gel Press. 

Lisa Hoel for Eileen Hull - Felt, Fibers and Fabric during March! An appliqued & embroidered felt journal cover #creativejuicefreshsqueezed #EileenHull  #eileenhulldesigns  #sizzix #mymakingstory #TeamEileen

When I make the insides I'll add a piece of mat board for the spine and bind the pages to it.

Let's take a look at some of the how-to…

Step 1 - I cut the base pieces out of a thick felt and played around with circle shapes until I was happy with the pattern. I also chose the wool plaid fabrics I thought would work together.


Step 2 - I ironed Pellon Fusible Featherweight Interfacing onto the backs of the wool fabric before I cut out the circle shapes. It helped to stabilize the fabric and keep the edges from fraying.


Step 3 - It's so much fun to pick fabrics. =)


Step 4 - I basted the sections in place to keep them all sorted and where they were supposed to be. Then the real fun began and got stitching!


Step 5 - Fast forward…


After many long happy hours of embroidery I had completed the stitching and was ready to assemble the cover.

Step 6 - On the inside of the cover I whip stitched the edges of the spine piece to the front and back covers (there is about a quarter inch of overlap). This was to help reinforce the join and hold it in place while I sewed the "fancy" stitches from the front.


Step 7 - I stitched along the edges of the spine part with a blanket stitch for decoration and to further join the cover pieces together. The last step was to stitch the Texture Roll pieces into the inside covers. I whip stitched them into place which also finished off the edges nicely.


Thanks for stopping by! Hopefully I'll be back soonish with the interior done. ;-)

Supplies used:
Eileen Hull Book Box Die - ( Sizzix / SB )
Sizzix Die - Circle 3" Fraction 1/2 - retired
Sizzix Die - Circle 3" Fraction 1/4 - retired

Sizzix Surfacez Texture Roll, Grey
various wool plaid fabric scraps
vintage button
various embroidery floss/fibers
lightweight fusible interfacing
ribbon

Some links in this post are affiliate links which do not affect the price you pay but allow me to earn a small percentage of a sale. Thanks! (My husband also thanks you!)


Tuesday, November 3, 2020

Deck the Halls with Eileen Hull's Dies!

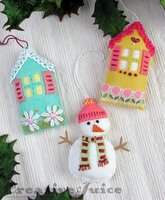
Hello everyone! Here we are in November and Eileen Hull's theme for the month is Seasons' Greetings! The Inspiration and Educator Teams are going to be getting crafty with all the holidays and seasons coming up. I've been in a stitchy mood lately so I thought I would make some more felt Christmas tree ornaments. You may remember the Mitten ornament I made back in July with Eileen's then new Mitten Box Die. I decided to give her House Ornament and Snowman Box Dies the felt treatment too!

Lisa Hoel for Eileen Hull – felt Christmas ornaments made using Eileen's versatile Sizzix dies

I am again using the wool blend felt from Benzie Design. I really like how it feels and it holds together better (especially the little small pieces) than 100% wool felt. It is also more economical!

The House Ornament Die is a 3-D die but all I had to do was cut off the tabs etc. from my piece of die cut felt. I backed the windows with a piece of felt on the inside and stitched around it to hold it into place. I searched through my *ahem* extensive stash of ribbon and trims to find just the right elements to use for the roofs and 'gardens'. I was winging it again with the stitches and just made it up as I went along. A little polyfil stuffing gave them dimension.

I did the same thing with the Snowman ornament (winged it lol). I cut the little stick arms out of Sizzix Paper Leather (Kraftex paper is similar.) Basically I didn't want to use skinny felt cuts because they'd probably tear off. Same thing with regular paper cardstock, it didn't seem like it would be sturdy enough. The Paper Leather or Kraftex is made to stand up to wear and tear. As I was sewing together the front and back of the ornament, I stitched the ends of the arms into the seams. 

I encourage you to try this out. Cut out some felt pieces and just play! =)

Thanks for stopping by! Check out Eileen's blog and if you are not already a member, join the Facebook Eileen Hull Fan Club group. It is a warm, supportive group with lots of inspiration and sharing going on. You'll just have to answer a few simple questions when asking to join (to keep out spammers) and then you'll be added. ;-)

Supplies used:

Dies:
Eileen Hull Sizzix
House Ornament Die  Sizzix ) (50% OFF on the Sizzix site right now!)
Snowman Box Die  Sizzix / SB ) (also on sale on the Sizzix site right now!)

embroidery floss
polyfil stuffing
embroidery needles

Some links in this post are affiliate links which do not affect the price you pay but allow me to earn a small percentage of a sale. Thanks! (My husband also thanks you!) If you shop at Topflight Stamps, use my coupon code LISAHOEL for 12% off your order.

Tuesday, July 14, 2020

Felt Mitten Christmas Ornament with Eileen Hull

Hello! Have you seen Eileen Hull's newest Sizzix dies? They were just released at the beginning of the month and they are perfect for getting the jump on some holiday crafting. Previously, I shared a project made using the Snowman Die. This week, I used the Mitten Box die to make this cute felt Christmas tree ornament. It's a Bigz die so it cuts felt and other thicker materials effortlessly. I tried a new wool blend felt I found in an Etsy store named Benzie. I really like it! It's not as expensive as 100% wool felt but still feels soft and it comes in beautiful colors. I highly recommend it.


I die cut the mitten shapes, zig zags and heart from the felt using the Mitten Box Die. Then I just 'winged it', stitching on the details. I whip stitched the two halves together and stuffed it to give it dimension. This Die has lots of possibilities! Did you catch the Bog Hop that was part of the Release Party on July 1st? There were over 20 projects made with the new dies for your inspiration! Be sure to take a look if you missed it, also each week on the blog we have more creations to share with you too.

Thanks for stopping by! Check out Eileen's blog and if you are not already a member, join the Facebook Eileen Hull Fan Club group. It is a warm, supportive group with lots of inspiration and sharing going on. You'll just have to answer a few simple questions when asking to join (to keep out spammers) and then you'll be added. ;-)


Supplies used:

Dies:
Eileen Hull Sizzix
Mitten Box  Sizzix / SB ) 

felt
embroidery floss
poly stuffing

Some links in this post are affiliate links which do not affect the price you pay but allow me to earn a small percentage of a sale. Thanks! (My husband also thanks you!) If you shop at Topflight Stamps, use my coupon code LISAHOEL for 12% off your order.
Tuesday, May 29, 2018

May Flowers with Eileen Hull – Embroidered Teacup Pincushions

Hello there everyone! After April showers come May flowers so all month long Eileen Hull's Inspiration Team has been sharing projects made with her flower and other dies on her blog. This week I indulged in my love of wool felt and used Eileen's Heart & Soul Flower and Flower Layers with Heart Petals dies to cut flower layers out of my felt stash. I had previously picked up these two Blue Willow cups at an estate sale and I knew they would be perfect for making into teacup pincushions!


I used white cotton flannel for the base and stretched it into an embroidery hoop before beginning all my embroidery. I made it up as I went along!


When all the stitching was done, I trimmed the flannel into a circle and ran a gathering stitch all around the outer edge. I half gathered the 'pouff' and used stuffing to fill it. Crushed walnut shells would be more practical for a fully functional pincushion but I don't have any right now (Put that on my list!) so stuffing it is!

I used 3 strands of floss for all the stitching.


Once it was stuffed, I pulled the running stitch tight and tied it off. I used hot glue to fasten it into the teacup. I think I'm going to find some decorative cording to run around the edge to finish it off better. Can you believe I didn't have any in my stash? What? ;-)

Thanks for stopping by! Be sure to head on over to Eileen's blog and see what all my team mates have been up to this month. You will be inspired! Have a great week. =)


Other:
embroidery floss
wool felt
white cotton flannel (base)
stuffing

Sizzix & Simon Says Stamp links in this post are affiliate links which do not affect the price you pay but allow me to earn a small percentage of a sale. Thanks! (My husband also thanks you!)