Monday, July 10, 2017

A Jillian Vance Design Sneak Peek…

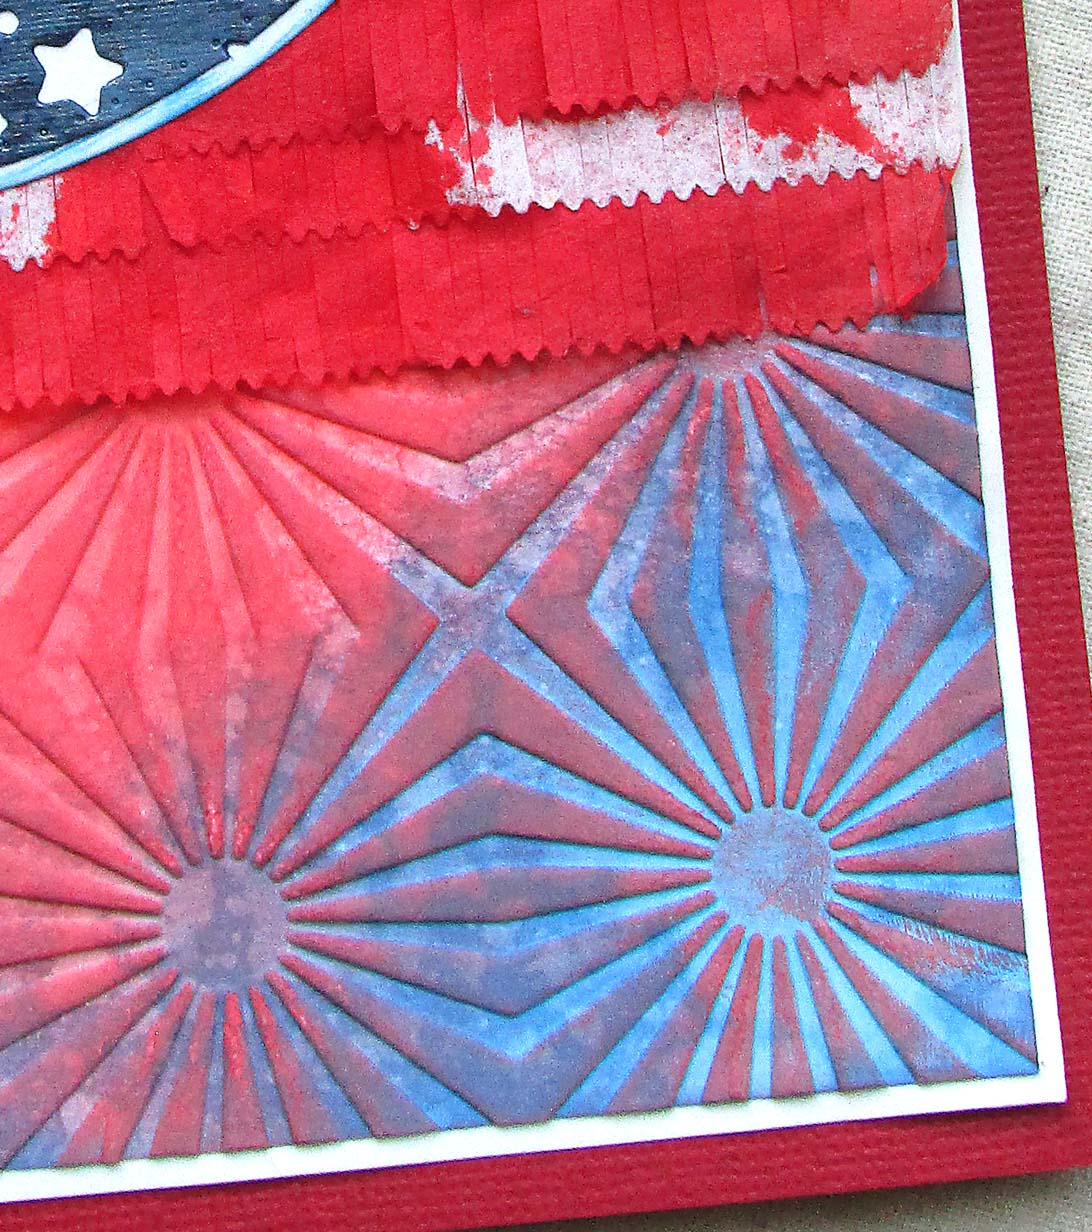
Check out the whole thing over at the AJVD blog! I have a fun and festive new card posted and I used some of the new Distress Oxide Inks – love those things!!

mmmm, Oxides…


Have a great week and stay cool! ;-)

Saturday, July 1, 2017

Mixed Media Monthly July Challenge…

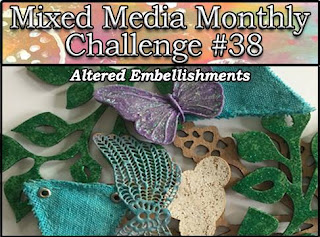
Altered Embellishements! This is going to be a fun one! What can you think to do with your own stash of embellies to change them up a bit?

http://mixedmediamc.blogspot.com/2017/06/mixed-media-monthly-challenge-38.html

Our generous sponsor this month is UmWowStudio. The owner sent us all chippies designed by our very own Lynne Forsythe to use for our projects! Join in our challenge and you will have a chance to win a $30 gift certificate plus free shipping at UmWowStudio!

For my project, I altered a binder to use as a garden journal. I still need to organize the inside but at least I have a start with this:


I didn't want to get too dimensional on the cover because it is going to see some use! I think I'm going to spray it with Scotch Guard too to help it repel dirt etc. I started off with making a mist from permanent ink using Eileen Hull's Color Box Blends, color - Leaf (see how HERE). All the materials I've used on this are permanent and waterproof when dry. I used a leaf stencil I have to mist the leaf pattern on the front (and back). For the stamping I used Rubber Dance stamps (see list below) and Ranger Archival Ink.

I cut a plant tag using the Phrase, Bloom & Plant Marker die. I also dug deep into my stash for some Tim Holtz Grungeboard letters to spell the words 'garden'. I altered those with paint and Distress Embossing Powder.

The super cool chippies that Lynne designed I altered with various embossing powders and distressed with archival ink.


I glued them on with super strong glue and added some crackle paste 'dirt' with little glass beads pressed into it for more texture. When it was all dry I colored it with a wash of brown fluid acrylic paint.

Thanks for stopping by and I hope you have a great week! Head on over to the MMM challenge post to see some inspiring projects and meet the two new members of our Design Team. We will be having a really big mid-month post too so keep your eyes open for that on the 15th!

Products used
Rubber Dance stamps:
Beautiful Bugs
Twiggy Leaves
Butterfly Girl #2

Dies
Sizzix Phrase, Bloom & Plant Marker

Sizzix links in this post are affiliate links which do not affect the price you pay but allow me to earn a small percentage of the sale. Thanks!  
Monday, June 26, 2017

Fairy Card with Lavinia for Topflight Stamps

Hello there! I've been busy creating another project using the fabulous fairy Lavinia clear stamps from the online store Topflight Stamps. It's a 'just because' card so I'll have to think who to send it to. =)


This card just came together and I didn't get any step photos taken, oops! It's all fairly straight forward though. The background is Distress ink and stamping. I layered a cut from the Tim Holtz Birch Trees die over it. The fairy on the mushroom is fussy cut and layered in the foreground with more diecuts.

Thanks for stopping by and I hope you have a great week! Be sure to keep an eye on the Topflight Stamps blog for more inspiring projects made from art stamps from all around the world!

Products used
Lavinia stamps:
Fairy Door
Trailing Ivy
Daydreaming Silhouette

Dies
Sizzix Birch Trees
Sizzix Fall Foliage
AJVD Fringe Flowers


Sizzix links in this post are affiliate links which do not affect the price you pay but allow me to earn a small percentage of the sale. Thanks!

Tuesday, June 20, 2017

Eileen Hull & Stampotique Collaboration…

Hello! This month Eileen Hull's team is collaborating with Stampotique and both teams have been creating some pretty spectacular projects! I encourage you to check out the June posts on Eileen's blog and the Stampotique blog too! For my project, I used Eileen's Mini Album for the structure and all sorts of diecuts and of course fabulously whimsical Kira Nichols stamps from Stampotique to create a tunnel book.

Front, off on a road trip!

Back cover - road stripes are made with washi tape

The adventure begins!


Hmm, is this the end?

Nope!
I used Liquid Glass to adhere the glass glitter "crystals" to the cave walls.

Whew, lots of photos aren't there? ;-) Continue on for a look at how I created this.

Step 1 – I played around with tracing paper to determine the placement of elements and the cut openings in the pages.


Step 2 – I cut three layers of foam core for the cave base and carved out the openings with a craft knife. (Use a sharp blade!)


Step 3 – I stamped all the characters onto a heavy mixed media substrate and painted them with DecoArt Media Fluid Acrylics. Then I fussy cut them out. I also stamped and painted the cover, cut from Sizzix Matboard.


Step 4 – I added DecoArt Media Gesso and Texture Sand Paste to the layers of the cave parts before painting them. I left the top layer loose because I knew I was going to have some of the stamped images sandwiched between them.


Step 5 – I assembled the top pages with their die cuts and stamping. It was handy to have my tracing paper sketches to keep track of which page was which.


Step 6 – Last, I made the spine to hold the top pages and mount to the cave base. (I used a similar binding for this album project.) I cut six strips of cardstock 1 x 4.75 inches. (Turned out that I really only needed five of them.) I folded each in half lengthwise and then glued them together to form a fan shape (bottom photo). One outside flap got glued to the side of the foam core base and I adhered the pages to each of the other flaps.


Well, that was an epic post! You get a medal if you made it through the whole thing lol. Check out the other projects we've made this month and enjoy your week!

I'm also going to enter this into the Stampotique challenge for June. Lots to see there!

Stampotique stamps used for this project:
Stitched Houses, Cocoa Bird, Happy Camper Text, Bushes, Stack of Birds, Little Hoo-Hoo, Monster w/ Sign, Kitty Squad, Waving Spotted Monster

Many of the supplies I used for this project can be found at Sizzix or Simon Says Stamp. Follow the links below and a shopping you may go! Some links are affiliate links which do not affect the price you pay but allow me to earn a small percentage of the sale. Thanks!


Wednesday, June 14, 2017

Fairy ATC Trio for Topflight Stamps

Hello, I have a mystical set of ATCs to share with you today! Topflight Stamps carries a range of Lavinia Stamps from the UK and I have quite fallen in love with their style.


I had a lot of fun making this mixed media trio! The card on the left features a Color Burst background with stenciling, embossed stamped image and Perfect Pearls sparkle with lace trim and stitching. The center card has fussy cut stamped images that I layered over a corrugate base to give it dimension. The final card's background is made with Distress Oxides and paint stenciling along with die cut shapes and trim.

Thanks for stopping by and be sure to keep an eye on the Topflight Stamps blog to see more inspirational projects from the designers throughout the month. A world of stamps is there for you to feast your eyes upon!

Topflight Stamps is also having a Design Team Call! – You have a few more days to enter:

http://topflightstamps.blogspot.com/2017/06/design-team-call.html#comment-form


I'm also going to enter these ATCs into the Lavinia Stamps June Challenge – Hidden Fairy.

Many of the supplies I used for this project can be found at Sizzix or Simon Says Stamp. Follow the links below and a shopping you may go. ;-) Some links are affiliate links and there will be no additional cost to you but they help support my art endeavor. Thanks!