Saturday, October 31, 2020

Happy Halloween from Topflight Stamps!

Happy Halloween! I wanted to share a fun little shaker card made Topflight Stamps style! I posted it off to my nephews earlier this week and I hope it gets there in time. My crafting time keeps getting squeezed. (bother!)

Lisa Hoel for Topflight Stamps - Halloween shaker card

I loved the fun papers in the Polkadoodles Halloween paper pad and picked out two contrasting ones to use for the card base and the shaker top. The plastic is scrap from some packaging (it pays to save it!) and I stamped on it with the Fairy Web stamp and archival ink. The shaker bits are from my extensive craft stash. I couldn't resist the super cute cat die set from Swirlcards and I think it adds the perfect focal point to the card. Some Hunkydory Diamond Sparkles add a finishing touch of bling.


Thanks for stopping by! I hope you can have a safe Halloween celebration and have a chance to get crafty too this weekend.

Supplies used:

Topflight Stamps Products:

Lavinia - Fairy Web stamp
Swirlcards die set - Cats
Polkadoodles Halloween paper pad
Versafine Ink - Onyx Black
Hunkydory foam adhesive squares
Hunkydory Diamond Sparkles - Precious Purples

Dies:

Tim Holtz Sizzix
Postage Stamp Frame - retired
Movers & Shapers Rectangles - retired
Labels ( Sizzix / SB )

Tim Holtz stamp set - Scared Silly

Some links in this post are affiliate links which do not affect the price you pay but allow me to earn a small percentage of a sale. Thanks! (My husband also thanks you!) If you shop at Topflight Stamps, use my coupon code LISAHOEL for 12% off your order.

Thursday, October 29, 2020

Tim Holtz Halloween Inspiration

Hello everyone! I have a last few Halloween projects to share with you before the 31st is past. I was inspired by one of Tim Holtz's recent Saturday Facebook Live tutorials, Halloween tips + tricks 2. He showed us how to make 'drippy candles' that light up too! Wow!! I knew I had to try them also. I created a little scene in one of his Display Domes. Check out the link above to his blog where you will find the video tutorial on how to make them for yourself. (Also learn how to make a glowing crystal ball!) Enjoy the photos and happy Halloween:

Lisa Hoel, Tim Holtz Halloween Inspiration, check out his drippy candle tutorial! #tim_holtz #creativejuicefreshsqueezed #halloweencrafting

The little cat figurine I found at Michael's at the beginning of the season. It's perfect for this project!

Lisa Hoel, Tim Holtz Halloween Inspiration, check out his drippy candle tutorial! #tim_holtz #creativejuicefreshsqueezed #halloweencrafting

Flick on the Tiny Lights switch and feel the glow!

Lisa Hoel, Tim Holtz Halloween Inspiration, check out his drippy candle tutorial! #tim_holtz #creativejuicefreshsqueezed #halloweencrafting

Here's a better view without the glare of the glass dome. Scroll on for more details…

Lisa Hoel, Tim Holtz Halloween Inspiration, check out his drippy candle tutorial! #tim_holtz #creativejuicefreshsqueezed #halloweencrafting

Lisa Hoel, Tim Holtz Halloween Inspiration, check out his drippy candle tutorial! #tim_holtz #creativejuicefreshsqueezed #halloweencrafting

Lisa Hoel, Tim Holtz Halloween Inspiration, check out his drippy candle tutorial! #tim_holtz #creativejuicefreshsqueezed #halloweencrafting

The tall pedestal is one of the finials from the Vignette Finial Set.

Lisa Hoel, Tim Holtz Halloween Inspiration, check out his drippy candle tutorial! #tim_holtz #creativejuicefreshsqueezed #halloweencrafting

I hid the wire coming down from the top candle underneath a piece of gold ribbon. (After painting the wire and a stray light bulb over with grey paint to camoflauge it) I also tucked a Creepy Eye underneath as a detail for the viewer to 'discover'.

Lisa Hoel, Tim Holtz Halloween Inspiration, check out his drippy candle tutorial! #tim_holtz #creativejuicefreshsqueezed #halloweencrafting

These candles really are a lot of fun to make and I have Christmas ideas for them too. I am also entering this project into the Country View October Challenge 'Make a Scene'.

Thanks for stopping by!

Supplies used:

Tim Holtz paper stash - Abandoned
Tim Holtz Halloween Idea-ology: Creepy Eyes, Halloween Tiny Lights, Label Tape, Adornments
Tim Holtz Idea-ology - Display Dome
Tim Holtz Idea-ology - Vignette Finial Set
Tim Holtz Idea-ology - Keys
gold starred ribbon
cat figurine from Michael's
glue gun
Distress Paint - Antique Linen
Distress Crayons - various

Some links in this post are affiliate links which do not affect the price you pay but allow me to earn a small percentage of a sale. Thanks! (My husband also thanks you!) If you shop at Topflight Stamps, use my coupon code LISAHOEL for 12% off your order.


Tuesday, October 20, 2020

I Needed a New Halloween Wreath!

Hello there! Halloween is fast approaching and I still have a bunch of projects I want to make! I gotta get crackin'! First on the list was making a new October wreath for my front door. I was tired of the old one. I found a black grapevine wreath with a bunch of random stuff wired onto it at the thrift store. Perfect! I removed everything except the beaded spiders (because they were cool they got to stay and play). I kept it pretty simple (refer to the bunch of projects I still want to make part above). I used the Tim Holtz Tiny Houses Die to make the structures and covered them with Tim Holtz Abandoned paper and Idea-olgy goodies. I used thrifted fall leaves and baubles to further adorn it. Now it's hanging on my door and I'm on to the next project!


I wanted a mix of 'grunge' and brighter colors with a dash of glitter thrown in.


I love making things out of treasures I find second hand. =)


Thanks for stopping by! I hope you have a great rest of the week and have a chance to do something crafty and creative. =)

I am also entering this into the Funkie Junkie Boutique Blog's current challenge, "Purple, Orange, Green! Eek! It's Halloween!". It runs for another week so you have a chance to enter too.


Supplies used:

Dies:

Tim Holtz Sizzix
Tiny Houses 661819 - retired
Labels ( Sizzix / SB )


Tim Holtz paper stash - Abandoned
Sizzix Mat Board
Tim Holtz Layering Stencil - THS046
Ranger Collage Medium -matte
Ranger Distress Glaze - Crackling Campfire
Ranger embossing powder - Orange Blossom
Tim Holtz Halloween Idea-ology: Paper Dolls, Baseboards, Layers & Baseboard Frames
Tim Holtz Idea-ology - Numeric


Some links in this post are affiliate links which do not affect the price you pay but allow me to earn a small percentage of a sale. Thanks! (My husband also thanks you!) If you shop at Topflight Stamps, use my coupon code LISAHOEL for 12% off your order.

Wednesday, October 7, 2020

Autumn Teacup – Eileen Hull's New Sizzix Die


I love fall! It is my favorite season for sure. The colors, the weather, the holidays – what a combination! I am always thankful for the season, especially after a long hot summer. I used Eileen Hull's new Sizzix 3-D Teacup Die to create a little decor piece that really celebrates the season.

New 3-D Teacup Die


It's fall time, hurray!!!

Lisa Hoel for Eileen Hull – Autumn splendor using Eileen's newest Sizzix Die, the #-D Teacup! #eileenhull #mymakingstory #ehinspirationteam #tim_holtz

I also used loads of Tim Holtz Sizzix dies to add the fall flavor to my make. Various leaf dies, the 3-D embossing folder Lumber, and the sentiment die. I also used the retired Tree Rings die (several layers stacked) to create the 'saucer' for the Teacup. The spoon (part of the Teacup Die) I embossed with 3 of Eileen's luscious Molten Dimensions embossing powders.

Thanks for stopping by! Check out Eileen's blog and if you are not already a member, join the Facebook Eileen Hull Fan Club group. It is a warm, supportive group with lots of inspiration and sharing going on. You'll just have to answer a few simple questions when asking to join (to keep out spammers) and then you'll be added. ;-)

I am also entering this into the current Funkie Junkie Boutique challenge, "Fall Foliage". Be sure to check out their challenges, they are always lots of fun!

Supplies used:

Dies:
Eileen Hull Sizzix
Teacup Die  Sizzix / SB ) 

Tim Holtz Dies
3-D Embossing Folder - Lumber  Sizzix / SB ) 
Fall Foliage  Sizzix / SB )
Skeleton Leaves  Sizzix / SB )
Shadow Script #2  Sizzix / SB )
Layered Leaf - retired
Tree Rings - retired
Tapered Fringe Strip Die - retired

Sizzix Mat Board
Eileen Hull's Molten Dimensions Embossing Powder - Goldenrod, Polished Silver, Black Magic
Distress Spray Stain - misc fall colors
Distress Ink Pads - Misc. fall colors
glue gun

Some links in this post are affiliate links which do not affect the price you pay but allow me to earn a small percentage of a sale. Thanks! (My husband also thanks you!) If you shop at Topflight Stamps, use my coupon code LISAHOEL for 12% off your order.

Wednesday, September 30, 2020

Chapter 4 Sizzix Die Release & Blog Hop!


Hello there and welcome! You have arrived at your next stop on the Blog Hop to celebrate the new Chapter 4 Dies– two new ScoreBoards releases from Eileen Hull and Sizzix! Are you ready for a new 3D Bigz L Tea Cup die? Fill it with teabags and other assorted goodies or use the Tea Cup cutout on the front of a card – so many possibilities. Also new is the XL Post Box, a fun little box that goes together in 10 seconds and has a slit in the top to tuck a gift card. You will have fun embellishing in your style to create holiday treats for everyone on your list!

If you are jumping in midway, you can go back to Eileen's blog to begin at the beginning. For my hop project I used the new XL Post Box Die and made a "Fortune Telling Machine". There is a tutorial so scroll on down past the Hop list to check it out.


Lisa Hoel for Eileen Hull - new Ch 4 Sizzix Dies! The XL Post Box serves as the structure for my 'fortune telling machine'. #mymakingstory #sizzix #eileenhull #tim_holtz
My light up crystal ball was inspired by a project Tim Holtz made
for his 2020 Halloween Idea-ology release. Check it out!


Lisa Hoel for Eileen Hull - new Ch 4 Sizzix Dies! The XL Post Box serves as the structure for my 'fortune telling machine'. #mymakingstory #sizzix #eileenhull #tim_holtz

I made a little hiding place for the battery/switch mechanism of the Tiny Lights strand filling the crystal ball.

Lisa Hoel for Eileen Hull - new Ch 4 Sizzix Dies! The XL Post Box serves as the structure for my 'fortune telling machine'. #mymakingstory #sizzix #eileenhull #tim_holtz


Throughout the hop you will see all the creative ways the Inspiration and Education Teams have used the Post Box and Teacup dies! We hope that you will be inspired too and share how you use the dies in the Eileen Hull Fan Club.
But wait – there’s more – the Release Party continues! You won’t want to miss the Facebook Live at Eileen Hull Designs at 12:00 noon Eastern time on Thursday, Oct. 1! Join the chat – and a random commenter will WIN a new Teacup Die. Comment on the Blog Hop under each designer to be entered to win the Post Box die. Random winners will be picked and announced on next Tuesday's Facebook Live!
Please hop with us through all of the projects and leave comments on the different designers' blogs. A lucky commenter will WIN a Post Box Die…


Hop Participants:

Eileen Hull
Tonya Trantham
Elizabeth Robinson
Julia Aston

Pam Bray

Maggi Harding

Lisa Hoel <<<<< YOU ARE HERE

Anna-Karin Evaldsson

Karen Bearse

Susie Bentz

Jenny Marples

Mitsyana Wright

Jennie Atkinson

Anita Houston

Madeline Arendt

Sarah Lizzie Dodd

Sue Eldred

Debbie Bankston


Tutorial time!
Step 1 – I cut the Post Box out of mat board and decorated it up with stamping and stenciling. I made a base for it by by cutting three pieces of the Trinket Box lid and gluing them together.


Step 2 – I poked around Pinterest to find some funny "fortunes" I could use on my tickets. I used a graphics layout program to format the tickets and printed it out. I glued the two pieces together to make one long strip.


Step 3 – I constructed a ticket roll 'mechanism' . A piece of bamboo skewer glued into a clock key serves as an axel. I glued the end of the ticket strip onto a piece of paper straw (to glue onto the axel  inside the post box). Using a Crop-A-Dile tool, I punched holes for the axel through the side flaps of the box.


Step 4 – Installing the ticket strip was a bit tricky but not too bad. I glued the right sides together first, making sure the holes lined up. I pushed the axel part through the holes and then slid the straw (with a bit of glue inside) over the axel on the inside. After that I glued the other sides together and poked the axel through the holes, gluing a bead over the end. I also threaded the ticket strip through the slot in the lid.


Step 5 – the base! I had to make a base for the post box so I could hide the cord from the Tiny Lights in the 'crystal ball'. I stacked up several layers of mat board shapes and cut a recess into the middles of them.


The crystal ball is a Tim Holtz Snow Globe. I drilled a hole in the base to thread the lights up into the glass. I created a little pocket on the back of the post box to hide the controller for the lights.


Once the ball was glued on I arranged the cords and hot glued the post box in place, then embellished with the trim. Whew, you made it through that long tutorial lol. I hope you are inspired and do hop along to see all the other wonderful projects. Thanks for stopping by!

Supplies used:

Dies:
Eileen Hull Sizzix
Post Box Die  Sizzix / SB ) 
Trinket Box Die  Sizzix / SB ) - retired

Tim Holtz 3-D Impresslits Embossing Folders
Radiant  Sizzix / SB ) 
Mini Provincial  Sizzix / SB )

Sizzix Mat Board
Tim Holtz Stamp Set - Skulls & Cobwebs
Distress Paint - Antique Bronze, Black Soot
Distress Oxide Ink - Chipped Sapphire
Distress Spray Stain - Faded Jeans
Deco Foil - Metallix Gel - Champagne Mist
Tim Holtz Idea-ology – Tiny Lights, Snow Globe, Halloween Ephemera, Spinners, Clock Key
Tim Holtz Stencil - Falling Stars
Tim Holtz Kraft Stock Metallic Paper
glue gun

Some links in this post are affiliate links which do not affect the price you pay but allow me to earn a small percentage of a sale. Thanks! (My husband also thanks you!) If you shop at Topflight Stamps, use my coupon code LISAHOEL for 12% off your order.


Tuesday, August 11, 2020

Work in Progress: Fangirl Junk Journal

 It's August and we're already eleven days in! Time just gets away from you doesn't it? I'm here with Part 1 of my Wonder Woman fangirl junk journal project. This month on Eileen Hull's blog, the Inspiration Team is focusing on junk journals and all the fun stuff you can do inside of them. (If you missed last week's post, you can find it here.) I am a huge Wonder Woman fan (since watching Linda Carter in my tender years) and I've been saving ephemera for a themed junk journal for quite a while now. I decided it was time to get 'er done! This post covers my start and hopefully I'll be able to show you the whole thing next week.

First I tackled the cover. Eileen's Journal XL Die is one of my favorites to use for junk journals. It's her biggest one and you can fit all sorts of goodies in it. I used a whole pile of stencils and various Distress Inks, Distress Oxide Inks and sprays to create lots of layers.

I fussy cut an image of Wonder Woman and collaged it onto the back cover. I used a stencil and applied iCraft Deco Foil Transfer Gel through it around the image. This Gel remains tacky when dry and when you rub one of the Deco Foil sheets over the top of it, the foil adheres. Easy bling! I did the same thing with another stencil on the front.

Covering the insides of the cover was really easy using fabric and Eileen's Easy Cut Adhesive Sheets to adhere it to the mat board. You have to be careful with wet glues and fabric because they often soak though. Eileen's sheets are strong and of course dry so you can neatly sidestep that issue.

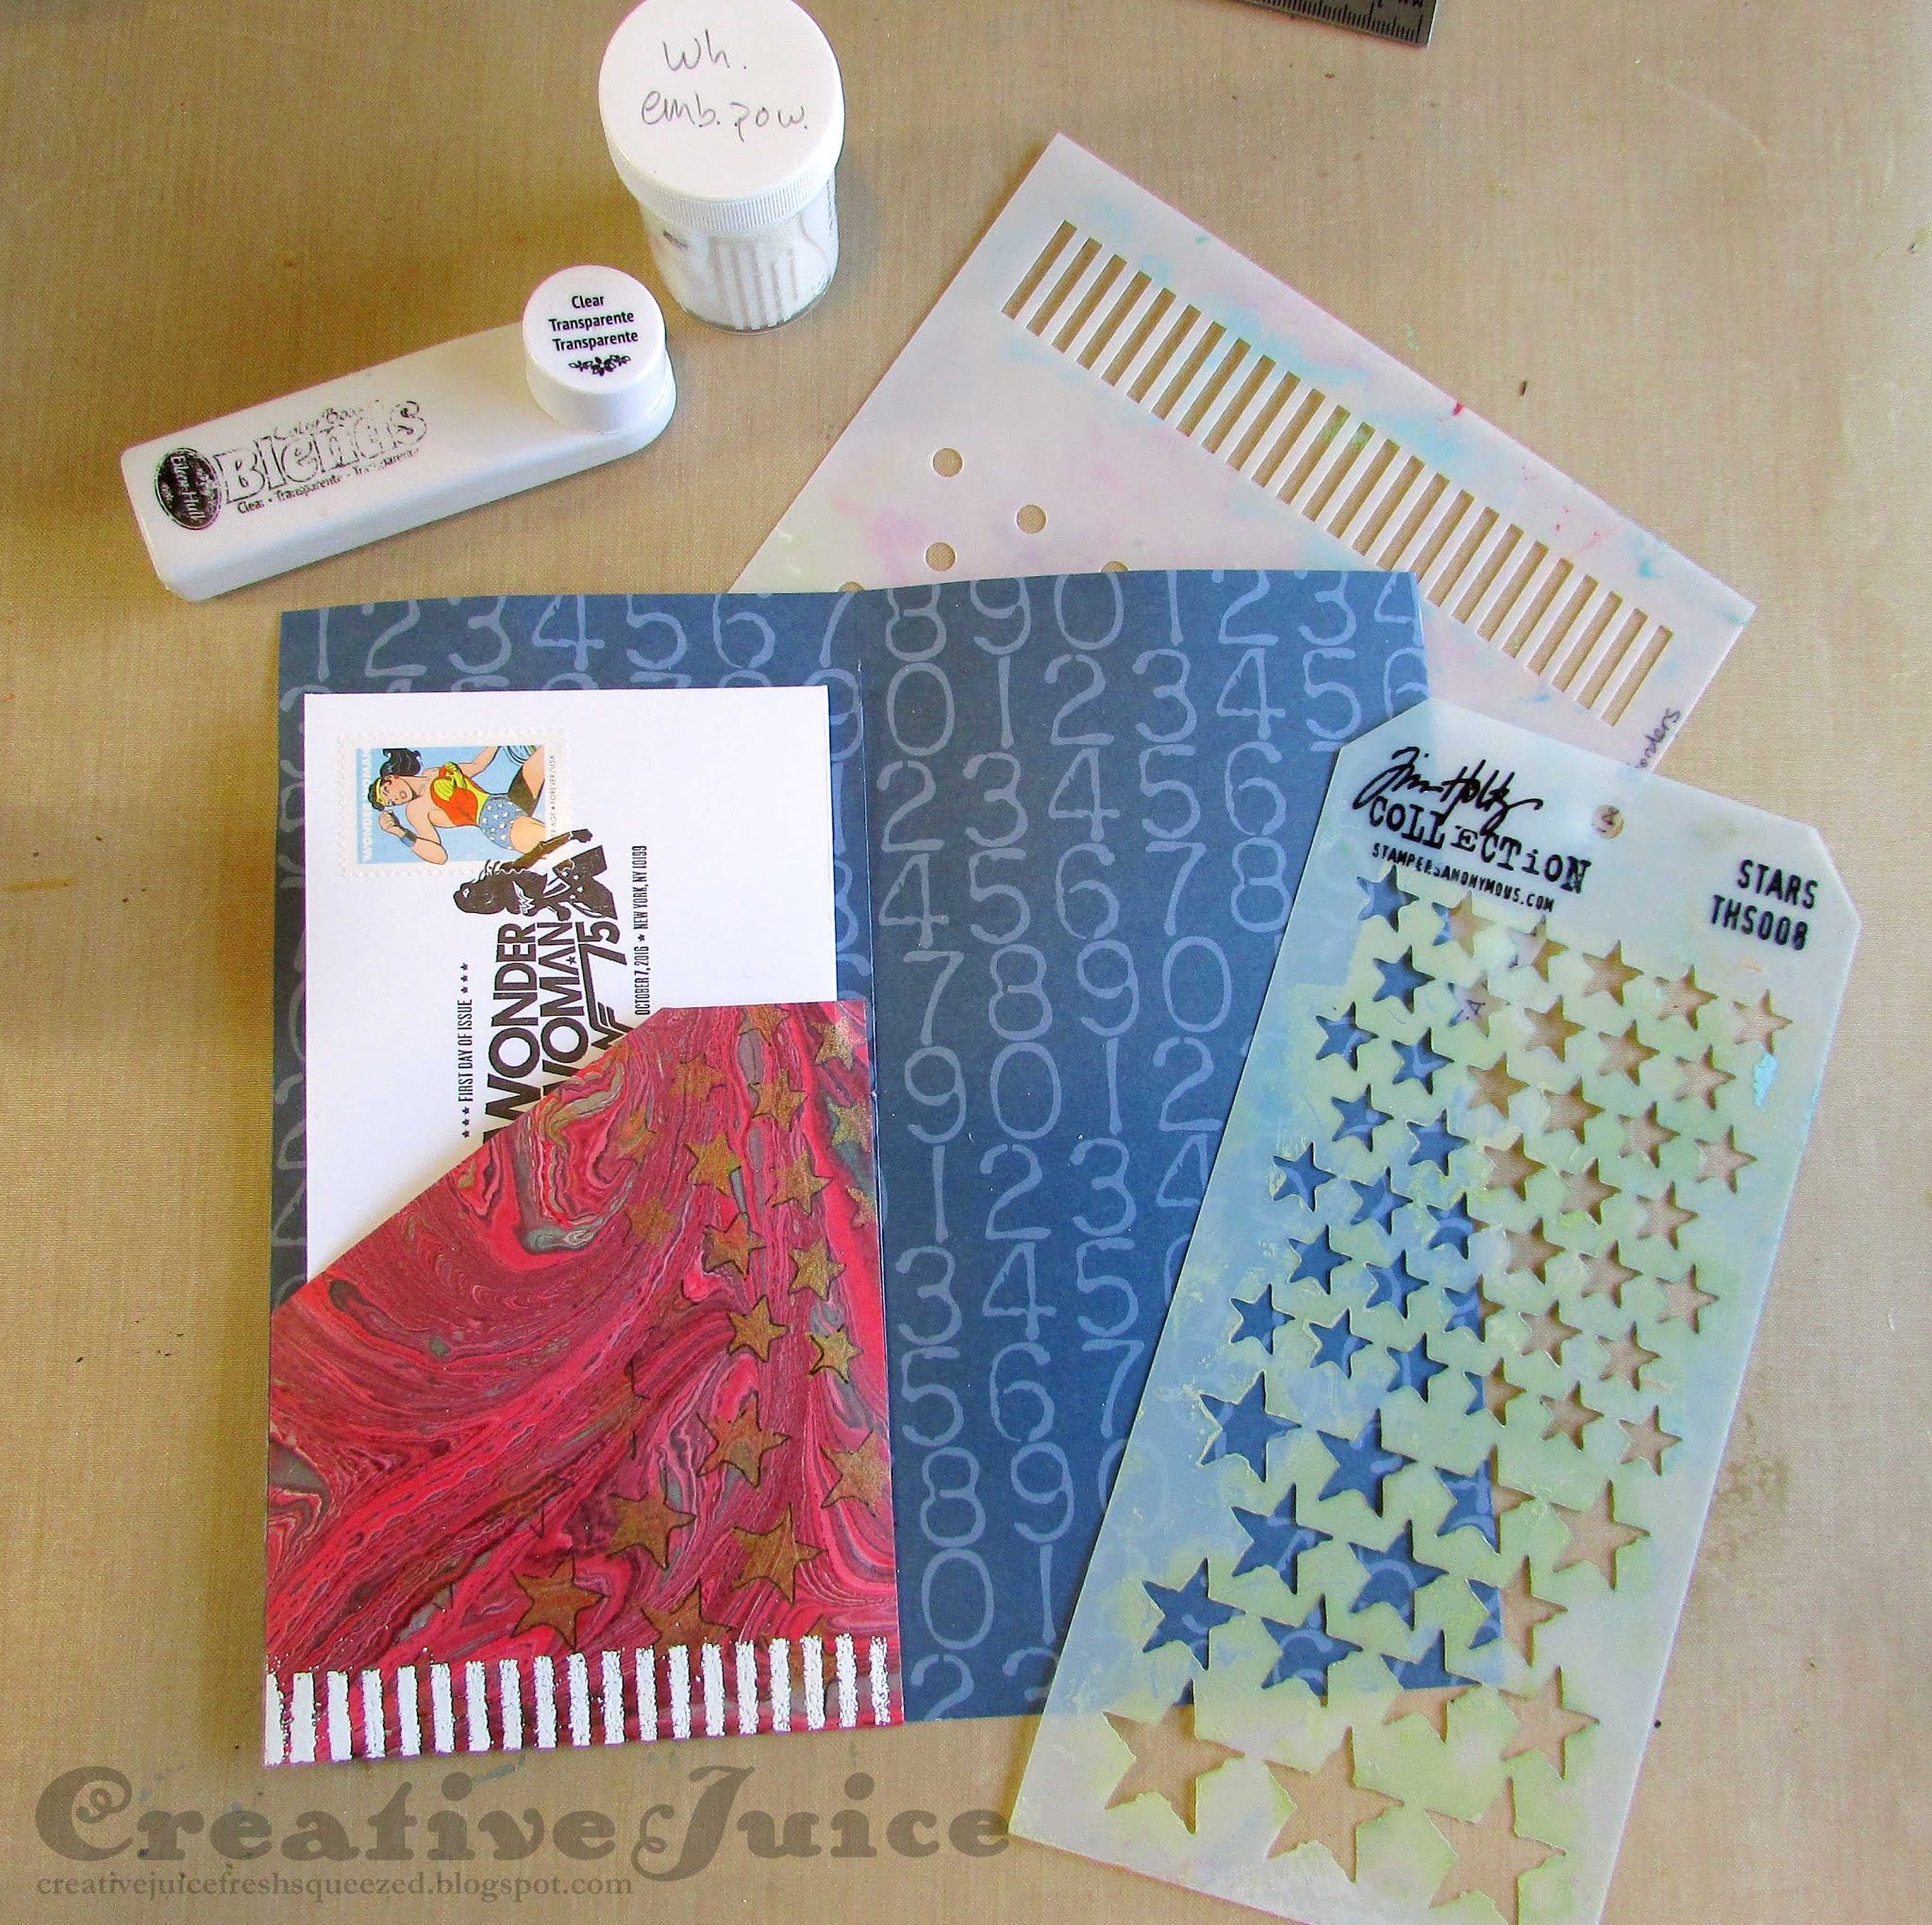
Of course the final journal will have all sorts of pages and goodies inside, but for now here are two ideas that you can incorporate into your own journals. First is a pocket for holding tags, tickets or other ephemera you want to be able to remove. It's super easy! Cut your base page first (I made mine 8" tall and 8 3/8" wide to allow for trimming the signatures to 4 1/4" wide when assembled.)

Fold the side and bottom tabs back and adhere to the page. I will make sure this page will be on the outside of a signature so the outer fold doesn't get cut off when I trim my signatures. I also added some stenciling and embossing to the pocket for added interest.

Finished pages:

Hmmm… what will I put in the second pocket?

Next up is an experiment that I think turned out pretty cool! I wanted to try something that had transparent layers so I pulled out my trusty laminator and gave it a whirl:

Closed


Open!

I die cut stars from tissue paper and a scalloped border from marbled vellum to layer inside of the laminate envelope.

Next I ran it through my hot laminating machine, afterwards using Archival ink to stencil some designs on top.

Making two pages while I was at it!


I added a strip of folded paper to use as a hinge for attaching it to a journal page. Eileen's Red Liner Tape is really strong and grabbed right ahold of the plastic. I ran the Wonder Woman cut out through my Xyron Creative Station Lite to apply adhesive to the back. (Quick and easy and it looks good from the back.)

I added some details on the page underneath that would be fun to have peeking through. More Red Liner Tape on the hinge stuck the flap firmly to the page.

Be sure to stop by next week to see the completed journal! 

In the meantime, if you want to check out some of my past junk journals you can maybe glean some more ideas for yourself. I've made a bunch of them, some with a favorite thing as a theme (like mermaids), some filled with photos of a season (fall in Idaho), one with all the art envelopes I received from ATC trades and one to record our experience seeing the Great American Eclipse of 2017. Junk journals can be used for pretty much anything! Have a great rest of the week and go do something creative.

Supplies used:

Dies:

Eileen Hull Sizzix
Journal XL Die Sizzix / SB ) 

Tim Holtz Sizzix
Stacked Stars #658771 - retired

Other:
Tim Holtz stamp set - Grunged
Tim Holtz stamp set - Mesh & Linen
Tim Holtz stamp set - Christmas Nostalgia
Tim Holtz Layering Stencils: Hocus Pocus, Zig Zag, Mesh, Stars, Minis Set 1, Stripes, Gradient Dot
Sizzix Mat Board
Distress Ink
Distress Oxide Ink
cotton fabric
Elastic cord for binding
Eileen Hull Blends Ink - Clear
Eileen Hull Red Liner Tape
Eileen Hull Easy Cut Adhesive Sheets
Deco Foil Transfer Gel 
Deco Foil sheets - Gold

Some links in this post are affiliate links which do not affect the price you pay but allow me to earn a small percentage of a sale. Thanks! (My husband also thanks you!) If you shop at Topflight Stamps, use my coupon code LISAHOEL for 12% off your order.

Tuesday, July 14, 2020

Felt Mitten Christmas Ornament with Eileen Hull

Hello! Have you seen Eileen Hull's newest Sizzix dies? They were just released at the beginning of the month and they are perfect for getting the jump on some holiday crafting. Previously, I shared a project made using the Snowman Die. This week, I used the Mitten Box die to make this cute felt Christmas tree ornament. It's a Bigz die so it cuts felt and other thicker materials effortlessly. I tried a new wool blend felt I found in an Etsy store named Benzie. I really like it! It's not as expensive as 100% wool felt but still feels soft and it comes in beautiful colors. I highly recommend it.


I die cut the mitten shapes, zig zags and heart from the felt using the Mitten Box Die. Then I just 'winged it', stitching on the details. I whip stitched the two halves together and stuffed it to give it dimension. This Die has lots of possibilities! Did you catch the Bog Hop that was part of the Release Party on July 1st? There were over 20 projects made with the new dies for your inspiration! Be sure to take a look if you missed it, also each week on the blog we have more creations to share with you too.

Thanks for stopping by! Check out Eileen's blog and if you are not already a member, join the Facebook Eileen Hull Fan Club group. It is a warm, supportive group with lots of inspiration and sharing going on. You'll just have to answer a few simple questions when asking to join (to keep out spammers) and then you'll be added. ;-)


Supplies used:

Dies:
Eileen Hull Sizzix
Mitten Box  Sizzix / SB ) 

felt
embroidery floss
poly stuffing

Some links in this post are affiliate links which do not affect the price you pay but allow me to earn a small percentage of a sale. Thanks! (My husband also thanks you!) If you shop at Topflight Stamps, use my coupon code LISAHOEL for 12% off your order.