Hello! This month the Teams of Eileen Hull are collaborating with Gel Press and the paint is flying! Gel Press makes a wonderful assortment of gel plates and products for monoprinting and it is truly addictive. Once you start pulling prints you won't want to stop! Eileen's dies and gel printing are perfect combination to create fabulous projects.

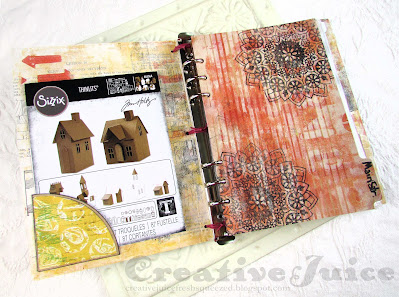
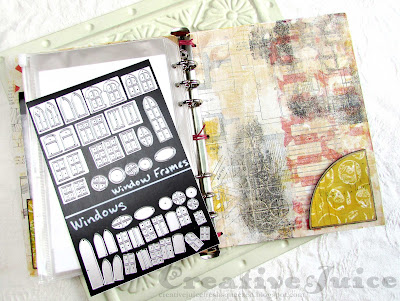
I have a Full Size Journal creation to share with you this week. First though, the story behind it. Last October Tim Holtz re-imagined a beloved (but retired) Sizzix die set – and the new Village Collection was released. The original Village Dies were large steel rule dies but this new collection is a complete set of mix and match Thinlits dies. Bottom line, it's a completely awesome set and has a whole bunch of pieces that need organizing. Zoe Hillman came up with a very logical way to sort the dies on magnetic sheets that fit in Sizzix die storage envelopes and shared that with Village lovers everywhere so we could get organized too! I adapted the idea a bit to fit into binder made with Eileen's Full Size Journal Die. Perfect! Whew, now we can take a look…
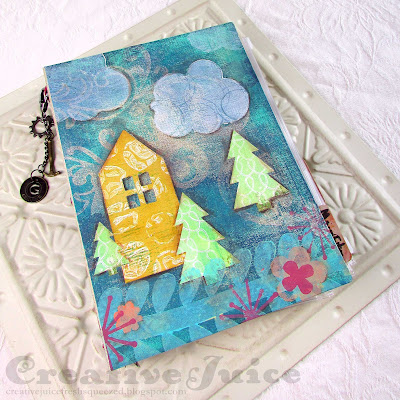 |
| Front cover |
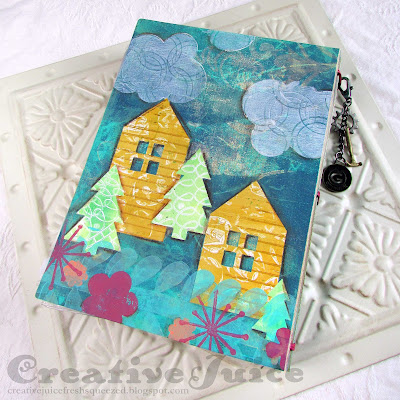 |
| Back cover |
The A5 dividers, plastic zip pockets and binder I cannibalized for the ring mechanism were all found on amazon (links in supply list below).
Now for the tips and tricks part! As far as using the Gel Press, I'm somewhat of a newbie and was winging it lol. So no fancy video from me. ;-) BUT, my teamie Karen Bearse just shared a two part video on her YouTube channel that has LOTS of great info and techniques. I highly recommend checking it out. Also, the Gel Press YouTube channel is an absolute treasure trove of videos on how to do all sorts of nifty things with Gel Press products. You will learn a ton! Don't miss those valuable resources.
Specifically for my journal:
I got all crazy and printed directly onto the mat board substrate I used for the covers. I also could have done prints on paper and then adhered the paper to the mat board before cutting the covers. I just went for it though. I like to live dangerously that way. ;-)
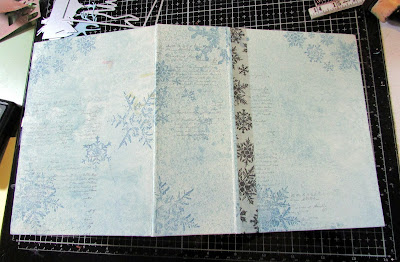
So after playing around, here are the covers with their 'base' layers. Pretty happy with that! Next I added some 'clouds' using one of the small plates from a Petites set:
I put the small plate onto one of my acrylic stamping blocks, applied white paint to it with a brayer, and then added texture with the center of a used up tape roll. I used the prepped gel plate just like a stamp!
Which brings me to 'found objects'. Random stuff from the recycle bin and around the house make fab tools for gel printing. Press them into the paint on your plate for added texture! Here's a photo of some of the things I used during these print making sessions. Stencils and foam stamps are also great tools. Keep your eyes open and all sorts of 'print possibilities' will present themselves.
I knew I was going to collage elements to the journal covers (houses and trees) so I created appropriately colored prints for the purpose during my printing play time.
I cut the elements out with the dies and glued them onto the covers.
I used the Impressables plate to add more layers over the collaged elements. (Print shown was for practice. I used the plate to print directly onto the covers by the base of the houses.)
 |
Super fun texture plate. I will definitely be
experimenting more with it! |
I added more details with foam stamps I had
previously made with a flower die set of Eileen's. I also went in with a brown Stablio water soluble pencil to blend around some of the elements to add more depth.
Here's a peek at the insides:
I covered the inside covers with pages from a vintage 'how to build houses' book I have. (Appropriate right!) Then I did a little bit of gel printing over it. I still wanted the book pages to show through in spots so I didn't make it too heavy.
 |
| I printed on the dividers as well 'cause, why not? |
Adding the ring binder spine:
I cut the plastic cover away from the metal binder spine but I left some strips of plastic intact around the rivets that had attached the spine to the cover. I used E6000 glue to glue the tabs onto the cover spine. After it was dry, I also tied the metal binder spine in for added strength and decoration.
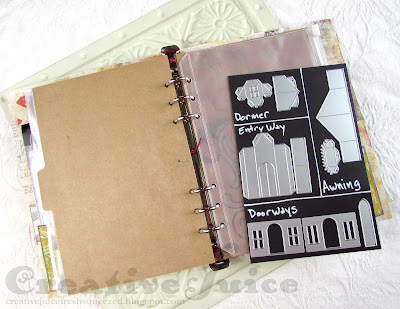
A look at some of the die pocket pages:
The pages are thin magnetic sheets adhered to heavy cardstock. They fit right into the zip pockets. Easy!
Whew! Thanks for stopping by and be sure to keep an eye on Eileen's blog for more inspiration from the Educator and Inspiration Teams.
Also keep an eye on the Gel Press YouTube channel to see how their Design Team utilizes Eileen's dies in their projects this month!Supplies used:
Folio Page, Pocket & Flowers Die Set ( Sizzix / SB )
Gel Press supplies:
Other:
mat board
brayer
lots of different acrylic paints from my stash
found objects for mark making
thick cardstock
Stablio water soluble pencil - brown
From Amazon:
Some links in this post are affiliate links which do not affect the price you pay but allow me to earn a small percentage of a sale. Thanks! (My husband also thanks you!)
