Tuesday, July 20, 2021

Christmas in July & New Chapter 3 Sizzix Dies from Eileen Hull

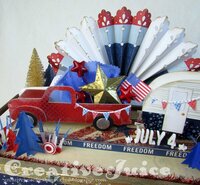
Did you catch the Release Party & Blog Hop at the start of the month for Eileen Hull's brand new Sizzix dies? We had a fun time (watch the replay) and the Blog Hop was packed full of inspiring makes from the Teams! Eileen has three new dies in her Chapter 3 release:


You can find the tutorial for my first project, a 4th of July table decoration, HERE. The second project I made for the Hop is a Holiday treat holder made from the Ornament Box Die and Wreath & Snowflake Die Set.

Lisa Hoel for Eileen Hull - Sizzix Chapter 3 dies have been released! Christmas in July Ornament Box Die treat holder  #eileenhull #eileenhulldesigns #eileenhullsizzix #ehinspirationteam #eheducators #Sizzix #mymakingstory #diecutting

These festive little boxes go together quickly and would make great party favors or place card holders for your Christmas table. You can also use the ornament sides for… ornaments! (and not make it into a box) I used the die to cut felt circles and stitched up this ornament for my Christmas tree:

Lisa Hoel for Eileen Hull - Sizzix Chapter 3 dies have been released! Christmas in July Ornament Box Die stitched felt tree ornament  #eileenhull #eileenhulldesigns #eileenhullsizzix #ehinspirationteam #eheducators #Sizzix #mymakingstory #diecutting

I have a short tutorial for you about assembling it as a treat box. Super easy peasy – take a look:

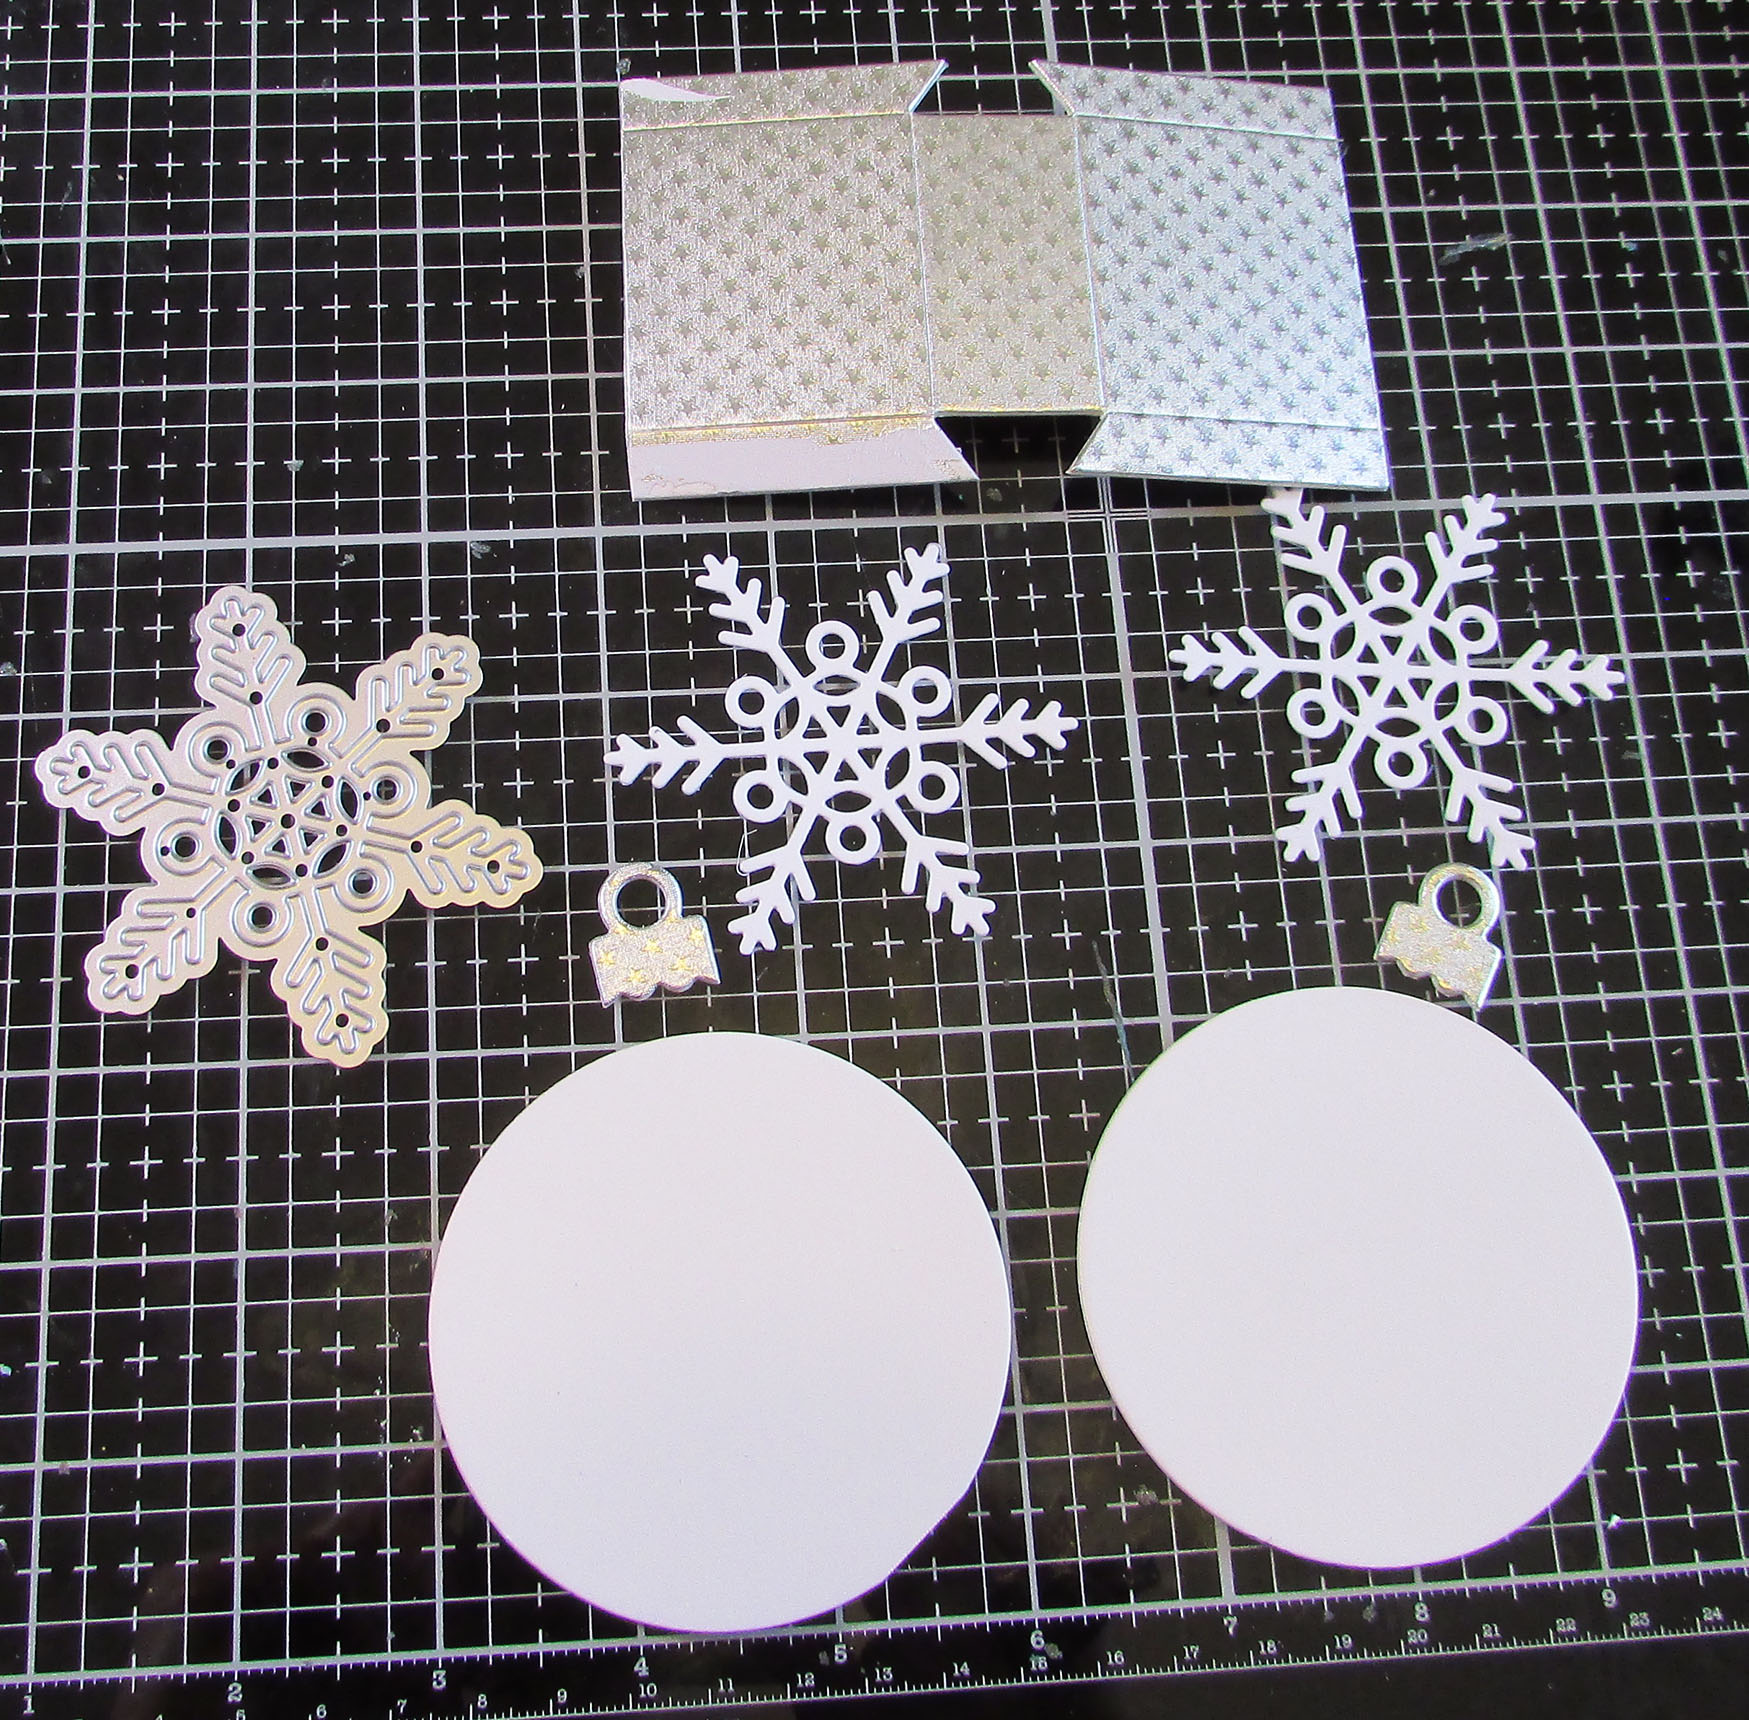
Step 1 – I cut out all the parts I needed first. Before cutting the shapes, I covered the Sizzix Mat Board with silver Rinea Foil Paper so the inside would have some bling. I also cut two snowflakes out of heavy cardstock to glue on the fronts. The elements in the Wreath & Snowflake Set are sized to fit perfectly on the Ornament!


Step 2 – I glued on the snowflakes (the fine tipped bottle of Matte Collage Medium is perfect for such tasks.) I used a palette knife to swipe on Crackle Texture Paste in the areas around the snowflakes.


Once the paste was dry (and crackled!) I spritzed them with Tumbled Glass and Pewter Distress Spray Stains along with some water. The color settled in the crackle and around the edges of the snowflakes. So pretty!

Step 3 – For assembly, I like to use a strong liquid glue so I have a bit of play time to adjust the position of the tabs. Red line tape is strong and works well too. Glue gun glue is bulky in the seams so I usually stay away from that. Anyway, if using liquid glue, clip the tabs with clothespins for a bit while the glue sets.

One more side to glue!

So that's it! Easy as pie and you could make a whole bunch of these fairly rapidly.

Thanks for stopping by! Be sure to keep an eye on Eileen's blog for more new die inspiration from the Educator and Inspiration Teams.

Supplies used:

Dies:
Eileen Hull Sizzix 
Ornament Box Die Sizzix / SB )
Wreath & Snowflake Set  Sizzix / SB )

Other:
Ranger Mica Spray - pearl
Ranger Texture Paste - Crackle
Distress Collage Medium in fine tip bottle
Distress Spray Stain - Tumbled Glass, Pewter
Stickles - Rock Candy
cardstock

Some links in this post are affiliate links which do not affect the price you pay but allow me to earn a small percentage of a sale. Thanks! (My husband also thanks you!) 

Wednesday, July 7, 2021

Patriotic 4th of July Decor - the Tutorial!

Did you catch the Release Party & Blog Hop last week for Eileen Hull's brand new Sizzix dies? We had a fun time (watch the replay) and the Blog Hop was packed full of inspiring makes from the Teams! Eileen has three new dies in her Chapter 3 release:


The Vintage Truck Die pairs perfectly with the 3-D Camper Die from the Chapter 2 release and I had a vision of making a patriotic decoration for Independence Day!

Lisa Hoel for Eileen Hull - Patriotic holiday decoration with Eileen's new Vintage Truck Die and Camper Die! #eileenhull #eileenhulldesigns #eileenhullsizzix #ehinspirationteam #eheducators #Sizzix #mymakingstory #diecutting

Lisa Hoel for Eileen Hull - Patriotic holiday decoration with Eileen's new Vintage Truck Die and Camper Die! #eileenhull #eileenhulldesigns #eileenhullsizzix #ehinspirationteam #eheducators #Sizzix #mymakingstory #diecutting

Hope you are sitting comfortably, this is a long tutorial post! 

A closer look…

Lisa Hoel for Eileen Hull - Patriotic holiday decoration with Eileen's new Vintage Truck Die and Camper Die! #eileenhull #eileenhulldesigns #eileenhullsizzix #ehinspirationteam #eheducators #Sizzix #mymakingstory #diecutting

Lisa Hoel for Eileen Hull - Patriotic holiday decoration with Eileen's new Vintage Truck Die and Camper Die! #eileenhull #eileenhulldesigns #eileenhullsizzix #ehinspirationteam #eheducators #Sizzix #mymakingstory #diecutting

Let's see how it all came together!

Step 1 - Truck Parts: I covered the matboard with Rinea Foil Paper before I cut out the parts. If you are covering your board with paper, don't forget to think about which side will be up and the way it should face as you cut your parts!


Step 2 - Truck Assembly: Before I glued the parts together, I used the Rinea Ghost Ink Reinker ink to remove some of the color from the foil paper to distress it. Their Ghost Ink Pad and Reinker ink react with the color on their foil paper and you can get some very interesting effects using it. I squeezed a drop of the ink onto my craft mat and then used a makeup sponge to gently dap some ink onto the edges of the truck parts. You just wait 10 - 20 seconds and then wipe the color away, exposing the silver base foil. Easy!


Step 3 - Truck hood: After I put together the truck, I decided I really wanted to add a hood. This is what I came up with and hand cut/scored.


Step 4 - Filling the back of the truck: I used crumpled blue tissue paper and stars to fill the back of the truck. I covered the 3-D star with Eileen's Golden Rod Molten Dimensions Embossing Powder (love how it looks!)


Step 5 - Camper Trailer Parts:

I forgot to cut out a 2nd base side flap so the photo
only shows one. You need 2!

Step 6 - Ghost Stamping: I used the Rinea Ghost Ink Pad to lift the blue off of the trailer side panels. I used a stamping platform because it took 2 or 3 "stampings" to remove all the blue. (Wipe off your stamp each time!)


Parts ready to assemble! There is that 2nd base side flap.

Step 7 - Gluing the trailer together: I like to use a quick grab wet glue for assembling so I have a bit of play time to get parts aligned correctly before it sticks. Strong dry tape works well too though. Glue guns can work but it is easy to get bulky hot glue in the seams and they don't lay flat.


Step 8 - Working on the base: I cut out trees (on the Truck Die) from red and blue cardstock for my scene. I also added some red and blue Stickles for some extra bling.


I found the wooden box at a garage sale and grabbed it for its potential. ;-) Good find I say! I made an insert of foam core and covered it with patterned paper.


The back is half of the largest Party Fans cut and glued to a piece of matboard.


As a final touch, I used the Tapered Fringe Strip Die to cut some 'grass' to tuck around my paper trees. I also used some buttons and bottle brush trees from my stash to add some more details.

Thanks for stopping by! Be sure to keep an eye on Eileen's blog for more new die inspiration from the Educator and Inspiration Teams.

Supplies used:

Dies:
Eileen Hull Sizzix 
Vintage Truck Box  Sizzix / SB )
3-D Camper Box  Sizzix / SB )
Wreath & Snowflake Set (for Star)  Sizzix / SB )
Banners & Pennants - retired


Other Sizzix
Sizzix 3-D Impresslits Embossing Folder - Star Trim #663297 - retired


Other:
Carabelle Stamp - Background Stars
Stamperia Stamp - Stripes
Stickles
embossing ink
Eileen Hull Molten Dimensions Embossing Powder - Golden Rod, Polished Silver
Tim Holtz Idea-ology Typography
Tim Holtz Idea-ology Adornments Stars
cardstock


Some links in this post are affiliate links which do not affect the price you pay but allow me to earn a small percentage of a sale. Thanks! (My husband also thanks you!)