Hello lovely people! Did you catch Eileen Hull's new Sizzix Chapter 1 live Release Party last week? We also had a Blog Hop with the Teams and there was certainly a ton of inspiration there for new die makes. For the rest of the month the designers are going to be sharing the tutorials for their creations.
First, in case you missed it, the lineup of new dies:
 |
| So many creative possibilities! |
Here is what Eileen has to say about them,
"I am so excited to share my Chapter 1 release with you! The dies in this collection are versatile, practical and fun to embellish. The Phone Stand, an XL ScoreBoards die, is a MUST- you need one for every room! Make for yourself, family, friends, for gifts or to sell- the die cuts the stand in one pass and is very easy to assemble.
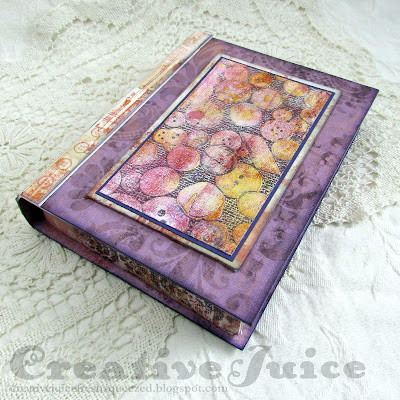
The Book Box can be used to make a book or a box that holds A-2 greeting cards. What a great way to package handmade cards ... or a quick and easy book! Add the Vintage Buttons folder to create vintage backgrounds for cards, journals, pages and tags. The 3-D effect is stunning when you add a little Luster Wax to bring out the highlights...
The Snail Mail Thinlits die cuts a postal pane that coordinates with two of Eileen's Snail Mail Maker Forte stamps. This die was designed to use on the front of an A-2 card!
Thanks to my teams for their gorgeous samples and support!"
This week, I'm sharing the tutorials for the Phone Stands I made:
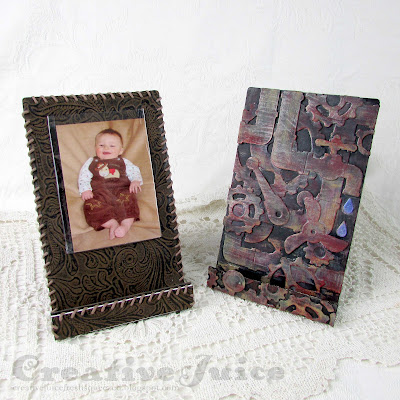
These stands are so easy to make! You will want one for every room and for all your friends. Talk about a great gift idea!
 |
| I can view my phone in either orientation! |
I like that you can make these stands in any style you like! Let's take a look at the how-to.
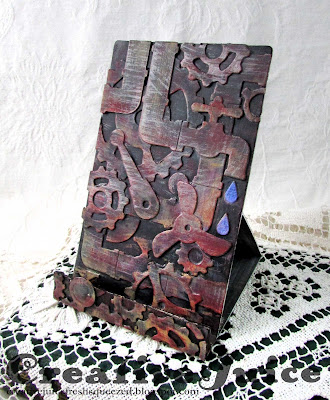
Industrial Stand
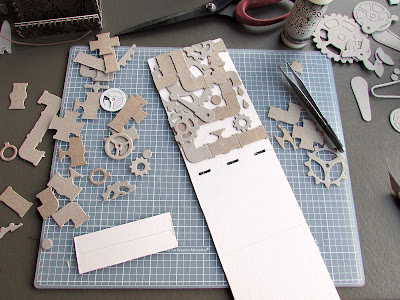
1) I cut the main stand parts out of mat board and all the pipes and gears from thin chipboard. This Phone Stand Die
only needs one pass with cutting and you have all the parts you need! Be careful you don't make your embellishments too thick or your phone won't fit in the stand.
 |
| Gluing all parts on was fun! |
2) Once my parts were glued and dry layered on various colors of paint to build up depth.
 |
| Final layer was dry brushed on to hit the raised parts. |
3) Assembly is easy. You can adjust where you glue the back flap to change the angle of the front support.
Insert the tabs of the front support into the slots. I added glue under the tabs to keep them in place. The front support facing makes it sturdier and "fills in the gap" so the base of your phone stand is all one level. This just glues on. I used little clips to hold it in place while the glue dried.
Western Stand, yahoo!
I made this stand into a photo holder as well. It can be dual purpose. ;-)
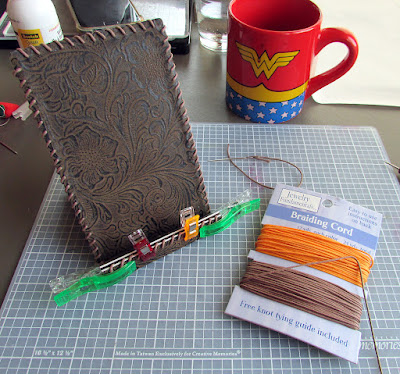
1) First I covered my mat board with fabric that has a tooled leather look to it. (Dry adhesive sheets work wonderfully for this.) Then I cut out the parts.
2) I wanted to add lacing around the edges to further the western flair so I used my ruler with a punch guide on one edge to add holes with my die pick. It's a bit tough to get through the mat board but I persevered.
 |
A little piece of balloon helps me to get a grip on the
needle to pull it through since the fit was a little tight. |
3) Clips are handy to hold the outer support piece in place while the glue dries.
 |
| Cut a cardboard template the size you want the pocket to be. |
 |
| Slide the edge of a metal ruler under the pocket flap. |
 |
Warm with a heat tool & when pliable, fold back
the flap with the ruler. |
 |
| Repeat on other sides and slide out the template when done. |
I used Collage Medium Matte to glue the pocket onto the stand. Slid in a photo and all done!
Thanks for stopping by and be sure to keep an eye on Eileen's blog for more inspiration from the Educator and Inspiration Teams.

