
Well, it's taken me all month but I finally finished my embroidered Folio Journal! Eileen's new Folio has SO many possibilities! I wanted to try making a "soft" journal sewn out of fabric and Pellon Ultra Firm Stabilizer. It worked! Take a look…
 |
| I had the perfect piece of vintage lace to use on the cover! |
 |
| The Folio pockets hold thread cards and a needle book. |
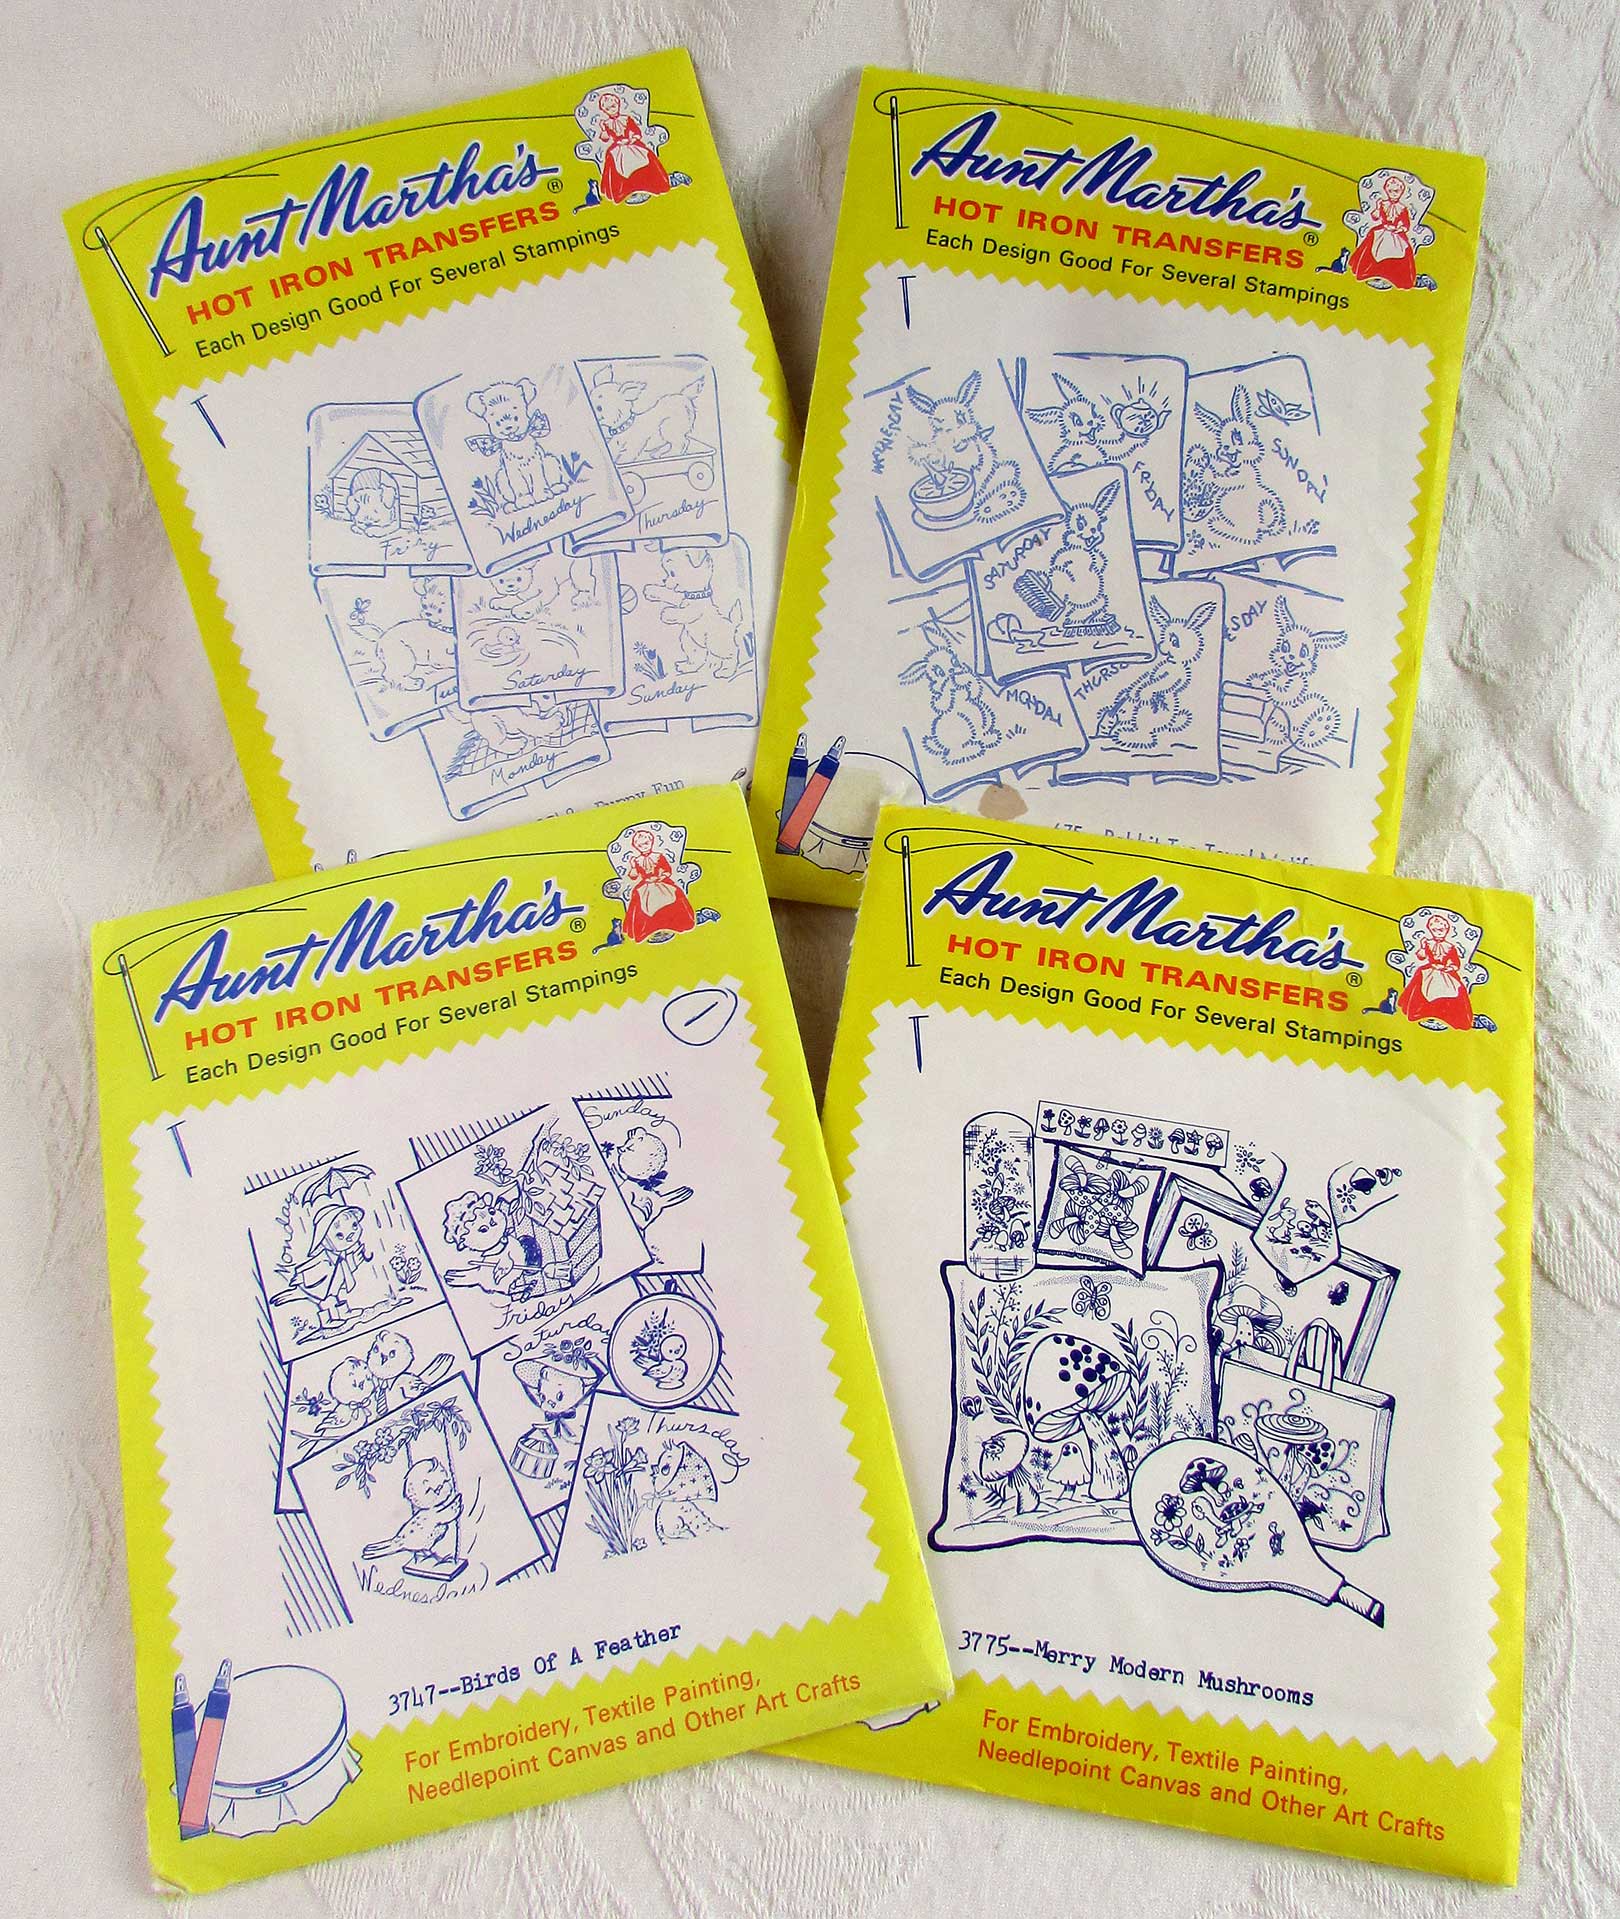
I used vintage tea towel embroidery patterns to stitch my pages:


 |
| I added some stitch sampler pages too! |


Let's check out the construction:
Step 1 - For the covers, first I cut two pieces of the Pellon Stabilizer (14" x 6") and fused my outside and inside printed fabrics onto each side. (Forgot to get a photo of that.) I then cut my front and back covers.
 |
| Note the piece of lace I had in my stash that was the perfect size! |

Step 2 - I sewed the covers together at the spine, stitching back and forth several times for strength.


Step 3 – I had to stop and ponder the proper order of the next steps. ;-) First I attached the ring binder hardware, and then the lace (which would have been in the way of stitching the binder clip). I knew it would be easier to tack on the lace with stitches before the pockets were folded over and sewn so that's why the lace was next.

 |
| I used strong thread and hand tacked the clip into place with several stitches. |
Step 4 – Now I could sew the pocket bottoms in place. I used a strip of super tacky tape to help hold the tab in place while I hand stitched it.


Stitching the edge was a bit tricky. I definitely needed a sharp needle and a thimble to get through all those layers. Not bad for a first effort though.
PART 2: The embroidered pages
Step 1 – I found these vintage iron on tea towel patterns at the thrift store.
 |
| Here are all my finished embroideries, ready to be made into pages. |
Step 2 – I used the page die from the Folio Page, Pocket & Flowers Die Set to trace out where the page edges should go on all the stitched panels. I did some careful pinning and made a sandwich of panels with quilt batting in the middle, then stitched around the page about 1/8" in. After that I trimmed the pages on the pen lines with my pinking shears.

Step 3 – Last step was to put eyelets in. It was super easy using my Crop-A-Dile. I even had the right size eyelets in my stash!

I guess the last, last steps were to make the matching needle book (see a similar one I made here) and the thread cards. The thread cards were cut from mat board using Eileen's Trinket Box Die front. Tip for the bunnies: I cut them out of Sizzix Surfacez White Texture Roll. It is a very durable fabric type paper like the old Paper Leather or Kraftex. I did this so the bunny arms wouldn't rip off when winding and unwinding floss around the cards.

Thanks for stopping by and checking out my LONG post. Be sure to keep an eye on Eileen's blog because April 7th is the Release Party for her Chapter 2 Sizzix Dies!

This is unbelievably detailed and delicate and I am smitten by it! Fantastic design Lisa! <3 Hugs, Autumn
ReplyDeleteLisa, this is a masterpiece! It must have taken so many hours! But so worth it. Love the colors and vintage vibe to it <3
ReplyDeleteFantastic project! What a treasure!!
ReplyDeleteAmazing!
ReplyDelete