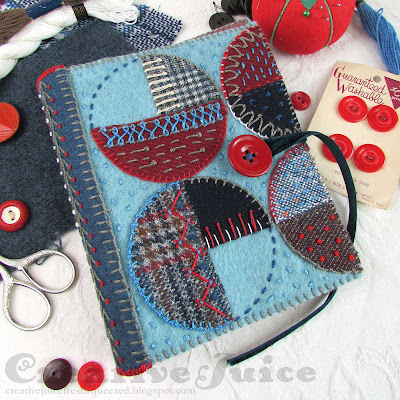
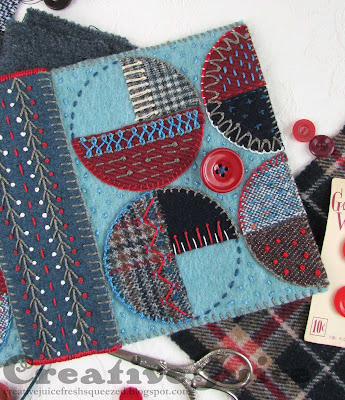
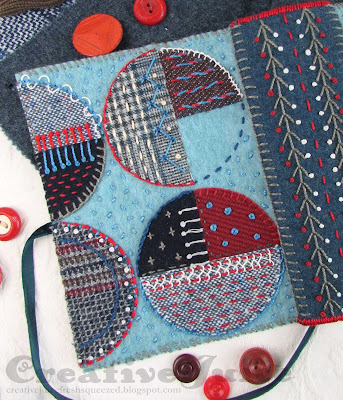
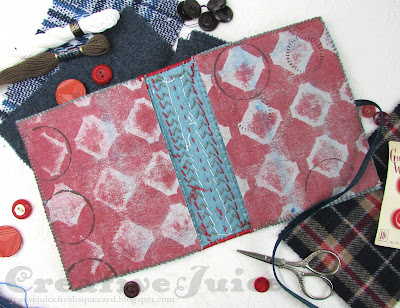
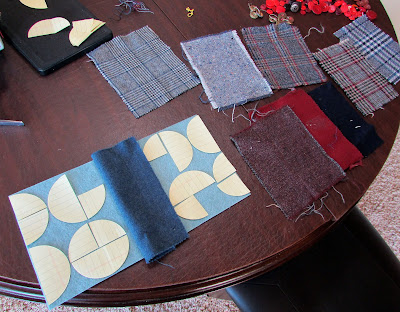
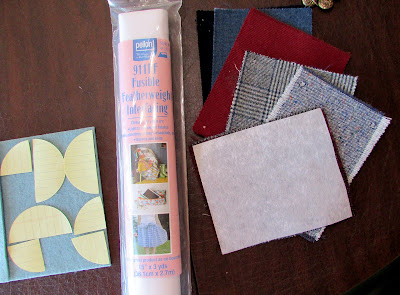
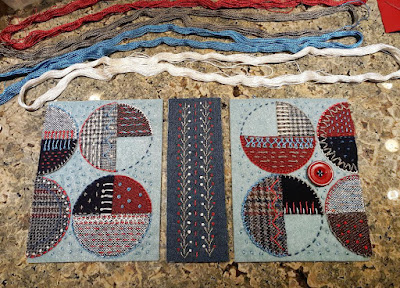
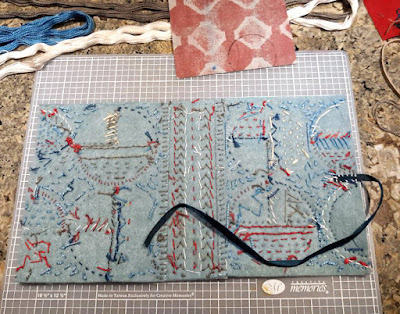
All during the month of March Eileen Hull's design teams have been playing with using felt, fibers and fabric with her dies to create projects to inspire you! Here I am finally at the very end of March with my contribution. I used the Book Box Die to make a journal cover. The die cut easily through thick felt to form the base and I appliqued wool shapes to it.
Thursday, March 31, 2022
Felt, Fibers and Fabric Journal Cover
Monday, March 28, 2022
It's the Topflight Stamps 5th Birthday Blog Hop!
 |
| HAPPY BIRTHDAY TOPFLIGHT STAMPS!! |
It's Topflight Stamps 5th birthday and to celebrate, I’ve teamed up with some great designers to showcase celebratory projects using the unique products available at Topflight Stamps. Please hop along with us and see all the beautiful talent from this group of amazing designers! You should have arrived here from Charmaine Canham's blog. If not, no worries, catch the details below.
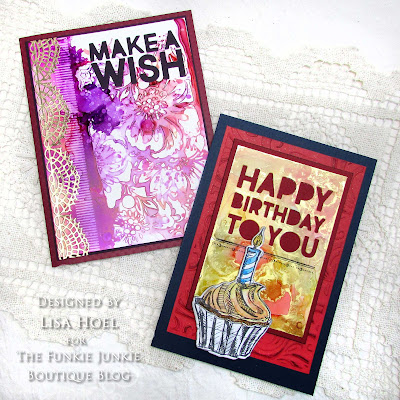
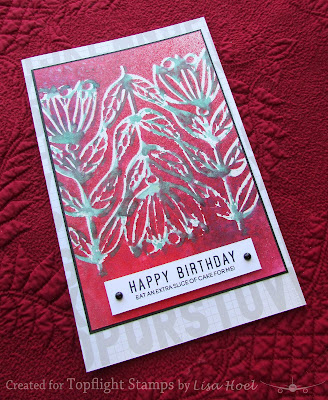
My card was created with some mixed media fun! I used the AALL & Create 'Tre Fiori' stencil as a mask and spritzed Mulberry and Cherry Pie Prism Glimmer Mist over the top. (Love the fab shine it gives to projects!) Once the first layer was dry, I placed the stencil on another piece of paper and spritzed it all over with Aqua Green Glimmer Mist. I carefully picked it up from the paper, flipped the stencil over and placed it slightly offset from the white masked area on the card base. Taking a paper towel, I placed the towel over it all and gently pressed to transfer the Aqua Green ink from the stencil to the paper, creating a monoprint! It's a simple but fun technique. The sentiment is from a really useful stamp set from Heffy Doodle – the Everyday Sentiment Duos.
Now Hop To It!
NOTE: Due to new tax laws and USPS limitations Topflight Stamps is only able to ship to the US and Canada.
Wednesday, March 23, 2022
Industrial Grunge Challenge on The Funkie Junkie Blog
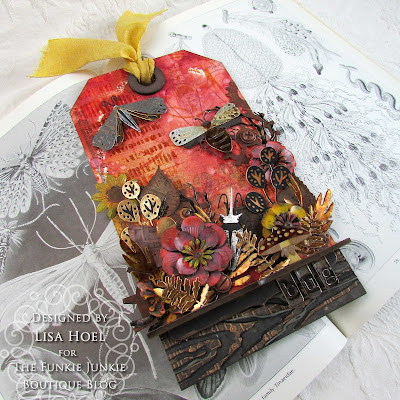
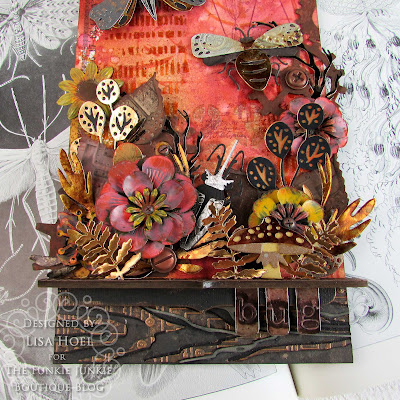
Hello. It's time for another new challenge over on the Funkie Junkie Challenge Blog! This time the theme is "Industrial Grunge" so pull out all the gears and metal bits.
I also wanted to play with my new Saltwater Taffy Distress products so they are a major part of the color scheme.
The garden is filled with a combination of metal bits (like the painted flowers) and die cut bugs and foliage. Some parts I embossed with "industrial" folders like Circuit, Mini Mechanics, and Mini Foundry.
 |
| All the pieces cut out. |
 |
| Assembled! It helps to have ones to look at 'in person'. |
5) I also embossed the background. I used the Code stencil with Transparent Gloss Texture Paste. While still wet, I sprinkled the paste with Rusty Hinge and Saltwater Taffy Glaze embossing powder. Once the paste dried, I heat embossed the powder. It adds great texture!
6) You can buy various Thickboard Trims to go with the Etc Thickboard tags. I used some to make a ledge to build my garden on. There is a die set, Decorative Trims, which makes it super easy to cut paper to cover the raw Thickboard Trim pieces. I've also used the die set to just cut paper for use in card making. It's pretty handy!
Tim Holtz Stamp Sets - The Professor, Halftone & Rings, Purveyor, Inventor 2
Saturday, March 12, 2022
Saturday Showcase Over on the Funkie Junkie Blog!
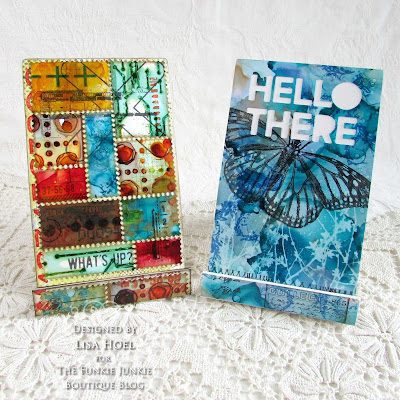
Hello, today you can find a tutorial post for these phone stands over on The Funkie Junkie Boutique blog! For our current challenge, "A Blustery Day", you are supposed to focus on a technique, supplies, etc. that you find challenging. I chose to focus on Alcohol Inks for my challenge and I'm continuing that theme for the Saturday Showcase! I used the alcohol ink backgrounds I created to decorate two phone stands made with Eileen Hull's new Phone Stand Die.
 |
| These stands are so quick to make and are great for gifts! |
Wednesday, March 9, 2022
The Funkie Junkie - "It's a Blustery Day" Challenge
Hello there – we have a new challenge beginning today. Our hostess is Suzanne Czosek this time around and this is what she has to say about it:
"I am inspired by Pooh Bear's quote from A. A. Milne of "It's a rather blustery day." Pooh Bear struggled against the windy day and you can share something you struggle with in your art! It can be a technique, color palette, tools, or supplies that you find difficult to use. Share them with us along with your story on what you struggle with! I can't wait to see your blustery day!"
For my project, I chose to go down an alcohol ink rabbit hole. I've always had trouble getting into using the medium and found it a bit intimidating. So this was a great challenge to just read up on it, jump in and play! I started off by watching again some of Tim Holtz's educational videos (soooo informative!). You can find two here and here. Then I got out all my supplies and played around. I used Yupo cardstock for my substrate. Yupo is a non-porous synthetic paper that is perfect for alcohol ink. I have a list of other supplies used at the bottom of this post but you can browse products here in the Funkie Junkie store.
Here are some photos of the results of my experiments:
 |
| LOVING the Alloys |
For these backgrounds I used Metallic Kraft Stock for the substrate. I like how they turned out, especially when I used a bit of Snow Cap Mixative with the ink (red ones on lower left and upper right corners). I'm going to try embossing some of these backgrounds - I think they'd look cool!
Here's one technique that Tim shared that I really liked. He showed us how to make prints with stencils.
 |
| stencil prints, yeah! |
Mist a stencil with isopropyl alcohol and "stick" it down onto the Yupo. Drip various colors of ink onto the stencil/paper. It will wick under the stencil but that is what you want it to do. Let it sit there until all the ink dries underneath the stencil.
You can create several successive prints with the ink left on the front of the stencil. Mist it with more isopropyl alcohol and lay it on a new sheet of Yupo. Let it dry and peel it off. Repeat!
 |
| cool backgrounds!! |
So there is a little look at my alcohol ink fun. I will have to play around some more. ;-) I'll be on the Funkie Junkie blog this Saturday with more alcohol ink projects! Stay tuned…
Tim Holtz Stamp Set - Ornate Trims

