
Hello Eileen Hull fans! Did you catch the Sizzix Chapter 4 Release Party at the beginning of the month? We also had a blog hop full of inspirational makes from the Teams! The designers have been sharing tutorials for their projects throughout the month and today it's my turn.


Chapter 4 Tutorial Time…
My first project uses the Geometric Box and Sunflower Dies. I went with a Halloween theme (hey, it's October!) Let's see how it came together.


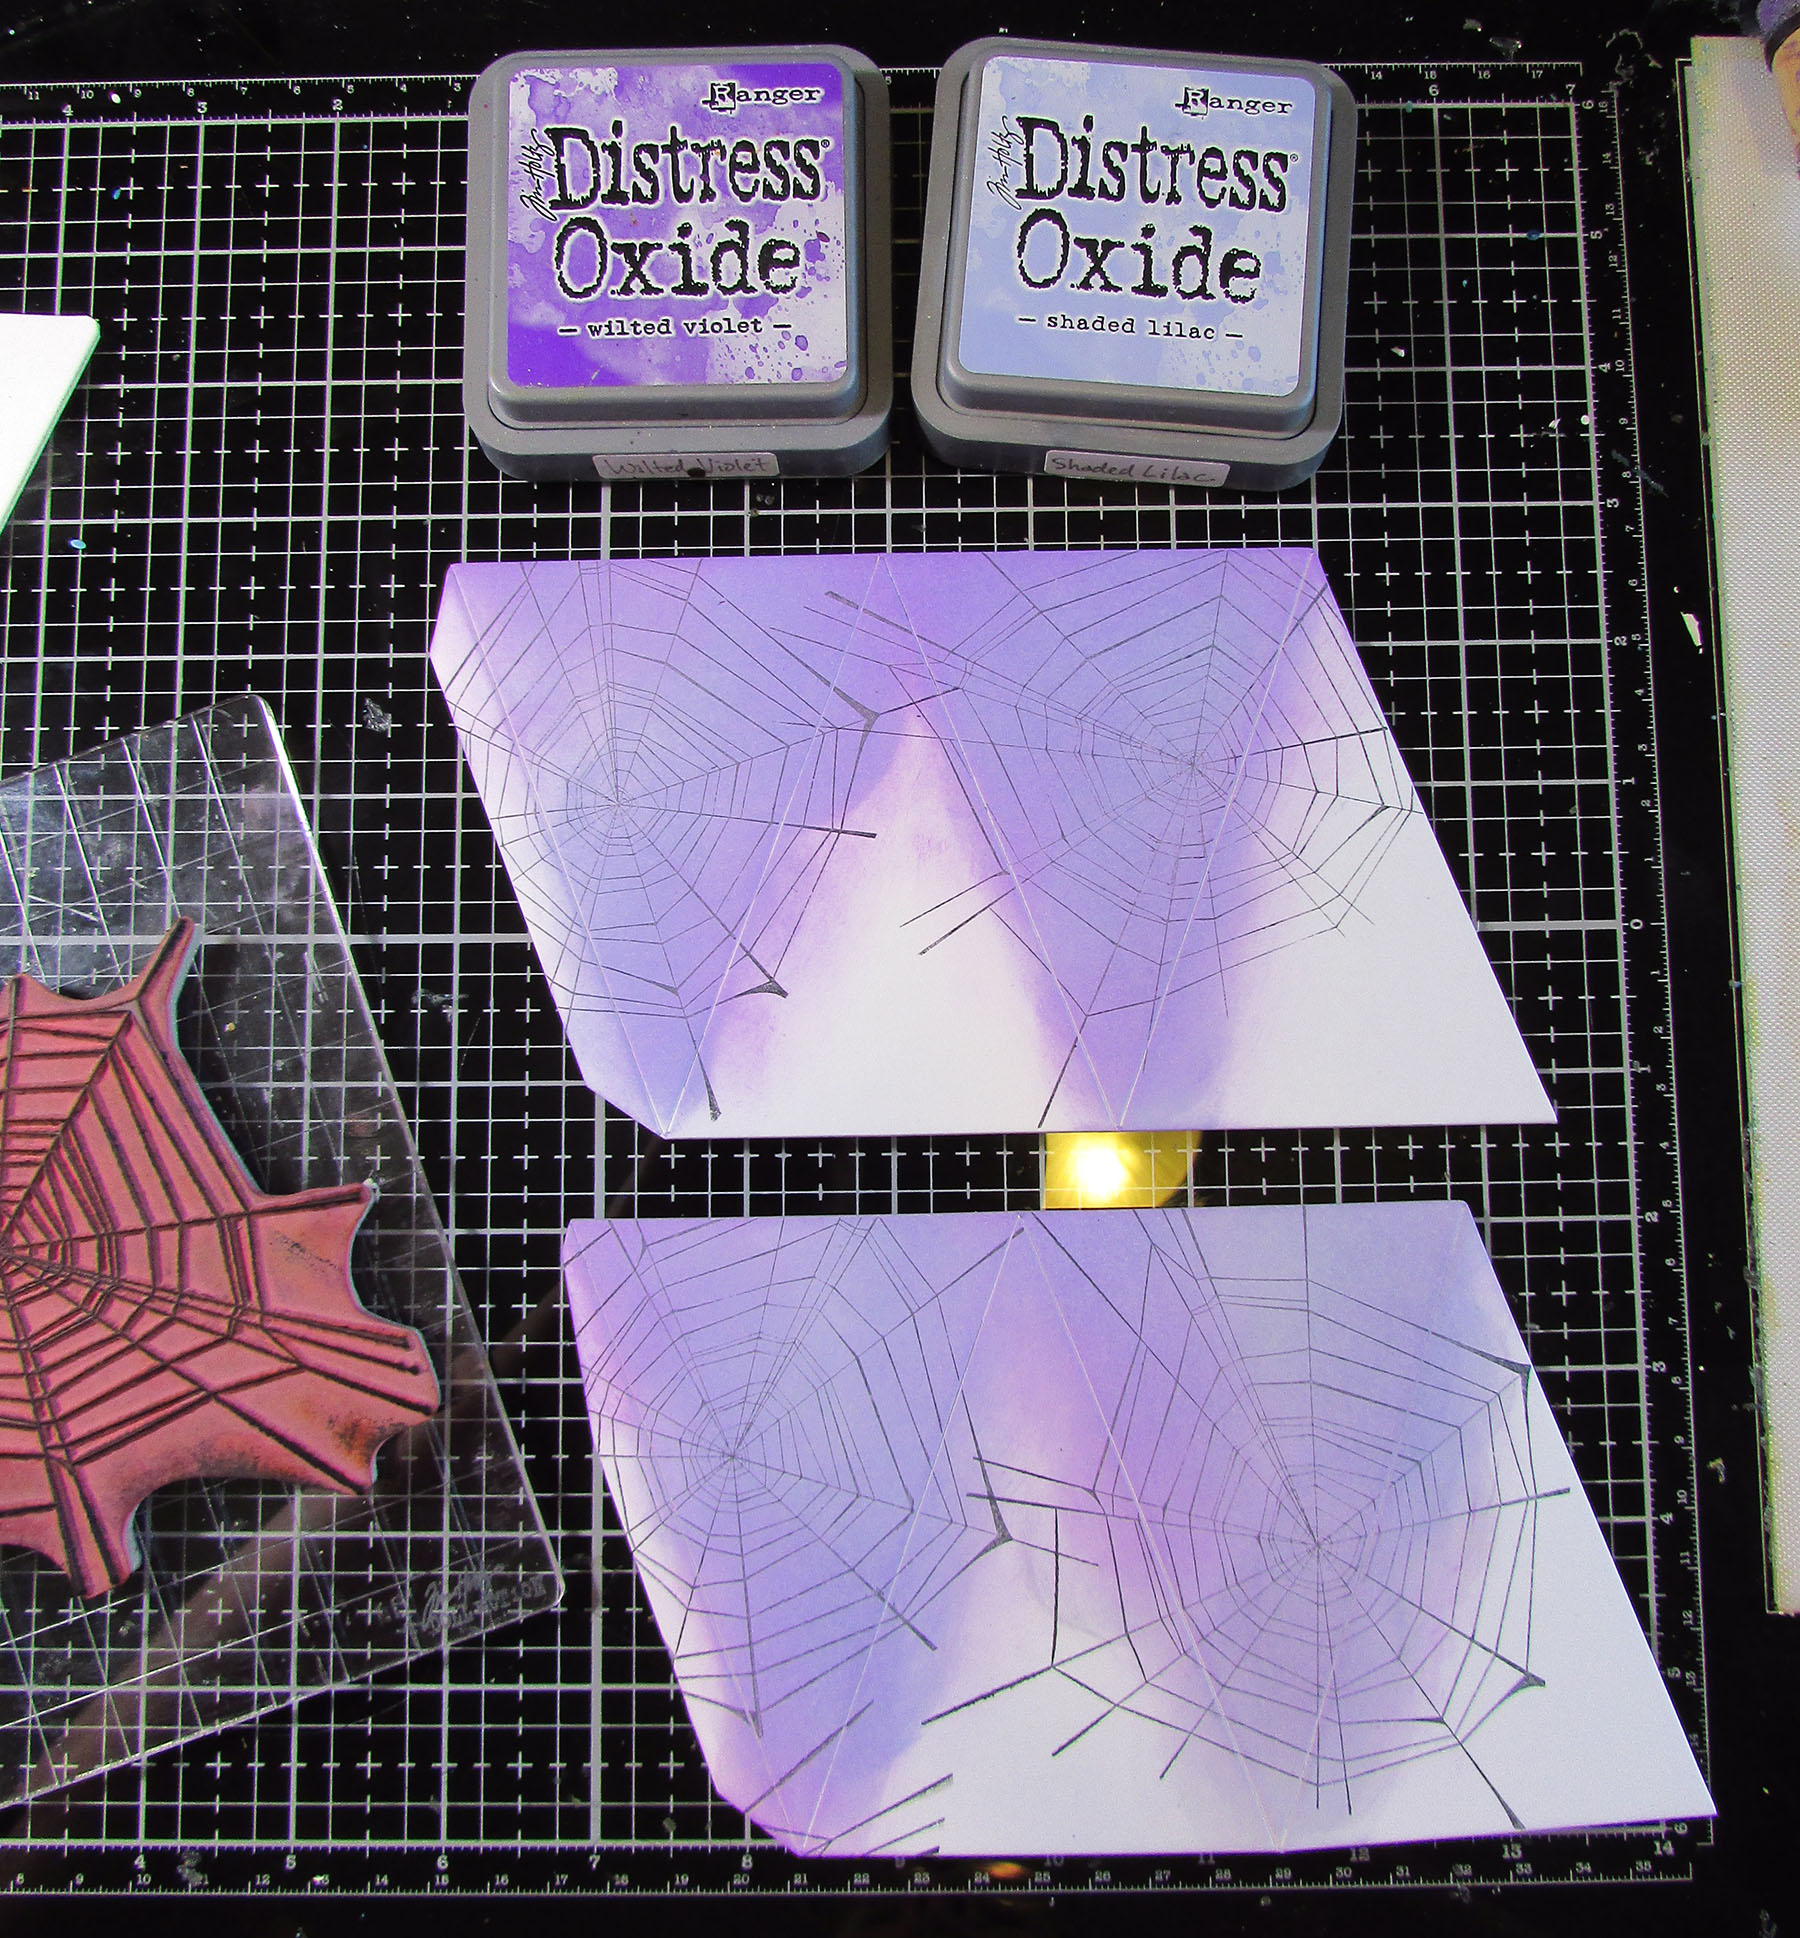
Step 1 – I cut all the pieces out of Sizzix mat board. (I ended up not using top triangle pieces.) I really like how the Sizzix brand takes various inks and media - it has a great surface.

Step 2 – I inked and stamped alternating sections of the Geometric Box side pieces. After that, I glued pieces of patterned Halloween paper on the other sections.

Step 3 – I turned the smaller triangles into "candy corn" pieces. Using Eileen's Blends embossing ink (retired), I first dabbed the tops of the pieces with the ink and then embossed with yellow embossing powder. I repeated by inking the middle section and embossing with orange. Lastly I embossed the tip with white powder.

I used Archival Ink to distress the edges of the pieces.

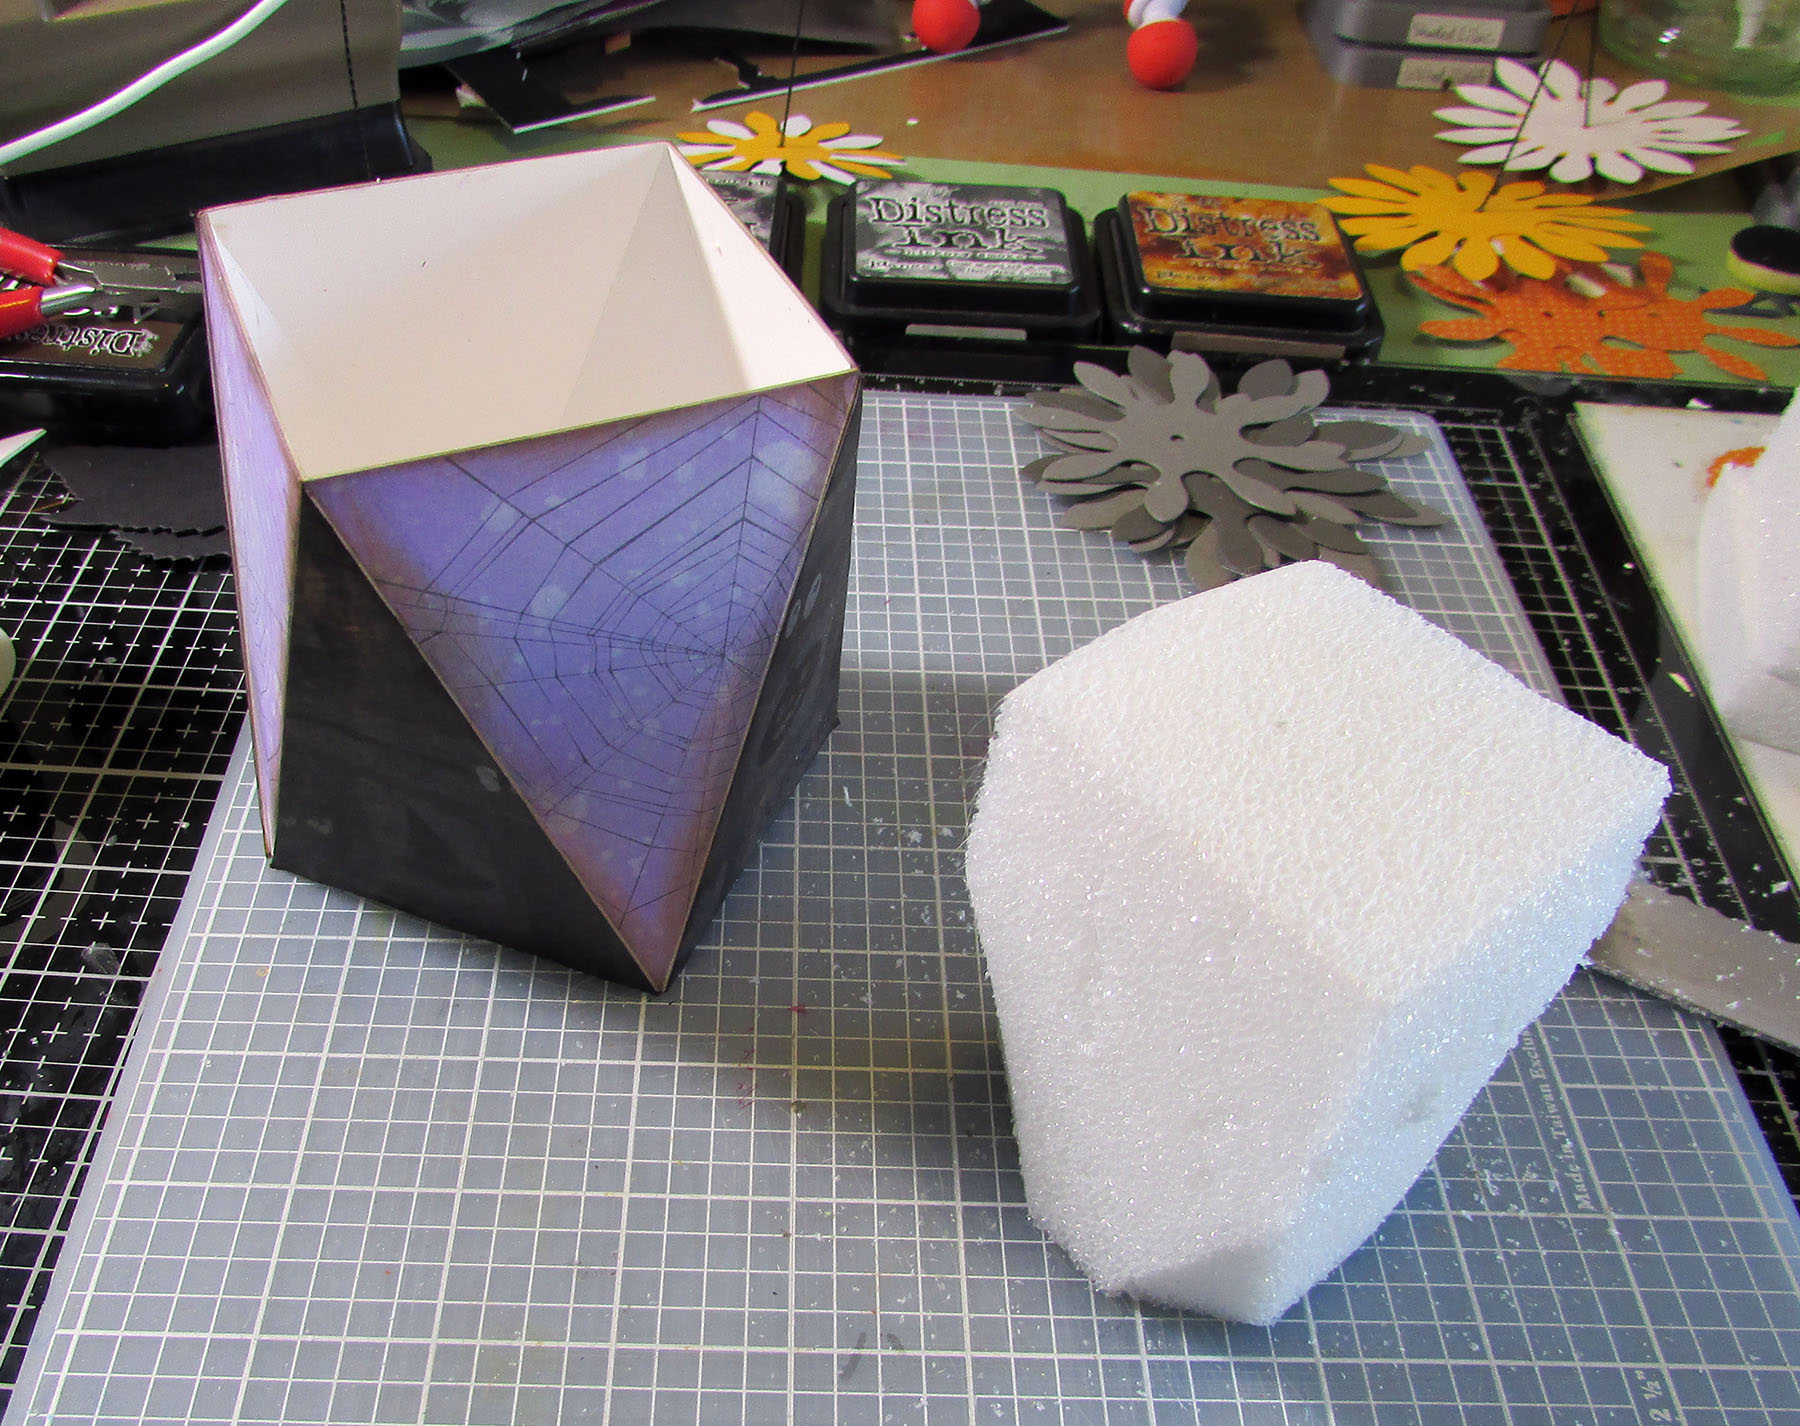
Step 4 – Box assembly is easy! You can use wet or dry adhesive. (I recommend a very strong dry adhesive like red line tape or Eileen's Red Liner Tape.) Glue the sides together and then pop the base piece into place.

Step 5 – Next part, flowers! I used the Sunflower Die and cut parts out of various colors of cardstock and patterned paper. This die isn't just for 'sunflowers'. You can make all sorts of flower types!

Step 6 – Eileen's Twist & Style Tool is a tried and true way to make flower stems. Eileen just demoed this in her Live from last Thursday. You can see that here.

I used vintage black buttons for the flower centers.

Step 7 – I cut a piece of styrofoam to fit inside the box base and glued it in. I covered the surface with a bit of cotton batting to hide the styrofoam. It was easy to poke the flower stems through the batting into the foam.

Project #2
Eileen Hull's new Silverware 3-D Embossing Folder has amazing detail! I used it to create the background for this 'invitation to tea' card.

Step 1 – I used a favorite (and simple) technique for embossing the background. All you have to do is rub the front half of the folder with Archival ink and then emboss! The ink transfers from the folder to the debossed areas of the paper and really makes the embossing detail pop. I used a piece of silver metallic kraft paper for my substrate.

Take a look at that detail!

Step 2 – For the teacup, I decoupaged a section of a decorative napkin to the mat board before cutting.

Step 3 – After cutting out the cup, I coated it with a gloss varnish to give it the look of china.

Thanks for stopping by and be sure to keep an eye on Eileen's blog for more inspiration from the Educator and Inspiration Teams!
Some links in this post are affiliate links which do not affect the price you pay but allow me to earn a small percentage of a sale. Thanks! (My husband also thanks you!)
Such fun projects Lisa and also great techniques! Love that embossing tip of using foil paper! Thanks for using my products.❤️
ReplyDeleteThat is beautiful. Love the Halloween colors. Great job. ❤️
ReplyDelete