Thursday, May 14, 2020

Oh Man! Guest Post for the Funkie Junkie Boutique Challenge

Hello! I am honored to be a guest designer today for the latest challenge over at The Funkie Junkie blog, 'Oh Man!':

"Fathers Day may be a way off yet but there are always other occasions and reasons for making something for the men in our lives. For this challenge create something which you feel has a more masculine look."

Fishing is a favored pastime for both man and bear and serves as the theme of my project. I finally got to use my Tim Holtz Theodore bear die and the gorgeous Stamperia 'Forest' paper pack.  I also included a photo of my late father in law as a boy which adds a special touch. Looks like he had some very good luck fishing that day!


What a catch!

How cute is Theodore? I love the look of him. I added a little bit of embossing powder to add some more shading and texture.


The base is an Etc. Medium Thickboard Tag with Bracket Trims to form the ledge.


The Stamperia Forest paper pad has such beautiful papers in it I was reluctant to cover any of it up! I  had to steel my nerves and just do it. ;-) I did try hard to let the pattern shine through. I added a bit of stenciling but with transparent Distress Inks and Embossing Glaze Powders.
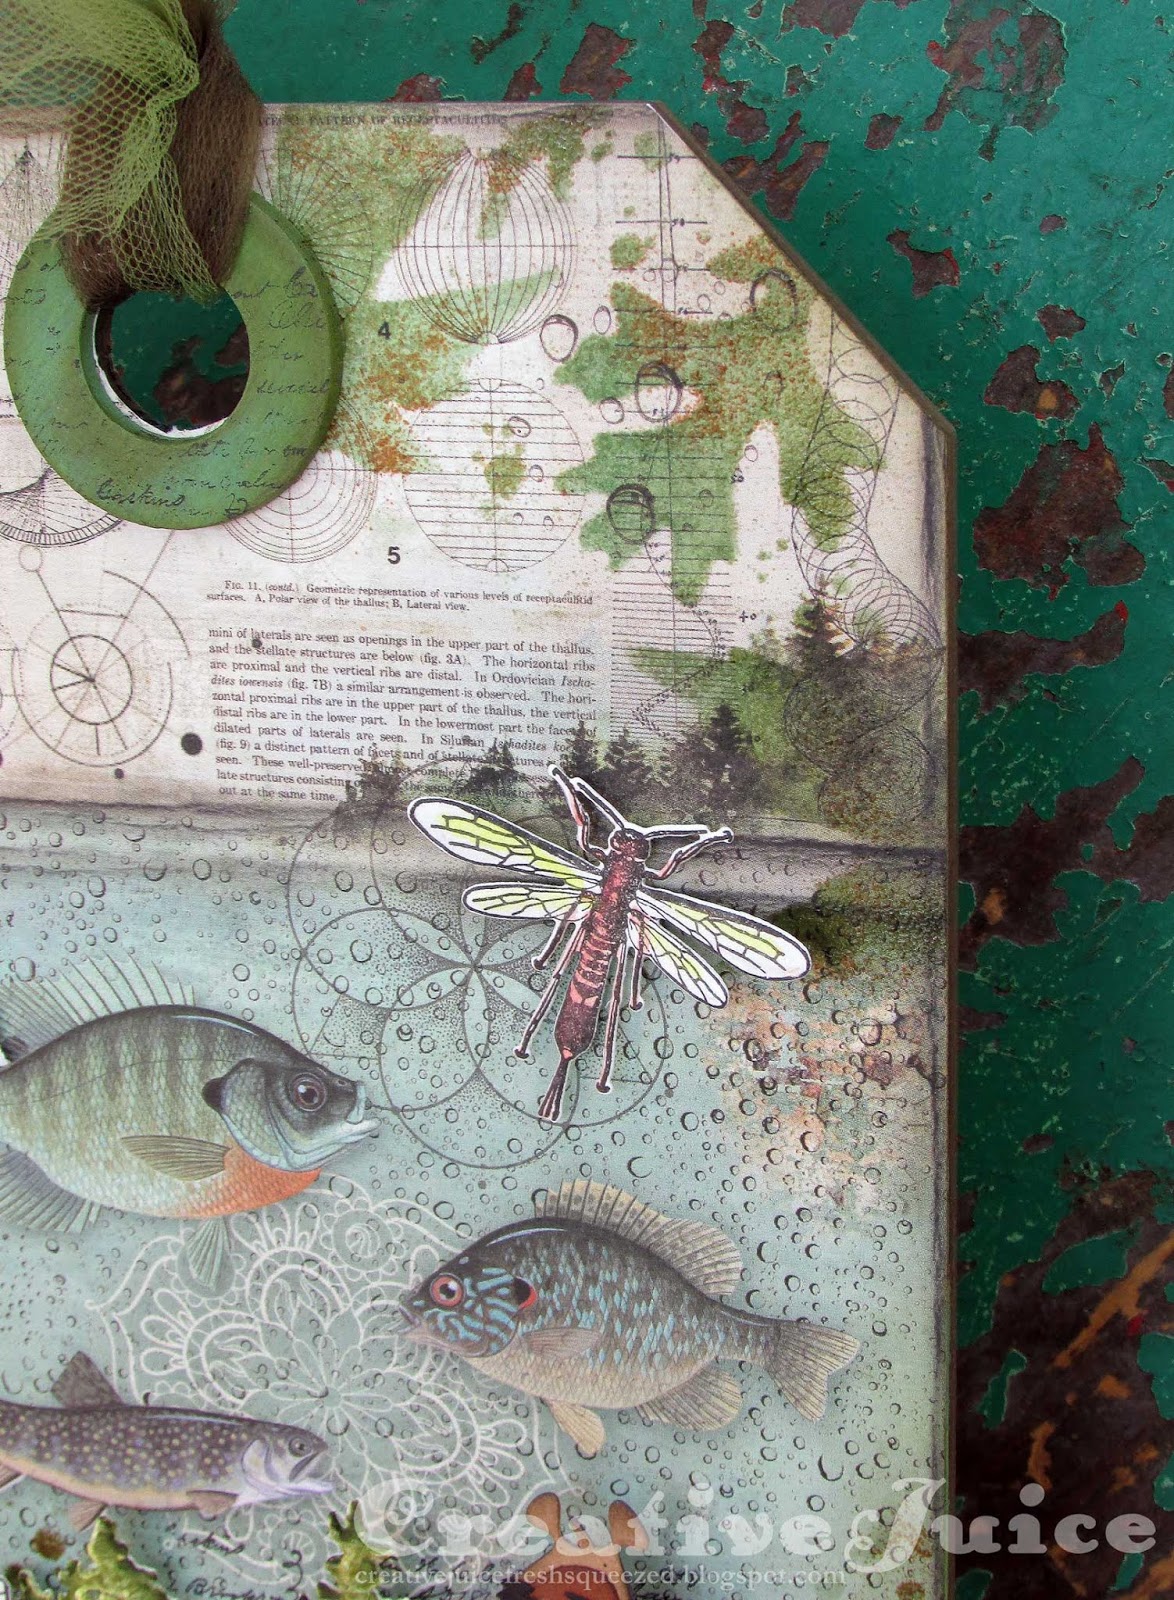


I really like how it all came together. I also hung a fishing lure off the clip on the photograph. I think I'd better go back and file the points before someone hooks themselves. I don't want my art to be dangerous lol.


Here are a few "in progress" photos so you can see the elements and bottom layers:

1. I built my bear! This photo is before I decided to add the little bit of embossing powder. On the treeline, I also used the technique Tim Holtz shared for sprinkling Glaze Embossing Powder on wet crackle paste and then embossing it when it's dry and cracked. (So cool looking!)


2. I originally painted the lower half of the tag but then ended up pretty much covering it all up. Oh well, these projects tend to evolve.


3. More background layers. It's fun to piece things together and let the layers build.


Thanks for stopping by! I am so excited to be a guest designer for the challenge. I encourage you to go check it out and join in the fun. 

Dies:
Tim Holtz Theodore
Tim Holtz Tree Line
Tim Holtz Branched Birch
Tim Holtz Entomology
Tim Holtz Funky Foliage

Other:
Tim Holtz stamp set - Entomology
Tim Holtz layering stencil - Autumn
Stamperia Forest 8x8 paper pad
Tim Holtz Etc. Medium Thickboard Tag
Tim Holtz Etc. Bracket Trims
Tim Holtz Clippings Stickers
Tim Holtz Glaze Embossing Powders - Peeled Paint, Walnut Stain, Rusty Hinge
Seth Apter embossing powder - Eclipse
Ranger Crackle Paste
Distress Ink

Some links in this post are affiliate links which do not affect the price you pay but allow me to earn a small percentage of a sale. Thanks! (My husband also thanks you!) If you shop at Topflight Stamps, use my coupon code LISAHOEL for 12% off your order.


Tuesday, May 12, 2020

May Flowers Pincushions with Eileen Hull

Wow, has it really been almost a month since my last post?? I really have lost all sense of time. Everything is blending together. At least one thing that marks the time is the blooming going on in my garden! More and more flowers are coming up and my irises are going to town.

Bee in the Bachelor's Buttons

The theme over on Eileen Hull's blog this month is May Flowers and the Inspiration Team is off to a great start sharing beautiful projects of all sorts featuring flowers. I created some more embroidered teacup pincushions using wool felt flowers cut out with some of Eileen's dies.


I love finding old teacups at thrift stores and garage sales and upcycling them into something new!


I use cotton flannel for the base and then cut the flowers out of wool felt. Buttons and embroidery are added for detail!


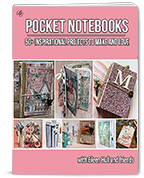
I'd also like to mention that Eileen Hull’s newest e-book, Pocket Notebooks with Eileen Hull & Friends, from Bella Crafts Publishing is now available! Click the photo below to buy yours now to get your creative juices flowing! There are over 50 projects to inspire you, complete with instructions and links to the designer’s blog posts or videos. You will be amazed at the versatility of Eileen’s Pocket Notebook Die and the endless creativity of all the designers’ uses for it. I am very honored to have several projects included. =)

Pocket Notebooks with Eileen Hull

Thanks for stopping by! Check out Eileen's blog and if you are not already a member, join the Facebook Eileen Hull Fan Club group. It is a warm, supportive group with lots of inspiration and sharing going on. You'll just have to answer a few simple questions when asking to join (to keep out spammers) and then you'll be added. ;-)


Dies:
Eileen Hull Sizzix
Heart & Soul Flower Die - retired
Flower & Leaf Stitchlits - retired

Other:
flannel
wool felt
embroidery floss
buttons
stuffing
hot glue gun

Some links in this post are affiliate links which do not affect the price you pay but allow me to earn a small percentage of a sale. Thanks! (My husband also thanks you!) If you shop at Topflight Stamps, use my coupon code LISAHOEL for 12% off your order.

Thursday, April 16, 2020

Easter Egg Diorama Scene

Hello!! I'm not quite ready to stop making Easter projects yet! (Although for the record, this was one I had started two weeks ago and was trying to finish it in time LOL.) Last year I found this vintage painted ceramic diorama egg at the thrift store and I knew I could do something fun with it:


The little house is made using the Sizzix Village Dies from Tim Holtz (in particular, the Bungalow Die is the main structure). This whole series has been retired and is on its way out of the marketplace so find them while you can if you want them!


Lot's of little details…


I found a great source for all sorts of vintage German and English Scrap graphics - Scraps-A-Plenty. Check them out, they have ebay and etsy stores. Tons of designs and themes!


Here are a few little in process photos:

Step 1 – I used spray mists to color coffee filters and then collaged torn pieces onto the inside to form the sky of my little scene. I also noted the handy holes in the bottom so I decided to add a strand of Tiny Lights since it would be easy to thread up through a hole.


Step 2 – I built up a floor made of foam core board platforms. I left a slot in the base where the house was going to go so I could bunch lights up inside the house.


Step 3 – To make my grass, I used green inks/mists on some baby wipes I let dry out. It makes a nice "fabric" to use.


Step 4 – I used flower dies from Eileen Hull and her Twist & Style Tool to make the stems.


Thanks for stopping by. I hope you have a good weekend and have a chance to get crafty. Stay safe and healthy!

Dies:
Tim Holtz Tiny Tattered Florals ( Sizzix / SB )
Tim Holtz Funky Floral #2 ( Sizzix / SB )
Tim Holtz Funky Floral #3 ( Sizzix / SB )
Eileen Hull Stitchy Flowers - retired
Eileen Hull Heart & Soul Flower - retired
Tim Holtz Village Dies (retired and on their way out of the marketplace)
• Brownstone 
• Addition
• Bungalow
• Rooftops ( Sizzix / SB )
• Fixer Upper ( Sizzix / SB )

Other:
Eileen Hull Twist & Style Tool ( Sizzix / SB )
Distress Ink
Tim Holtz Tiny Lights
Tim Holtz Bouquet flowers

Some links in this post are affiliate links which do not affect the price you pay but allow me to earn a small percentage of a sale. Thanks! (My husband also thanks you!) If you shop at Topflight Stamps, use my coupon code LISAHOEL for 12% off your order.

Friday, April 10, 2020

April Showers Bring May Flowers Tiny Book

Have you seen Eileen Hull's latest Sizzix Dies? They are the Tiny Book and Tiny Book Case and they are little but mighty! (as well as SO much fun to make up!) The Tiny Book is only 2.25 x 3 inches and it fits perfectly in the Tiny Book Case. I wanted to make a project for the April Showers Bring May Flowers Challenge over at the Funkie Junkie Boutique Blog and I thought it would be perfect to make an "April" case to hold a flowery "May" tiny book.


April Showers!


Open up the case and what do you find?


A flowery little May book! I used the same embossing technique on the cover as I did on my Doodle Notebook project.


When you open up the Tiny Book you find a whole garden…


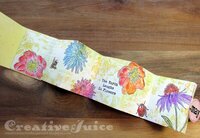
The inside pages are an accordion fold, stamped and colored on both sides.


I  happy with how the contrast between the case and book turned out. The case and book dies are really easy to assemble but here are a few in process photos.

Step 1 - I made my own spray mist using Eileen's Blends Reinker in Hydrangea mixed with some water in a little spray bottle. I misted the Case diecut and let it dry so all the little droplets showed. Stamping and stenciled/embossed raindrops added that 'rainy' feeling. You have to be aware of the directions of the parts so your paper, stamping etc is right side up where it is supposed to be!


Step 2 - I misted and stamped the front and inside of the Tiny Book cover. The overlay is a diecut (Bouquet) that I embossed with Pink Peony embossing powder and then glued onto the cover.


Step 3 - I scored a strip of mixed media paper to accordion fold into the book cover. Before I folded it, I stamped and painted both sides.


Step 4 - After folding it, I glued the first panel of the strip onto the back cover of the tiny book. A little knotted piece of elastic holds the book shut and makes a little handle so it's easy to remove it from the book case.


Thanks for stopping by! Check out Eileen's blog and if you are not already a member, join the Facebook Eileen Hull Fan Club group. It is a warm, supportive group with lots of inspiration and sharing going on. You'll just have to answer a few simple questions when asking to join (to keep out spammers) and then you'll be added. ;-)

I am also adding this project to the current April Showers Bring May Flowers Challenge over at the Funkie Junkie Boutique Blog. They have great challenges so be sure to check them out!

Dies:
Eileen Hull Sizzix
Tiny Book Case ( Sizzix / SB )
Tiny Book ( Sizzix / SB )

Tim Holtz Sizzix
Bouquet ( Sizzix / SB )
Typeset strip die - retired

Other:
Indigo Blu Stamp set - Floral Fantasy
Tim Holtz Stamp Set - Field Notes
Tim Holtz Stamp Set - Flower Garden
Tim Holtz Stamp Set - Entomology
Tim Holtz Stamp Set - Glorious Bouquet
Seth Apter Baked Velvet Embossing Powder - Aegean Sea
Eileen Hull Blends Ink - Clear 
Eileen Hull Blends Ink Reinker - Hydrangea
Archival Ink
Distress Ink
Distress Ink Oxide
Distress Spray Stain
elastic
cardstock

Some links in this post are affiliate links which do not affect the price you pay but allow me to earn a small percentage of a sale. Thanks! (My husband also thanks you!) If you shop at Topflight Stamps, use my coupon code LISAHOEL for 12% off your order.

Thursday, April 2, 2020

Doodle Pocket Notebook with Eileen Hull

Hello readers! Today I have a very cheerful Pocket Notebook to share with you. I am feeling the need for some bright colors these days. This notebook has embossed die cuts on the cover so it is also very textural and fun to hold.

Focus on the Good!

I used sari silk to tie the signatures into the cover.
The inside is just as bright and cheerful:


I thought this would be a good gratitude journal where you could count (and write down) the good things that are still happening!


The elastic flower closure keeps it all together! Read on for the tutorial…

Step 1 – Spritz a sheet of mat board with yellow and orange mists and use double sided adhesive to attach patterned paper to the other side. Cut out the two halves of the notebook cover (patterned paper goes on the inside.)


Stamp with textured stamps onto the cover to add interest underneath the embossed die cuts.

Step 2 – Die cut two sheets of heavy cardstock with the Doodle Die and then emboss them with Eileen's Aqua Splash Molten Dimensions Embossing Powder.


I love how the embossing pops off the cover substrate!

Step 3 – I misted white coffee filters with Pearl Mica Spray and then cut strips out with the scallop die. I used craft floss and an embroidery needle to gather the strips with a simple running stitch.


Step 4 – After gluing and trimming the embossed die cuts to the front and back covers, I glued the gathered strips underneath them. I also glued the Quote Chip onto the front as well.


inside covers
Step 5 – I cut the signature covers using the Pocket Notebook Die. (It's very handy that it also cuts pages for the notebook as well as the cover pieces!) I brayered some teal paint onto the covers to add visual texture before I stamped and embossed on them.


Step 6 – I hand cut the white inner pages of each signature so they would be a little smaller than the covers. I stitched the signatures together with a simple Phamphlet Stitch. To tie the sigs into the cover I used a strip of sari silk for each one and just threaded it through the middle of each signature and then through the pair of holes in the cover – tying it outside at the top and letting the tails hang down for decoration.


Step 7 – Lastly I made an elastic flower band to act as a closure. I pushed the loop of a pearl button through the center of the tissue flower die cuts and then threaded the elastic cord through it – tying it off to make an appropriately sized loop to go around the book.


Supplies used!

Dies:
Sizzix
Eileen Hull Pocket Notebook ( Sizzix / SB )
Eileen Hull Romance Flower # 66110 - retired
Tim Holtz Doodle Art ( Sizzix / SB )
Tim Holtz On the Edge Die, Scallops - retired

Other:
Tim Holtz Stamp Set - Spills & Splatters
Tim Holtz Stamp Set - Purveyor
Eileen Hull ColorBox Blends ink - Clear (embossing)
Sizzix Mat board
Eileen Hull Molten Dimensions Embossing Powder - Aqua Splash, White Wonder
PaperArtsy Fresco Paint - Caribbean Sea
Ranger Mica Spray - Pearl
Eileen Hull Easy Cut Adhesive
Tim Holtz Quote Chips - Theories
sari silk
coffee filters

Some links in this post are affiliate links which do not affect the price you pay but allow me to earn a small percentage of a sale. Thanks! (My husband also thanks you!) If you shop at Topflight Stamps, use my coupon code LISAHOEL for 12% off your order.