
This month Eileen Hull's May project theme is "Unconventional Materials". Her design Teams have been hard at work and stretching their creativity by using 'not so normal' supplies and her Sizzix dies to create some really cool makes! Check out her blog if you've missed any posts this month. Last week I shared Part 1 of my Submarine Tunnel Book. You only got to see the cover but now you can see the coral reef tunnel book I created inside!
 |
| the 'porthole' cover |
Open it up and what do you see?
 |
| An explosion of tropical color! |
Some of the unconventional materials used are Tyvek mailing envelopes, paint chips and candy wrappers!

I think this just might be an octopus's garden!

Back on the outside, here are a few details of the cover:
 |
| Porthole is a Sizzix Shaker Dome! |
 |
| Detail of the closure (see Part 1 for the how-to) |
The tunnel "frame" is created using Eileen's Bookbinding Die (tutorial below):

Let's see how it came together! Visit my Part 1 blog post for the cover tutorial. This tutorial is about the inside construction.
Step 1 – Playing with Tyvek. Tyvek is a synthetic nonwoven material that is durable and tear resistant. It's used in applications such as shipping supplies, housewrap, and worksuits. However, it is not heat stable which is a property we can exploit for art! I found this video from Sandra Duran Wilson very helpful in explaining what you can do with it. I used mailing envelopes as my Tyvek source.

I used various acrylic paints to color the cut up envelopes. If your paint is too thick it will inhibit the bubbling when heat is applied so I kept my layers thin.
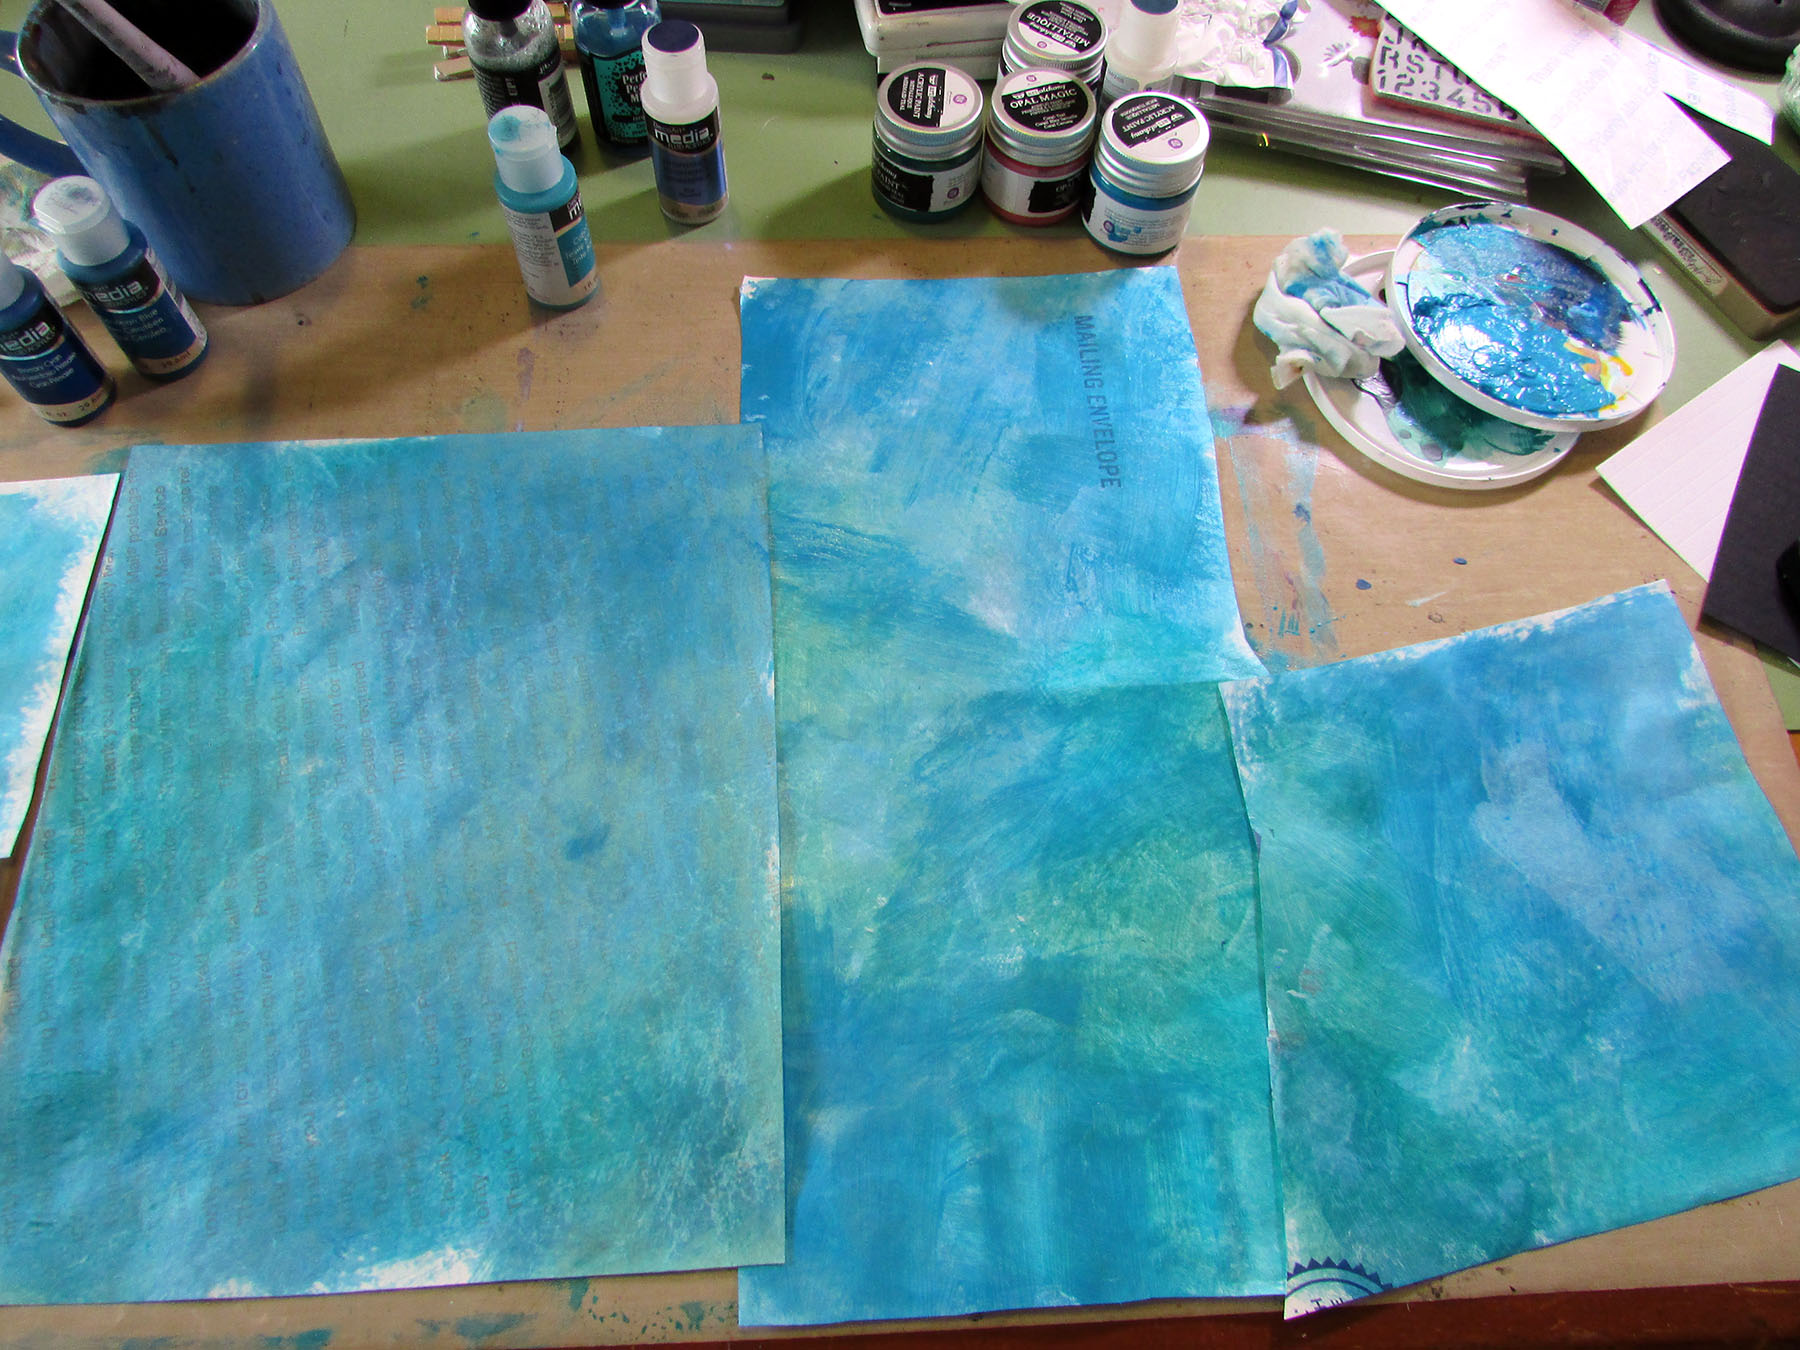
You can use a heat gun or an iron to apply heat to the Tyvek to make it bubble. It tends to curl and move around more with the heat gun so I stuck with my iron because I wanted flatter pieces I could put inside my book.

Watch the video for more detailed directions, but basically you need to sandwich the painted Tyvek between two press sheets (baking parchment or silicon craft mats) and then hover the hot iron over the top. You don't place the iron directly onto the Tyvek or press sheet covering it. It bubbles unpredictably which is part of the fun!
 |
| I cut and glued sections onto the insides of the front and back covers of the book. |
Step 2 – Brackets for Tunnel Pages. I cut four of the bookbinding folding spine units, two for each side. I folded them up and glued them together (see below).

 |
| 'How to fold' detail |


 |
| Paint chips! |
I think the Funky Cactus Die Set is great for 'coral'!
 |
| Candy wrappers! |
I started by decorating the inside cover with die cuts, more of the Tyvek "bubbles" and "pirate treasure" from my bits and bobs stash.


I checked the fit and made sure I liked the spacing and size of my tunnel openings.
 |
| Looks good! |

Step 5 – Assembly! I worked from back to front, gluing and stamping as I went.

To glue the pages in, I used a quick grab wet glue and applied a thin line to the back of the side edges of the tunnel page. My little clothespins were useful in holding the page in place while the glue dried. (Didn't take long).


Well, that was a long post again! Congrats, you made it through. ;-)
Thanks for stopping by and next week will be a new month with a new theme! Be sure to keep an eye on Eileen's blog for some more inspiration.
I am also entering this into the Funkie Junkie Challenge Blog "Anything Goes" challenge. They always have fun challenges to enter every two weeks so check them out!
aluminum cans
Distress Ink, Distress Oxide Ink - various colors
Distress Glaze - Salvaged Patina

Fantastic make! I love all the layers on the inside with some super fun Tim Holtz die cuts🐠💙🐠 ~ Janna Funkie Junkie DT
ReplyDeleteSo imaginative and creative! Thanks for joining the Funkie Junkie Challenge
ReplyDeleteLisa, you have blown this out of the water :-) What an amazing creation! I never heard of crafting with Tyvek, although it has lots of cool properties, would never have thought it would bubble like that... and you use of the Bookbinding die is so clever! Truly a work of art <3
ReplyDeleteGoodness Lisa - what a project of love! Your dome front is so cool and the depth created with your layers of framing inside is wonderful - so many things to look at here!
ReplyDeleteWhere to start with this one Lisa! - your imagination and creativity have gone into overdrive on this one. I love that you used the bookbinding die to create the tunnel supports and the way you used the tyvek for the effective background and pebbles. There is so much to see just from this post alone and I am sure it's even more fabulous to see in real life. Thank you for joining us at The Funkie Junkie Boutique challenge x
ReplyDeleteLisa, all I can say is A-M-A-Z-I-N-G. Just love this project, thank you for the inspiration and tutorial. Hugs
ReplyDelete