Good morning and Happy Halloween! It's almost upon us. (Tonight is pumpkin carving night here in our household.) It's always fun to see the joy children take in Halloween – the dressing up, planning out your jack-o-lantern's face (tell me I'm not the only one who did that), the candy, the decorations… Today I'm here to share a fun interactive project for kids to play with (and it's screen free! ;-) ) I took an old baking sheet and up-cycled it into a Halloween scene complete with magnetic cut outs so the child can rearrange to their heart's content. Think Colorforms but without the danger of melting into a toxic mess in a hot car.
All the pieces are magnets so they peel right off and you can move them all around:
Here's a detail of the haunted house, decorated with extra die cuts:
Let's see how easy it is to create this project with the help of Xyron products!
Step 1 – I found an old baking sheet that was just the right size and of the proper patination lol. I used painters' tape to mask the edges and first painted a layer of gesso into the tray bottom.
When that was dry I used acrylics to paint the background and stencil the stars.
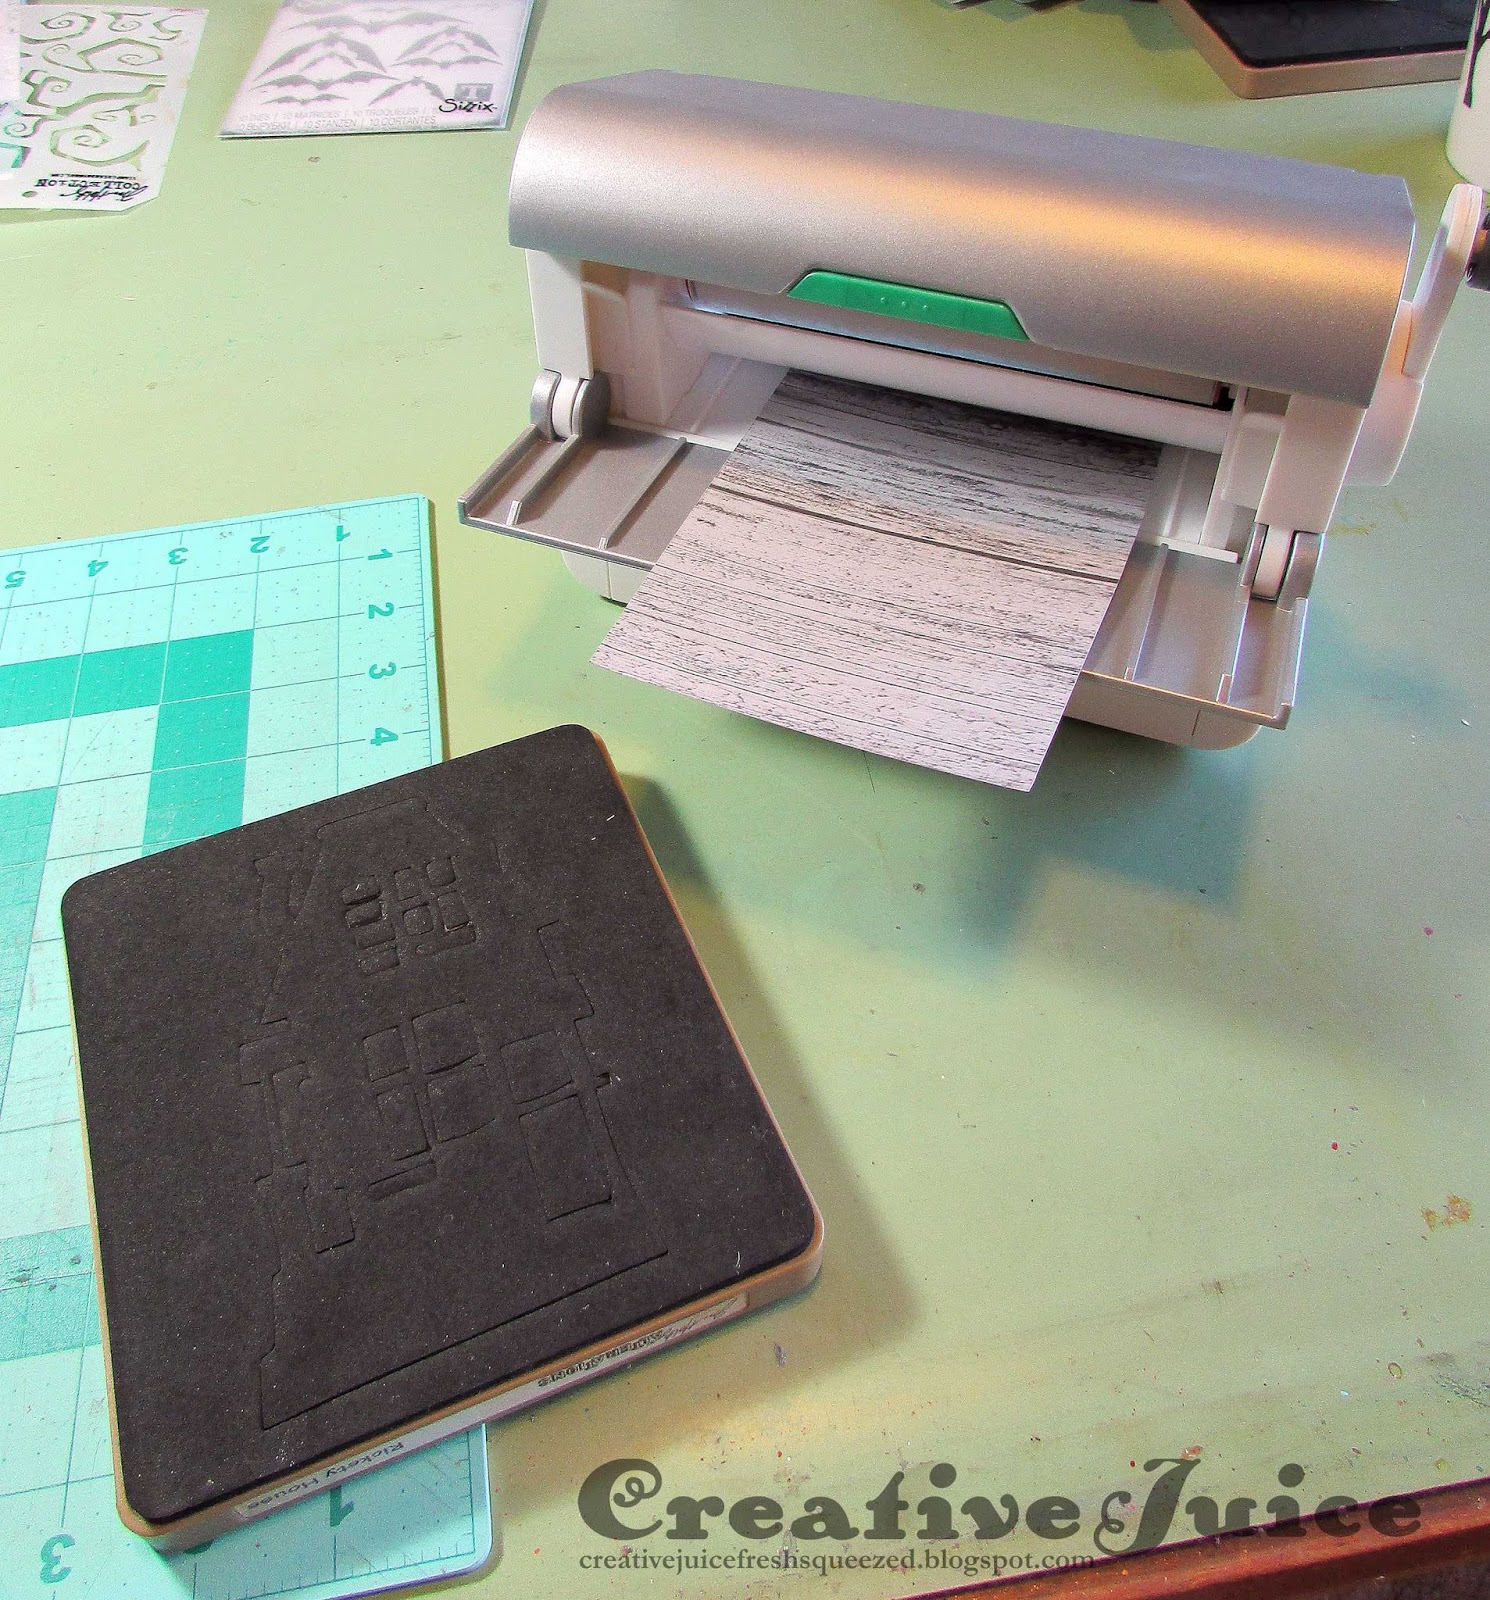
Step 2 – Getting more out of your dies! Did you know you can use your dies to make foam stamps? It's a great way to get more for your money and it is really easy. All you need is fun foam, scrap plastic from discarded packaging and the Xyron Creative Station with a Permanent Adhesive cartridge installed. First run a piece of fun foam through the Creative Station to apply adhesive to one side.
Next, use your die to cut out a shape from the fun foam. Peel off the adhesive liner and stick it to a piece of scrap plastic.
Voila! You have just made a foam stamp! I used this one with paint to stamp the twisty vines onto the background of my cookie sheet. Clean the paint off with a baby wipe and your stamp is good to go for future projects.
TIP – Once I was done painting, I sprayed the whole background with Crystal Clear Acrylic Spray to protect the paint and keep it from getting scratched off.
Step 3 – Time to make the fun magnet pieces! I pulled out all the Halloween dies I wanted to use. (They are all Tim Holtz Sizzix dies.) I picked out the different papers and cut pieces of the appropriate size to fit each die. I ran the paper pieces through the Creative Station with the Laminate/Magnet Cartridge installed. It adheres the paper to the magnet material and then covers it with a clear laminate layer. (Good for handling by sticky candy kid hands lol.)
I then cut out the shape with my dies. Bigz steel rule dies cut through it like butter but I was also able to use Thinlits dies to cut through the magnet/paper/laminate layers.
Step 4 – Embellishing the magnets – I found that I wanted to ink the edges of the cut outs to give them some more visual depth. Using archival ink over the laminate plastic worked great. I also glued on paper die cuts (ghosts and pumpkin) on the haunted house and added Stickles glitter glue to a few of the other magnets.
Step 5 – Play! All done. ;-)
Thanks for stopping by and Happy Halloween!!! See the supply list below for materials used.
Supplies used:
Xyron:
Creative Station Lite
Permanent Adhesive Cartridge
Laminate /Magnet Cartridge
Dies:
Tim Holtz Sizzix
Bat Crazy ( Sizzix / SB )
Frightful Things ( Sizzix / SB )
Twisted Edge - retired
Rickety House - retired
Bewitching Hour - retired
On the Edge die, Graveyard - retired
Branch Tree - retired
multiple Movers & Shapers dies - retired
Other:
Tim Holtz Layering Stencil - Falling Stars
Ranger Archival Ink
Stickles glitter glue
DecoArt Fluid Acrylics - Green Gold, Viridian, Cobalt Blue Hue, Cerulean Blue, Metallic Gold
Crystal Clear Acrylic Spray
fun foam
painters' tape
Store links in this post may be affiliate links which do not affect the price you pay but allow me to earn a small percentage of a sale. Thanks! (My husband also thanks you!) If you go shopping at Topflight Stamps, use my code LISAHOEL for 10% off your order.