Showing posts with label Xyron Makers. Show all posts

Monday, February 10, 2020

Valentine Gift Box with Power Team Eileen Hull, Rinea Foil Paper and Xyron!


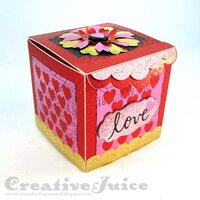
Happy Valentine's Day! It is nearly upon us! I made a cute (and quick) gift box that can hold delightful gifts such as – dark chocolate! (My vote.) I suppose you could substitute some other sweet but really, what would the point be? (ha ha, jk)


I used Eileen Hull's new Sizzix Gift Box with Scallop Edges Die for the structure and decked it all out with Rinea Foil Paper and more of Eileen's dies to create a festive and glam little box that you can use for all sorts of lovely gifts (not just dark chocolate.)


I also used my Xyron Creative Station Lite machine to quickly and neatly add adhesive to the back  of all my foil paper. It made this project fast to make! Read on for a quick tutorial.


I used Sizzix Sizzles Matboard for the substrate (two pieces). On one side of each piece, I spritzed on some Candied Apple spray stain. While that was drying, I cut strips of Rinea's Ruby Star Foil Paper to the width of the board and ran it through my Creative Station. The Creative Station makes it so easy to apply adhesive to papers etc. All I had to do then was peel off the backing sheet and adhere the foil paper to the other sides of the matboard pieces. Then I die cut the box parts.

I also cut smaller rectangles of pink foil paper and ran those through the Creative Station too. (Did I mention it was easy?) All I had to do then was use the Hearts Journaling Cards Die to cut the side panels and then stick them on the box sides.


The Rinea Foil Paper is also an excellent choice for using in embossing folders. The Gold Foil in the 3-D Impresslits Embossing folders is especially nice – it looks just like vintage Dresden Scrap! I made box trim using the 3-D Mini Scallop folder.

Hot tip: stamp on the Foil Paper using Staz On ink.

Once again, by using the Xyron machine to put adhesive on the strips of gold foil before embossing, it made it quick and easy to apply to my box afterwards.


The Gift Box is easy to assemble. Fold on the score lines and glue the tabs to the insides of the box. (Except for the top!)


I also embellished the top of the box with a flower with a large brad center. The Rinea Foil Paper is easy to bend into a desired shape and then it stays put! I die cut the flower layers and then shaped the petals.


Thanks for stopping by! I hope the rest of your week is a good one and that you have a chance to get crafty. ;-)

Dies:
Eileen Hull Sizzix
Gift Box with Scallop Edges Die ( Sizzix / SB )
Journaling Cards, Hearts ( Sizzix / SB )
Flower, Heart & Soul - retired
Journaling Words - retired

Tim Holtz Sizzix
3-D Embossing Folder, Mini Scallop ( Sizzix / SB )
Labels ( Sizzix / SB )

Other:
Distress Spray Stain - Candied Apple
Staz On Ink - Jet Black

Some links in this post are affiliate links which do not affect the price you pay but allow me to earn a small percentage of a sale. Thanks! (My husband also thanks you!) If you shop at Topflight Stamps, use my coupon code LISAHOEL for 12% off your order.
Friday, December 27, 2019

Magnetic Christmas Advent Calendar with Xyron


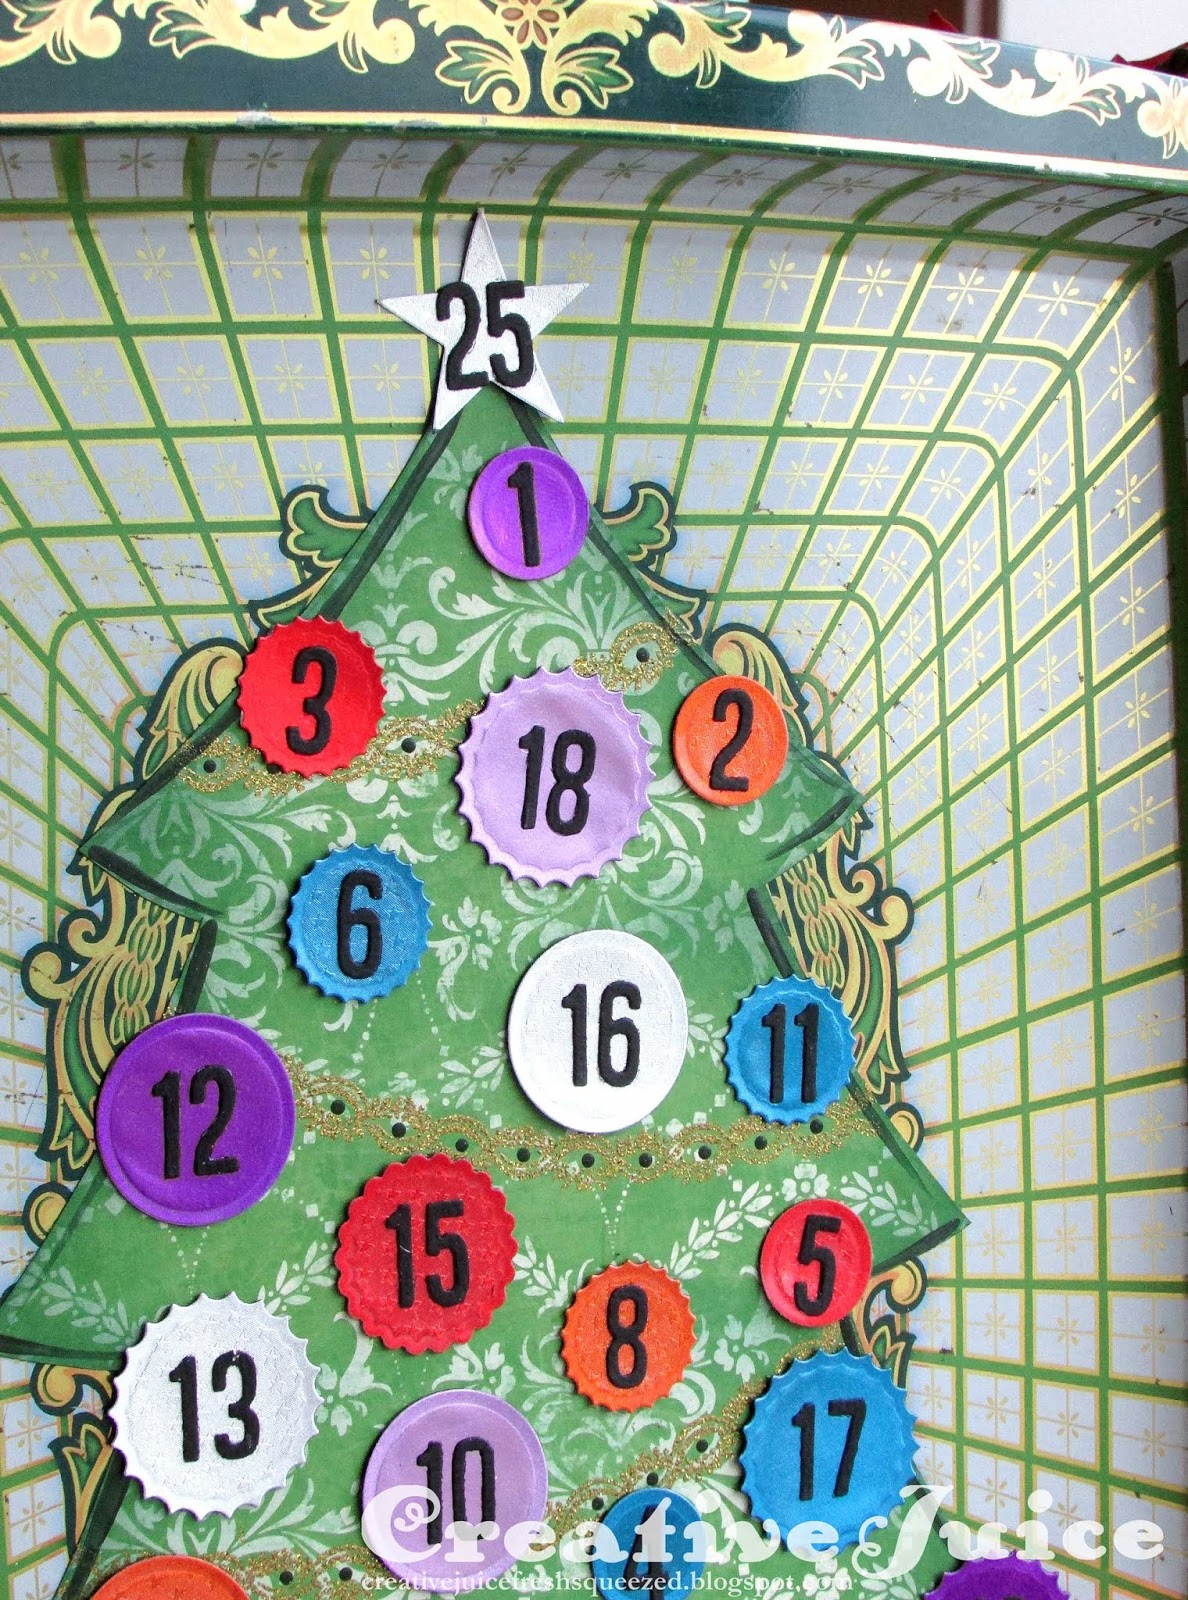
Hello! I'm not ready to let go of Christmas crafting yet! Didn't the 12 Days of Christmas just begin on the 25th? Keep going people!! ;-) This is a fun project that if you make now, will be ready to use on Dec. 1st of next year. It's a magnetic advent calendar that is sure to excite the little ones.


The base is a vintage metal tray I found at the thrift store. I cut a tree out of patterned scrapbook paper to glue onto the tray and then the numbered ornaments and presents are all magnetic!


At the beginning of December, a new ornament is placed on the tree each day. It's a fun way for the kids to count down to the big day! All the pieces are magnets so you can stick them on the tree wherever you like.

Let's see how easy it is to create this project with the help of Xyron products!

Step 1 – I found a metal tray that was the right size and was already decorated with "Christmas" colors - gold, green and white. You could also use any metal tray and paint it to your desired color; either with spray paint or like I painted the Halloween Magnetic Play Board I made in October. I used tracing paper to create a tree pattern that would cover the center of the tray, then cut it out of patterned scrapbook paper from my stash.


Step 2 – I used stamps and Gold Tinsel embossing powder to add garland to my tree. You could also use glitter glue and draw it on.


Step 3 – Time to make the magnet ornaments! I used Rinea Foiled Paper because of the beautiful colors and shine (perfect for ornaments!) It also has two surface finishes - smooth and embossed stars - so there would be some variety in visual texture. I ran the foil paper pieces through the Creative Station with the Laminate/Magnet Cartridge installed. It adheres the paper to the magnet material and then covers it with a clear laminate layer.


I then cut out the shapes with my dies. Bigz steel rule dies cut through it like butter but I was also able to use round thin dies to cut through the magnet/paper/laminate layers.

Step 4 – I used the Alphanumeric die set to cut out all the numbers from black cardstock and glued them to the ornaments. It's a little fussy but the numbers are nice and bold.

Thanks for stopping by and Happy New Years!!! See the supply list below for materials used.

Supplies used:
Xyron:
Creative Station Lite
Laminate /Magnet Cartridge

Dies:
Tim Holtz Sizzix
Labels ( Sizzix / SB )
Alphanumeric ( Sizzix / SB )
Crescent Moon & Stars - retired
Movers & Shapers dies - Packages - retired
various circle die sets

Other:
Tim Holtz Stamp Set - Ornate Trims
gold tinsel embossing powder
Prism Embossing Ink Pad
Rinea Foiled Paper

Store links in this post may be affiliate links which do not affect the price you pay but allow me to earn a small percentage of a sale. Thanks! (My husband also thanks you!) If you go shopping at Topflight Stamps, use my code LISAHOEL for 12% off your order.

Wednesday, October 30, 2019

Xyron Magnetic Halloween Play Board for Kids


Good morning and Happy Halloween! It's almost upon us. (Tonight is pumpkin carving night here in our household.) It's always fun to see the joy children take in Halloween – the dressing up, planning out your jack-o-lantern's face (tell me I'm not the only one who did that), the candy, the decorations…  Today I'm here to share a fun interactive project for kids to play with (and it's screen free! ;-) ) I took an old baking sheet and up-cycled it into a Halloween scene complete with magnetic cut outs so the child can rearrange to their heart's content. Think Colorforms but without the danger of melting into a toxic mess in a hot car.


Lisa Hoel for the Xyron Makers Program – up cycled baking sheet becomes a magnetic play board perfect for a child (big or little) to rearrange. All the elements are magnetic die cuts!

All the pieces are magnets so they peel right off and you can move them all around:


Here's a detail of the haunted house, decorated with extra die cuts:


Let's see how easy it is to create this project with the help of Xyron products!

Step 1 – I found an old baking sheet that was just the right size and of the proper patination lol. I used painters' tape to mask the edges and first painted a layer of gesso into the tray bottom.

Lisa Hoel for the Xyron Makers Program – up cycled baking sheet becomes a magnetic play board perfect for a child (big or little) to rearrange. All the elements are magnetic die cuts!

When that was dry I used acrylics to paint the background and stencil the stars.


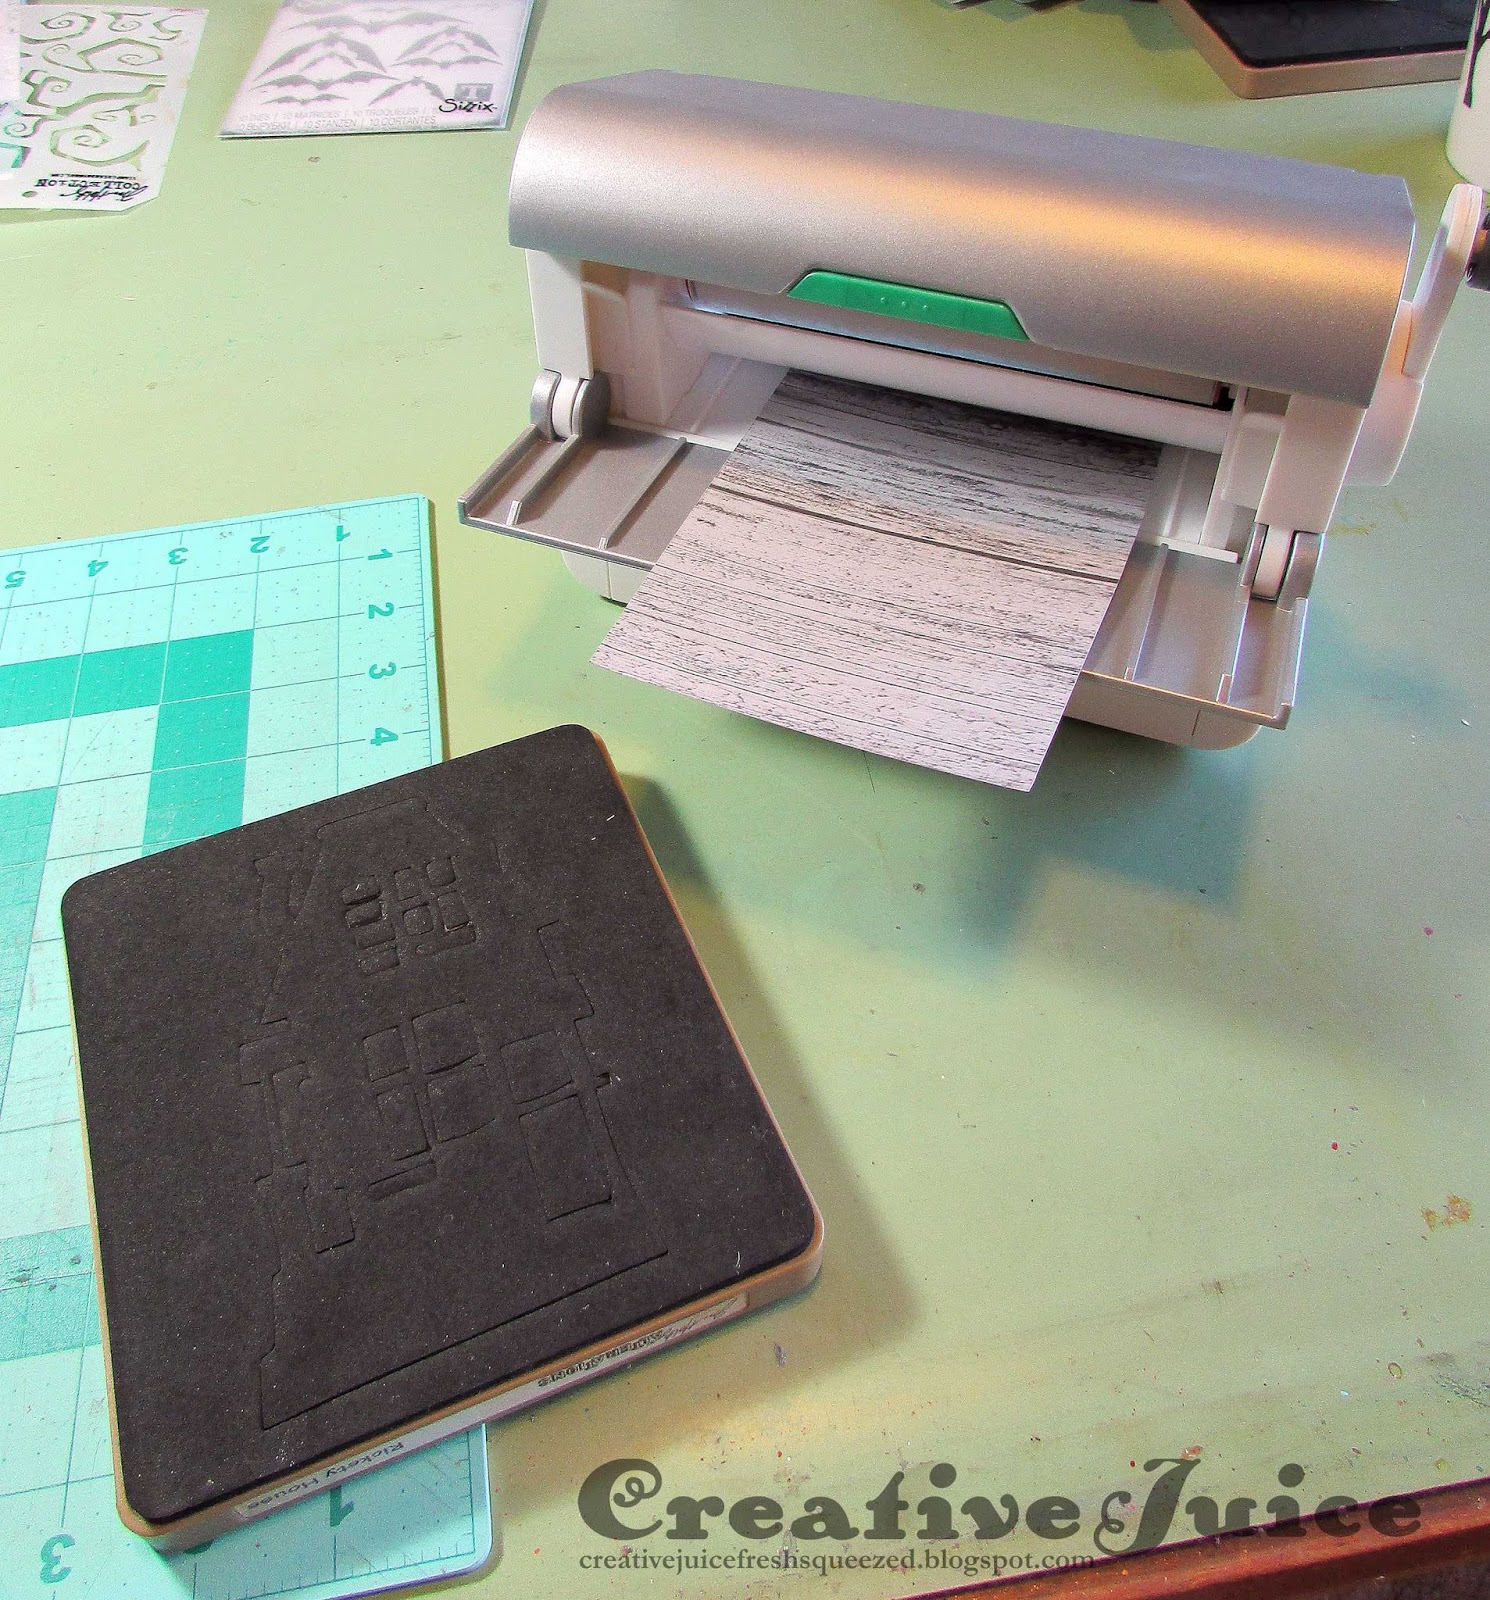
Step 2 – Getting more out of your dies! Did you know you can use your dies to make foam stamps? It's a great way to get more for your money and it is really easy. All you need is fun foam, scrap plastic from discarded packaging and the Xyron Creative Station with a Permanent Adhesive cartridge installed. First run a piece of fun foam through the Creative Station to apply adhesive to one side.


Next, use your die to cut out a shape from the fun foam. Peel off the adhesive liner and stick it to a piece of scrap plastic.


Voila! You have just made a foam stamp! I used this one with paint to stamp the twisty vines onto the background of my cookie sheet. Clean the paint off with a baby wipe and your stamp is good to go for future projects.


TIP – Once I was done painting, I sprayed the whole background with Crystal Clear Acrylic Spray to protect the paint and keep it from getting scratched off.

Step 3 – Time to make the fun magnet pieces! I pulled out all the Halloween dies I wanted to use. (They are all Tim Holtz Sizzix dies.) I picked out the different papers and cut pieces of the appropriate size to fit each die. I ran the paper pieces through the Creative Station with the Laminate/Magnet Cartridge installed. It adheres the paper to the magnet material and then covers it with a clear laminate layer. (Good for handling by sticky candy kid hands lol.)

Lisa Hoel for the Xyron Makers Program – up cycled baking sheet becomes a magnetic play board perfect for a child (big or little) to rearrange. All the elements are magnetic die cuts!

I then cut out the shape with my dies. Bigz steel rule dies cut through it like butter but I was also able to use Thinlits dies to cut through the magnet/paper/laminate layers.


Step 4 – Embellishing the magnets – I found that I wanted to ink the edges of the cut outs to give them some more visual depth. Using archival ink over the laminate plastic worked great. I also glued on paper die cuts (ghosts and pumpkin) on the haunted house and added Stickles glitter glue to a few of the other magnets.


Step 5 – Play! All done. ;-)


Thanks for stopping by and Happy Halloween!!! See the supply list below for materials used.

Supplies used:
Xyron:
Creative Station Lite
Permanent Adhesive Cartridge
Laminate /Magnet Cartridge

Dies:
Tim Holtz Sizzix
Bat Crazy ( Sizzix / SB )
Frightful Things ( Sizzix / SB )
Twisted Edge - retired
Rickety House - retired
Bewitching Hour - retired
On the Edge die, Graveyard - retired
Branch Tree - retired
multiple Movers & Shapers dies - retired

Other:
Tim Holtz Layering Stencil - Falling Stars

Ranger Archival Ink

Stickles glitter glue
DecoArt Fluid Acrylics - Green Gold, Viridian, Cobalt Blue Hue, Cerulean Blue, Metallic Gold
Crystal Clear Acrylic Spray
fun foam
painters' tape

Store links in this post may be affiliate links which do not affect the price you pay but allow me to earn a small percentage of a sale. Thanks! (My husband also thanks you!) If you go shopping at Topflight Stamps, use my code LISAHOEL for 10% off your order.